![]()
Demonstration
![]()
The demonstration aims to maximise student participation and hands on learning. The aim of the demonstration is to show students that stopping distance is proportional to the square of the initial velocity of a body - in this case, a remote control truck. To accurately measure stopping distance we must know the point at which deceleration of the truck begins, and the velocity of the truck at this point.
Students are first given an opportunity to measure the time a remote control truck travels a given distance at two different velocities, high and low, and to calculate those velocities. These values are used in later calculations.
The demonstration design is shown below. The truck is equipped with a light sensor. As the truck passes the light, the sensor is activated, and power to the truck's motor is cut. This is the point at which deceleration begins, and from which stopping distance is measured.
The demonstration consists of running the truck at low speed past the light several times, and finding the average stopping distance. This information is used with the velocities the students calculated earlier to predict the stopping distance when the truck is run at the high velocity setting. The truck is then run past the light several times on high speed, and an average stopping distance can be found and compared to the predicted value. Click here to see the demonstration - first at high speed, then at low speed.
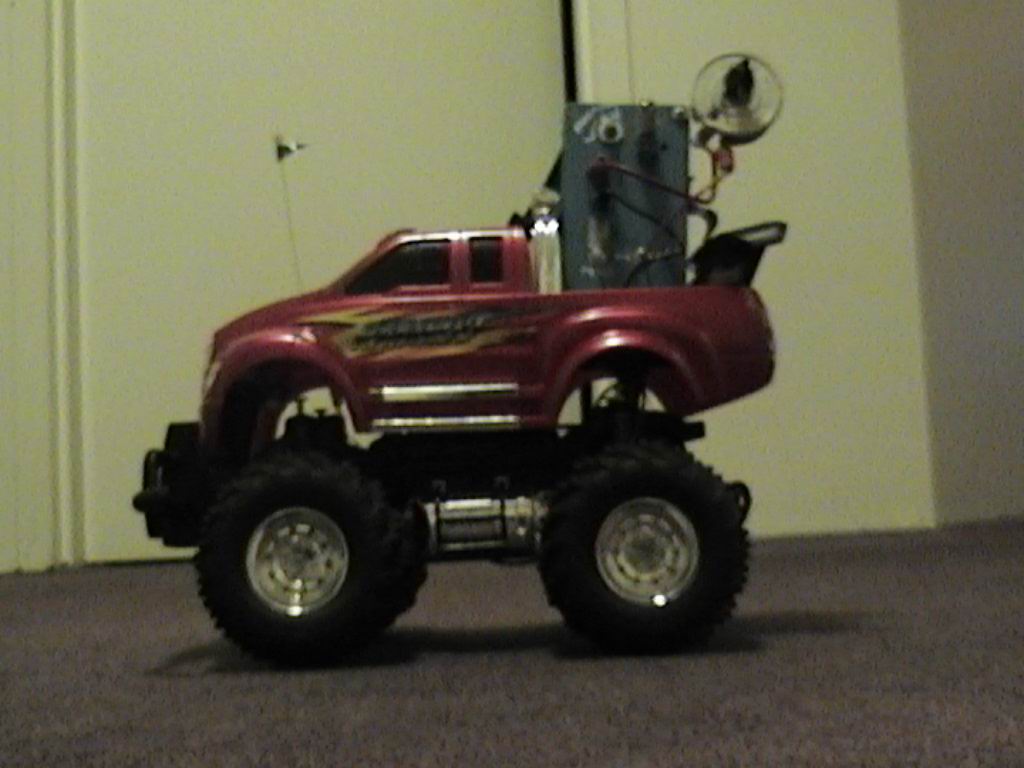
The modified truck
![]()