| The Computer This was the main motivation behind this project. I wanted to see if it would be possible to build a silent computer using only convection cooling. The project turns out to be a very difficult and time-consuming task. The computer is still a work in progress. Here's what I've done using the principles we've discussed about. Preliminary Design I codenamed the project "Hedgehog" because the original design resembles the appearance of a hedgehog. After getting into some realistic considerations the design was changed quite dramatically.
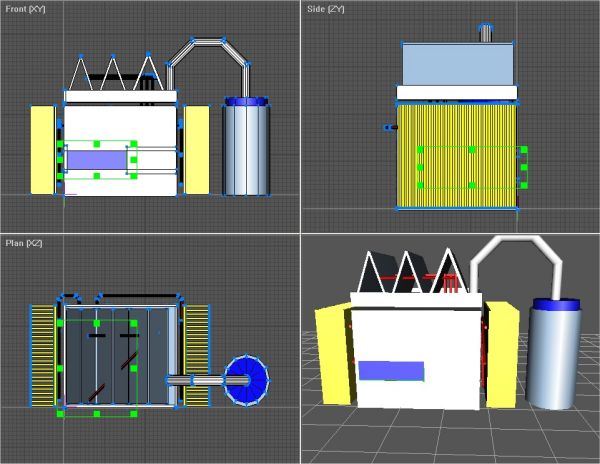
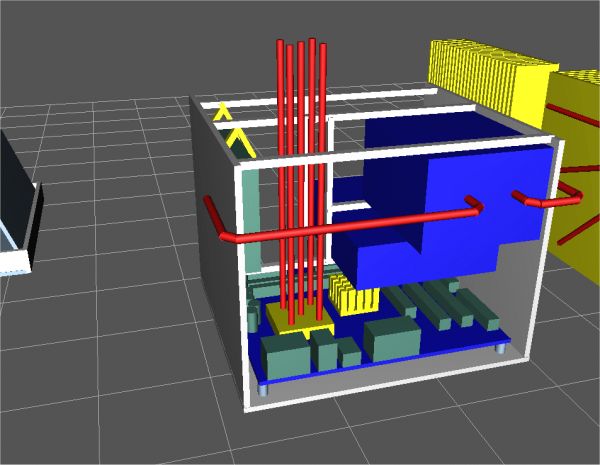
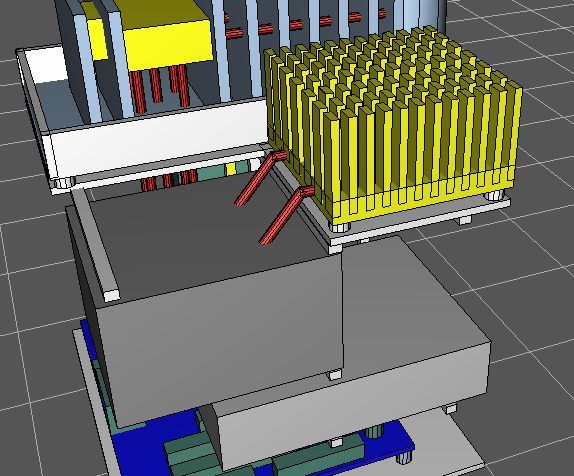
Later I got this simple 3D design program and whipped up some pretty drawings of the model. I toned down the size of the heatsink to be realistic. The unique design is that I plant to direct the heat to the top and vaporize water with the heat. (sort of like a radiator)
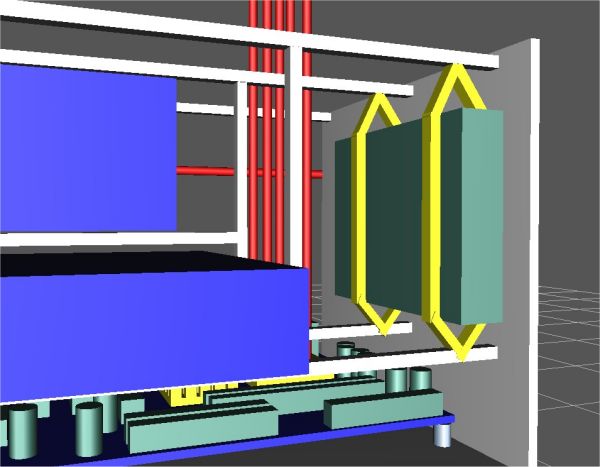
The model keeps improving to meet realistic construction limitations.
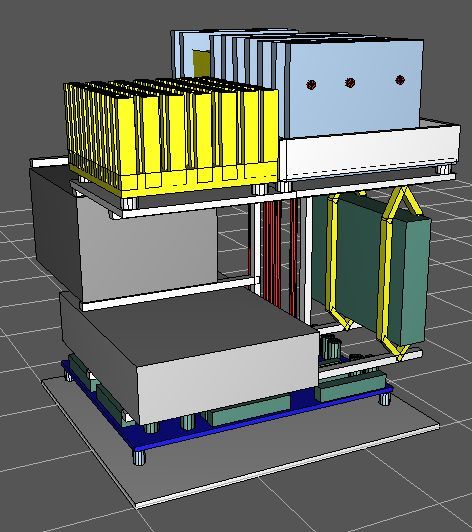
And I reached this final design after material cost consideration (didn't want to waste school money). The big heatsink was simply discarded as it was impossible to find something that big and the heat wasn't that intense.
The actual heatsink is small than this design, but it gets the job done in terms of dissipating heat.
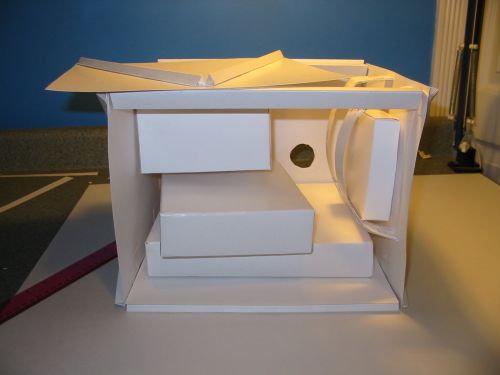
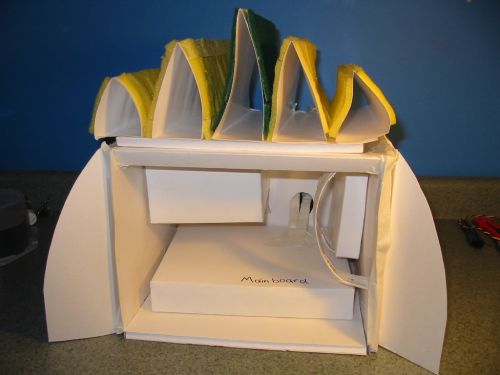
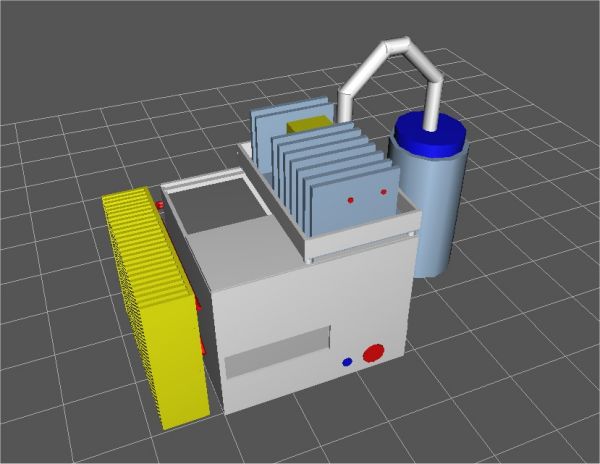
(un)finished Product
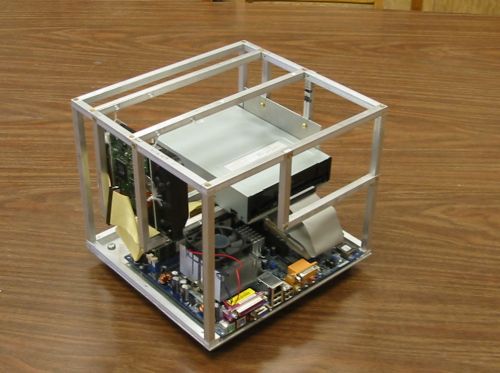
Knowing that aluminum is an ideal material for computer case, because of its high thermal conductivity and low density. The whole computer case is constructed from aluminum rods and sheets. This frame alone took me 20+ hours because I'm not very experienced with machining. That fan is to be replaced with a CPU block.
I managed to mount the components in the most optimal position for convection. Power supply will be on top of the DVD drive. The hard drive is suspended to reduce vibration noise.
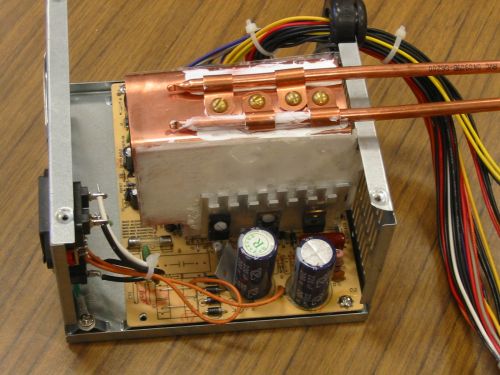
The original 350Watt power supply had two heatsink and they had a voltage different of 20V across. I used a thin film of transparency to insulate the copper heatsink. Unfortunately I managed to fry one of the components (and shocked myself) while putting the transistors back. Therefore I never got to test the performance of this heatpiped heatsink I made. The large aluminum heatsink was supposed to be attached to the end of the heatpipes.
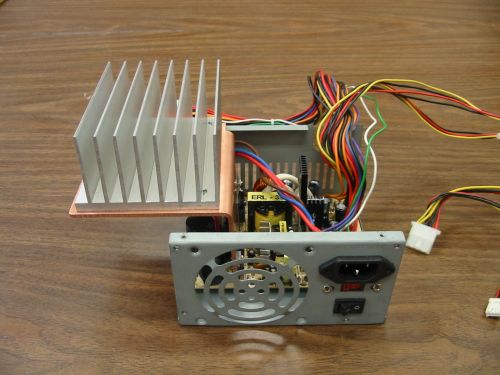
Luckily I was able to find a 8 years old 250Watt power supply. Much to much surprise, this power supply is very well constructed.The power suppy only has a single large heatsink that does not carry any voltage! To avoid abstructing the convection airflow of the transformers (yello thing) I turned the copper heatsink the other way. This worked pretty well. The power supply ran without its original fan. But I got greedy and thought I can bypass the copper plate and directly place the transistors onto the large aluminum heatsink then I can avoid the inefficiency of conducting through the copper.
I was so confident that this was going to work, so I took the liberty of hot gluing everything done to eliminate accident. Turned out it did work, for 5 minutes, until the wires got too hot and started to melt. I totally forgot about the high current situation. I tried to get the wires off the board but they were soldered AND hot-glued. It was too much trouble so I just decided to get another new power supply. Also it was not safe to route the high current wires outside of the case.
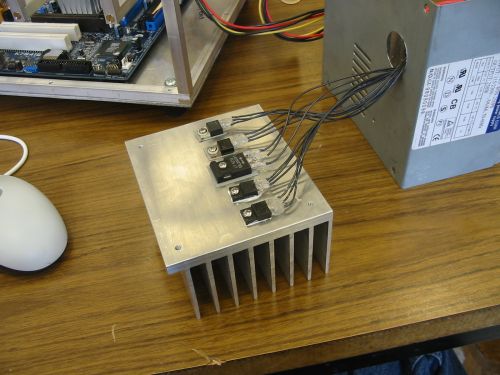
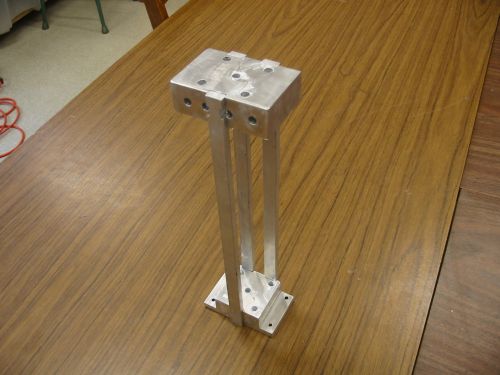
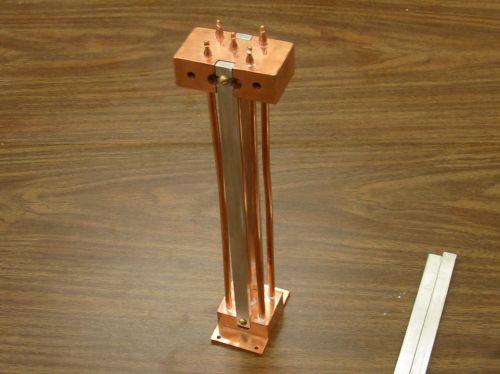
This was CPU block was made with aluminum, the holes were drilled with the same size as the heatpipes which made it difficult to insert the pipes because they tend to bend quite easily. I discarded this heatsink and made a better one with copper. Since copper has better thermal conductivity.
Unfortunately (again) this CPU block is such a poor performer. As I was testing it with hot water the bottom heatpipe got extremely hot but the heatpipes barely got warm. This indicates that the holes were too big! After consulting with Dr. Kotlicki, I realized this is the wrong way to mount heatpipes. Heatpipes are usually mounted by sandwiching. The 3rd CPU block is still being constructed and scheduled to be finished by June, 2005. After spending countless hours in the machine shop and Outreach lab this is all I have so far. I guess now I can appreciate those people in engineering making it easy for us. For people who have computers, be grateful.. Things left to do: 1 CPU Block, 1 Large Heatsink/Water pool, 1 PSU modification, case panel assembly...
and the quest continues..
|