The materials required for the demonstration fall into one of two categories; materials for the main demonstration (with the ferrofluid) and materials for the smaller demonstrations incorporated into "the lesson" component. On the whole, there is nothing too complicated about the design of the demonstration: with the exception of the ferrofluid itself, most things used during the demo are regular household or lab equipment.
The first part of the demo is the discussion of the principles of magnetism, during this lesson component, I incorporated a buch of small magnet demos to help visualize what I am discussing. These are referenced in the "lesson plan" document. They are all fairly open ended and most do not require much specific construction. Any set of magnets will do for most of the magnets used for this part, common ferrous magnets of moderate size do just fine. I just used whatever magnets I could find around.
1.) What is a magnet attracted to?
After demonstrating the familiar effect of a magnet being stuck to something iron based (such as an equipment stand or a metal table leg), and then showing how something wooden does not attract the magnet, introduce pieces of non ferromagnetic metals, preferably one that is not silver couloured and one that is (I had a small piece of copper and aluminium). Ask the students to predict whether the magnet will be attracted to either sample.
Materials required: An ordinary ferromagnetic object, a wooden object, non ferromagnetic metal samples, standard magnet1a.) Magnetization: Is the metal object now a magnet?
As a follow-up to the above, show how a small (ferrous) object can be attracted to something that the magnet is stuck to. In other words, show that the object a magnet is stuck to has become magnetized and is acting as a magnet in its own right.
Materials required: Any very small ferrous object. I used a paperclip.
2.) Optional - Iron filings
This is a stereotypical magnetism demonstration, but it is still fun to play around with. For this demo, iron filings are spread across a surface, and then introduced to a magnetic field by bringing a magnet underneath the surface. The filings will react to the field, by both clumping near the magnet, and more usefully, aligning themselves with the field and forming small chains. This illustrates the field lines, and if the filings are suitably spread out they can illustrate the shape of a dipole field.
My setup for this was a roughly 30cm by 10 cm tupperware bin with bright orange paper covering the inside for maximum contrast. I had a small jar of iron filings which I would pour in, and I had a funnel to help get the iron filings back out into the jar. With the filings in the dish, I would hold a smaller magnet underneath the bin and shake lightly to get the filings to form the pattern.
In my experience, this was hard to do reliably and properly such that every student could see. I ended up explaining the concept, then letting the students pass the bin and magnet around to play with it. If nothing else, this served as a fun bit of interactivity. I don't think it is crucial to the demo, for the nature of the dipole field shape could easily be communicated via a diagram on the board.
Materials Required: Iron filings, Ziploc/tupperware bin (as found in a kitchen store), sturdy paper, tape, a standard but smallish magnet.
Caution: Iron filings can be dirty and messy, handling them a lot directly will leave rusty residue on your hands and whatever else they contact. Avoid letting the filings stick to the magnet directly, getting them off of a permanent magnet is a tedious and messy task. Best to wash your hands after handling them.
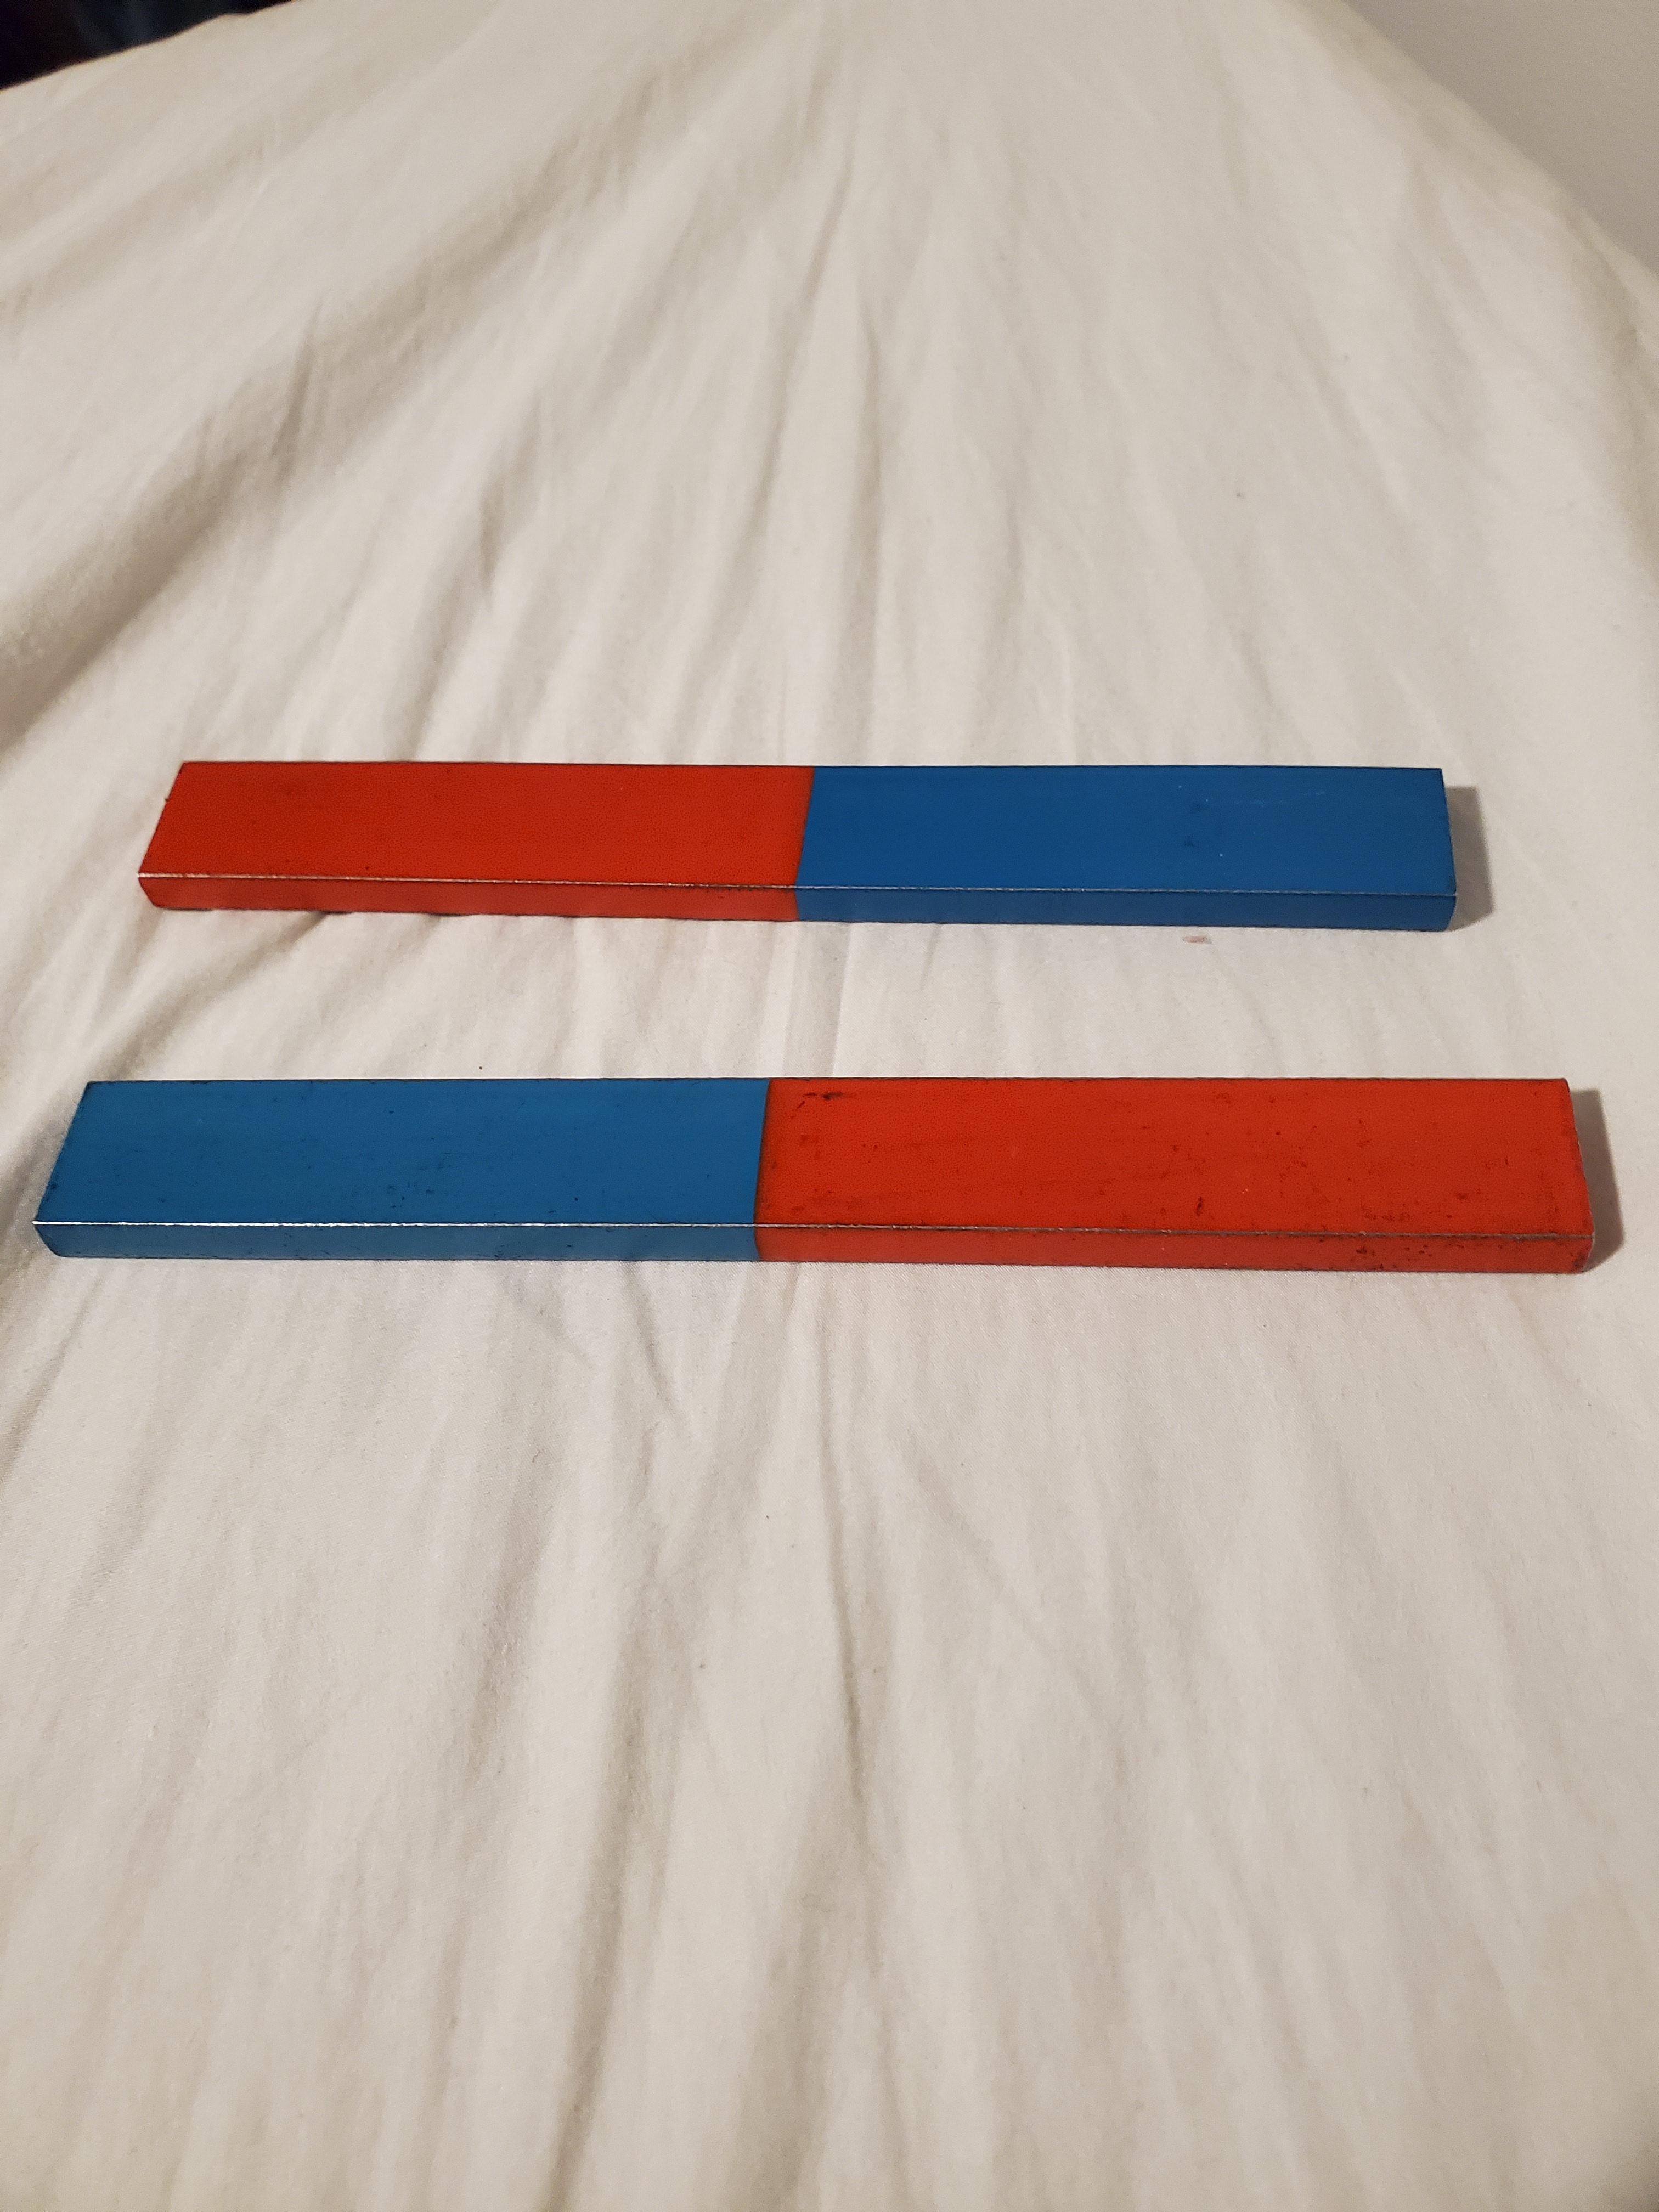
Photo of the iron filings bin + filings jar3.) Bar Magnets - Very simple
The classic red and blue bar magnets ( Photo ) are nice visual aids when explaning dipoles and dipole-dipole interactions. The "north" and "south" poles are clearly visible, indicating their orientation. After explaining the fields of anti-parallel and parallel dipoles, two bar magnets can be used to illustrate how two dipoles prefer to be anti-parallel.
Simply demonstrate by holding two of them up, and showing how when anti-parallel, the two magnets can be stuck together and one dangled in mid air by the other. In contrast, this would never work when they are parallel, as can be shown.
Materials Required: At least 2 sufficiently strong bar magnets
Caution: North and south are of course arbitrary, so make sure you use two bar magnets that are magnetized/labelled the same way so you don't disprove your own point! If all you have are magnets that happen to be magnetized wrong, you can try to remagnetize them, or just use them to show that they do prefer one way over the other. You could even re-label them somehow.
Also, all of the bar magnets I found in the science supply bin were very weak (possibly due to their age), and most were not strong enough to reliably support each others' weight. Make sure your magnets are strong enough for the demo. If not, remagnetization could help, or just use non bar magnets for this part.
4.) Magnetization: The compass and needle demo
This beautiful piece of equipment was borrowed from the PHAS department's toy room of existing demoes, and was incorporated into this lesson. It consists of an array of 12 small compasses in a plexiglass case. If a small but reasonably powerful magnet is brought near one side of the array, all the compass needles will align with the shape of the field. The compasses in the centre will have their needles pointing straight out from the magnet, while the compasses at the sides will have their needles at an angle, following the shape of the dipole field.This illustrates an important principle, that materials can be magnetized. The compass needles represent how dipoles (i.e. electrons) want to line up with a strong external field, which combined with how parallel dipoles have their field strengths add explains how magnetisation works.
As an alternative to the premade rig, you could do this with other compasses in strategic locations and explain the connection to real materials by imagining compasses at all points. The existing demo sure makes this pretty, however.
Materials required: The compass needle demo, and a magnet. Alternatively, a bunch of other compasses.
Note: Over time, magnetization can shift, and its possible that some of the compass needles are magnetized in the wrong direction. Remagnetizing the compass needles to point in the same direction is easy, take a strong magnet and quickly glide it over the surface of the target compass, in the direction you want it to point. For the existing demo, it can help to unscrew the top plexiglass for easier access - this can help fix stuck compasses too.
Photo of the (pre-existing) compass needle demoNow for the main event. The actual demo won't be visible to the entire class in a normal setting, so either the students should come up around the table and watch closely (as worked in the lab room at my school) or the experiment could be projected up using a camera. I think it is worth seeing the demo in person, and for the first and third experiments, it is easy to cycle people through. Videoing or streaming the part with the fluid climbing the screw could be of use, however, as this is hard to do over and over.
Forewarning: The oily ferrofluid (although "not very toxic") is very messy. I believe it is the messiest substance I have worked with, and it has a remarkable ability to get everywhere. On top of this, it stains nearly everything it touches, including your skin - it can be challenging to scrub the fluid off of your hands. Disposible nitrile gloves are advised when experimenting with the fluid and are needed during cleanup. I would reccomend putting paper towel down below your dish on your work surface just in case any ends up dripping or rubs off somehow, just in case. Cleaning the dish/other equipment with soap, warm water, and wiping it down with paper towel is effective. When cleaning equipment, it is fine to toss fluid in the trash or rinse it down the drain - at least for the fluid I was using. Consult the label and MSDS provided with the fluid you use.
1.) Ferrofluid Dish
This is the dish that will hold the fluid during the main demo. The requirements for the dish are that there is access below the dish for magnets, and that it is flat near the middle but has a lip around the edge so that the fluid doesn't flow off the edge. Ideally, the dish should not interact with the fluid much (the fluid stains nearly everything it touches). I used a glass (pyrex) plate for this, which was easy to find. The dish was 25cm in diameter with a lip of about 3cm at the edges.
To allow access beneath, I added legs to the pyrex plate. I superglued on 6cm sections of PVC pipe to form 3 legs, allowing the dish to sit flat on a table. Unfortunately, in transport, these legs eventually came loose (it difficult to get stuff attached to a glass surface...) but this was not a major issue, as the dish still sat on the legs as long as I was careful not to knock it too much and was gentle putting it down.
The first part of the main demo is simply putting a magnet beneath the dish to observe the spikes, which is easy to do with the dish and fluid.
Photo of the dish, with a magnet suspended underneathWARNING: Do not let the fluid get on the magnet directly! I haven't had this happen, but the fluid will spread and try to flow to the magnet if it can, if the magnet is left too close to the edge of the dish. I can only imagine the mess you would have if the fluid got onto a magnet.
2.) Climbing the screw
In this part of the demo, a screw is placed upside down into the fluid at the centre of the dish, and a strong magnet goes beneath the dish, casuing the fluid to climb the thread of and collect on top. This is magical to watch. If the fluid isn't getting over the head of the screw, or getting stuck, add more fluid. For this, a big sturdy iron/steel screw is needed. I coated the screw in teflon tape in an effort to avoid having the screw stained by the fluid, but this was in vain as the teflon got stained just as easily. However, the teflon's white colour provided a better contrast with the pitch black fluid during the climb even when dirty.
I conclude that the teflon coating is optional, but it can't hurt.
Photos:
A screw before the fluid climbsWords of caution: as always, careful with the strong magnet when it is near the fluid. After this demo is done, the screw will be coated with the fluid, and so removing it will be messy. Wear gloves, and put the screw into a bundle of paper towel lest it stain anything it touches until it can be cleaned some. I find that it is difficult to get all of the oily fluid off of the screw, so I dedicated one screw to the demo, and keep it in a ziploc bag when not in use.
3.) The solenoid
This part of the demo is the most complex, but is a lot of fun. A solenoid is held over the fluid in the dish, and a current is passed through such that the fluid is attracted up towards the solenoid. By slowly raising the current, the fluid will start to form a single smooth stable spike below the solenoid, before it will spring up and come into contact with the base of the coil forming a stable column. The specifics of these components are not important, as long as the coil and power supply are capable of raising the fluid up.
The solenoid: As before, the specifics dont matter too much. The solenoid I used was a copper coil with open core, its dimensions are roughly 6 cm in diameter and 7 cm tall. The resistance through my solenoid was 11 ohms. If the solenoid is open core, make sure to cover the hole with something such as a piece of plastic (as I did) so that the fluid does not climb up into the middle of the coil and make a mess: even if the outside of the solenoid is solid, adding some kind of protective layer will prevent it from getting stained.
Photo of the solenoidWhen the fluid has climbed up and made contact, and if it cannot enter the middle of the coil, it is actually quite stable and will not spread everywhere - it is being bound by the strong field/high flux near the end of the coil and will not flow anywhere else. It is interesting that once the fluid is in contact with the coil, it does not take as much current to hold it there as it did to raise it.
The stand: I held the solenoid in place with a simple equipment stand and held it in place with an adjustible claw attachment. This sort of equipment is standard laboratory issue, although I'm sure this can be improvized as long as the height of the solenoid is fairly easily adjustible (with a wooden frame, meccano, etc.). Getting the right height is a matter of trial and error, of course, and it should be confirmed that everything is in alignment before beginning the demo.
Power supply: I borrowed an old bench supply from the department from my demo; I used a range of around 1 to 2.5A at ~20V DC. Of course, these numbers will depend on your specific coil and how high your solenoid is from the dish - (I had a distance of around 1.5 cm from the fluid to the base of the coil). Simple alligator clips were used to connect the bench supply to the coil. For the demo, I simply moved the solenoid into place over the dish, Turned on the power supply, and brought the current up from 0 to the point where a spike starts to form. Proceed from there as desired. It helps to work out roughly how much current you need in advance so you don't waste time with the current too low or jump the gun and raise it all at once
Photos:
The spike induced by the solenoidOverall List of materials needed and my sources:
- Assorted "standard" magnets. Anything that is available will do.
- Bar Magnets. I used magnets found around my house and borrowed some
the science supply cabinet at a local school and the PHAS outreach lab.
- Samples of non ferromagnetic metals, ex. copper and aluminium. Scrap at the outreach lab.
- Compasses, or the PHAS compass array demo in my case.
- Ferrofluid, 1 60 mL bottle was enough. Ordered on Amazon, 20 dollars per bottle.
- Pyrex Dish, ~25 cm in diameter. Bought at Canadian Tire for around 5 dollars.
- Supports for the dish: In my case, 3 6cm PVC pipe sections as legs + superglue to attach.
PVC pipe was surplus in the outreach lab, or could be found at a hardware store.
- Large Ferrous Screw - preferably one that can get dirty and won't be missed. Hardware store.
- A strong magnet to magnetize the screw and get the fluid to climb up. I borrowed mine from the
department, good rare earth magnets can be found online or in lab supply stores.
- Optional: Teflon tape for coating - available at a hardware store.
- Large solenoid coil: Mine was ohms resistance with an unknown number of turns, surplus in the Outreach lab.
The specifics of the coil are not important. One could be purchased at an electrical supply store,
or a coil could be made by hand.
- Some material to cover the end of the solenoid - I used a scrap piece of plastic and some tape.
- Equipment stand to hold the solenoid at the correct height - common in any lab setting. I borrowed
one from the outreach lab.
- Lab bench supply to provide current through the solenoid + aligator clip cables to connect to the solenoid.
Common in any physics lab, available at an electrical supply store. The exact current and voltage is not
important, as long as the current can be varied easily.
- Optional: Iron filings demo
- Bottle of iron fillings - borrowed from local school science supply room. Obtainable online or at a hardware store.
- A dish with a flat bottom: I used a Tupperware/Ziploc bin from the dollar store.
- If the dish is transparent, paper or cardstock to provide a opaque surface.
- A funnel to help get the filings back into the bottle!
Safety/Cleanup:
- Copious amounts of paper towel for dealing with things that have touched the ferrofluid.
- Disposible nitrile gloves to avoid getting the fluid on your hands, Lab Goggles.
- A well sealable jar/bottle to hold fluid that has been in the dish.
- A funnel to get fluid back out of the dish and into storage.
- Seran wrap to go over top of the dish, for transport and storage when the fluid is in the dish.
- Ziploc bags to hold things that have had the fluid on them - this stuff is Very Messy!