As secondary school students progress through the physics curriculum as prescribed by the British Columbia’s Ministry of Education, they are led through a series of activities and exercises designed to assist them in developing a solid understanding of the concept of force, how forces dictate motion as described by Newton’s Second Law, and the relationship between forces, work, and energy.
In contrast, the concept of pressure is often hastily presented to students as the “force per unit area”. Although this mathematical definition is a logical progression from the concept of force, it fails to demonstrate to students the fundamental role played by pressure in naturally-occurring phenomena and how the properties of pressure can be harnessed in man-made systems. As a result, students may develop the misconception that pressure is simply a product of mathematical convenience instead of a fundamental property of thermodynamics, whose laws govern all natural phenomena and are used extensively in diverse areas of engineering.
This series of demonstrations has been designed to reinforce the concept that pressure is a fundamental entity of nature while providing students with intuitive visual representations of its basic properties.
This demonstration is designed to provide students with a simple visualization of the forces acting on solid surfaces as a result of atmospheric pressure.
Through in-class discussions, students will be led to make the following observations:
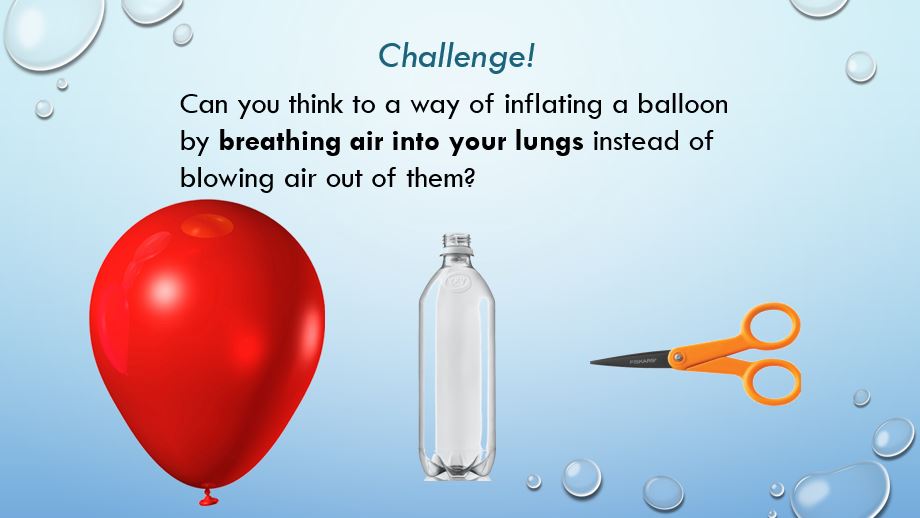
This demonstration begins by the instructor asking students to brainstorm among themselves for possible solutions to the following problem:
Given a balloon, a plastic bottle, and a pair of scissors, is there a way to inflate the balloon by breathing air into your lungs instead of blowing air out of them?
Over the course of this demonstration, students will be guided to make the following observations:
Using the pair of scissors or the X-Acto prevision knife, carefully and cleanly cut a small hole on the side wall of the plastic bottle, preferably as far away from the bottle's top opening as possible. Ensure that the hole does not have any sharp or jagged edges.
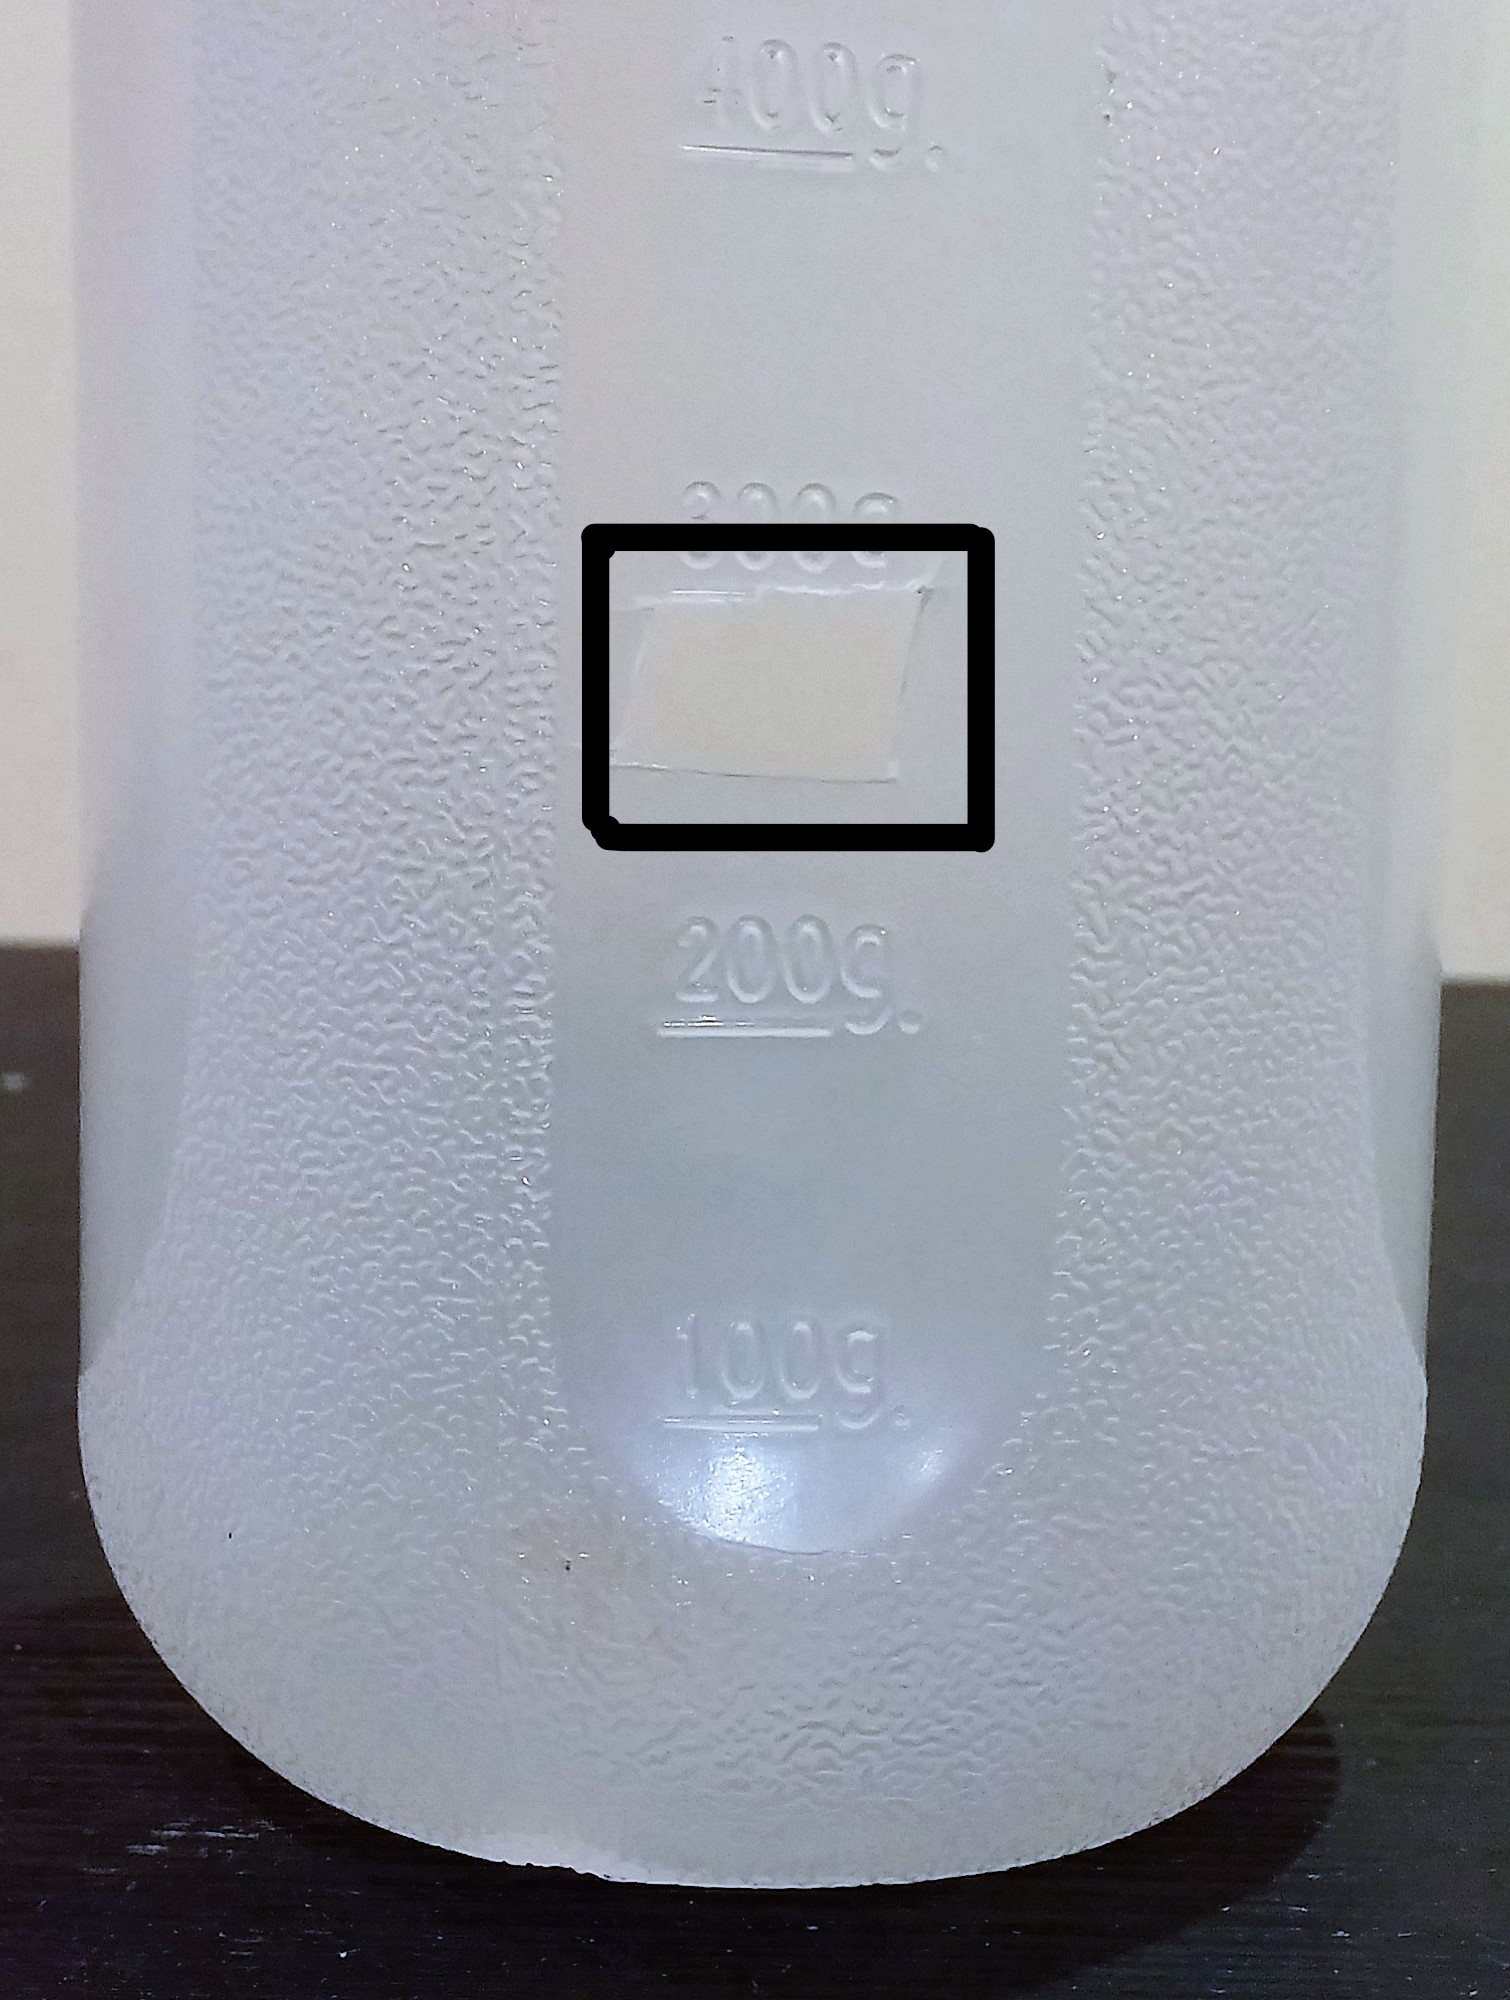
Sanitize the hole you have cut using cotton balls and rubbing alcohol.
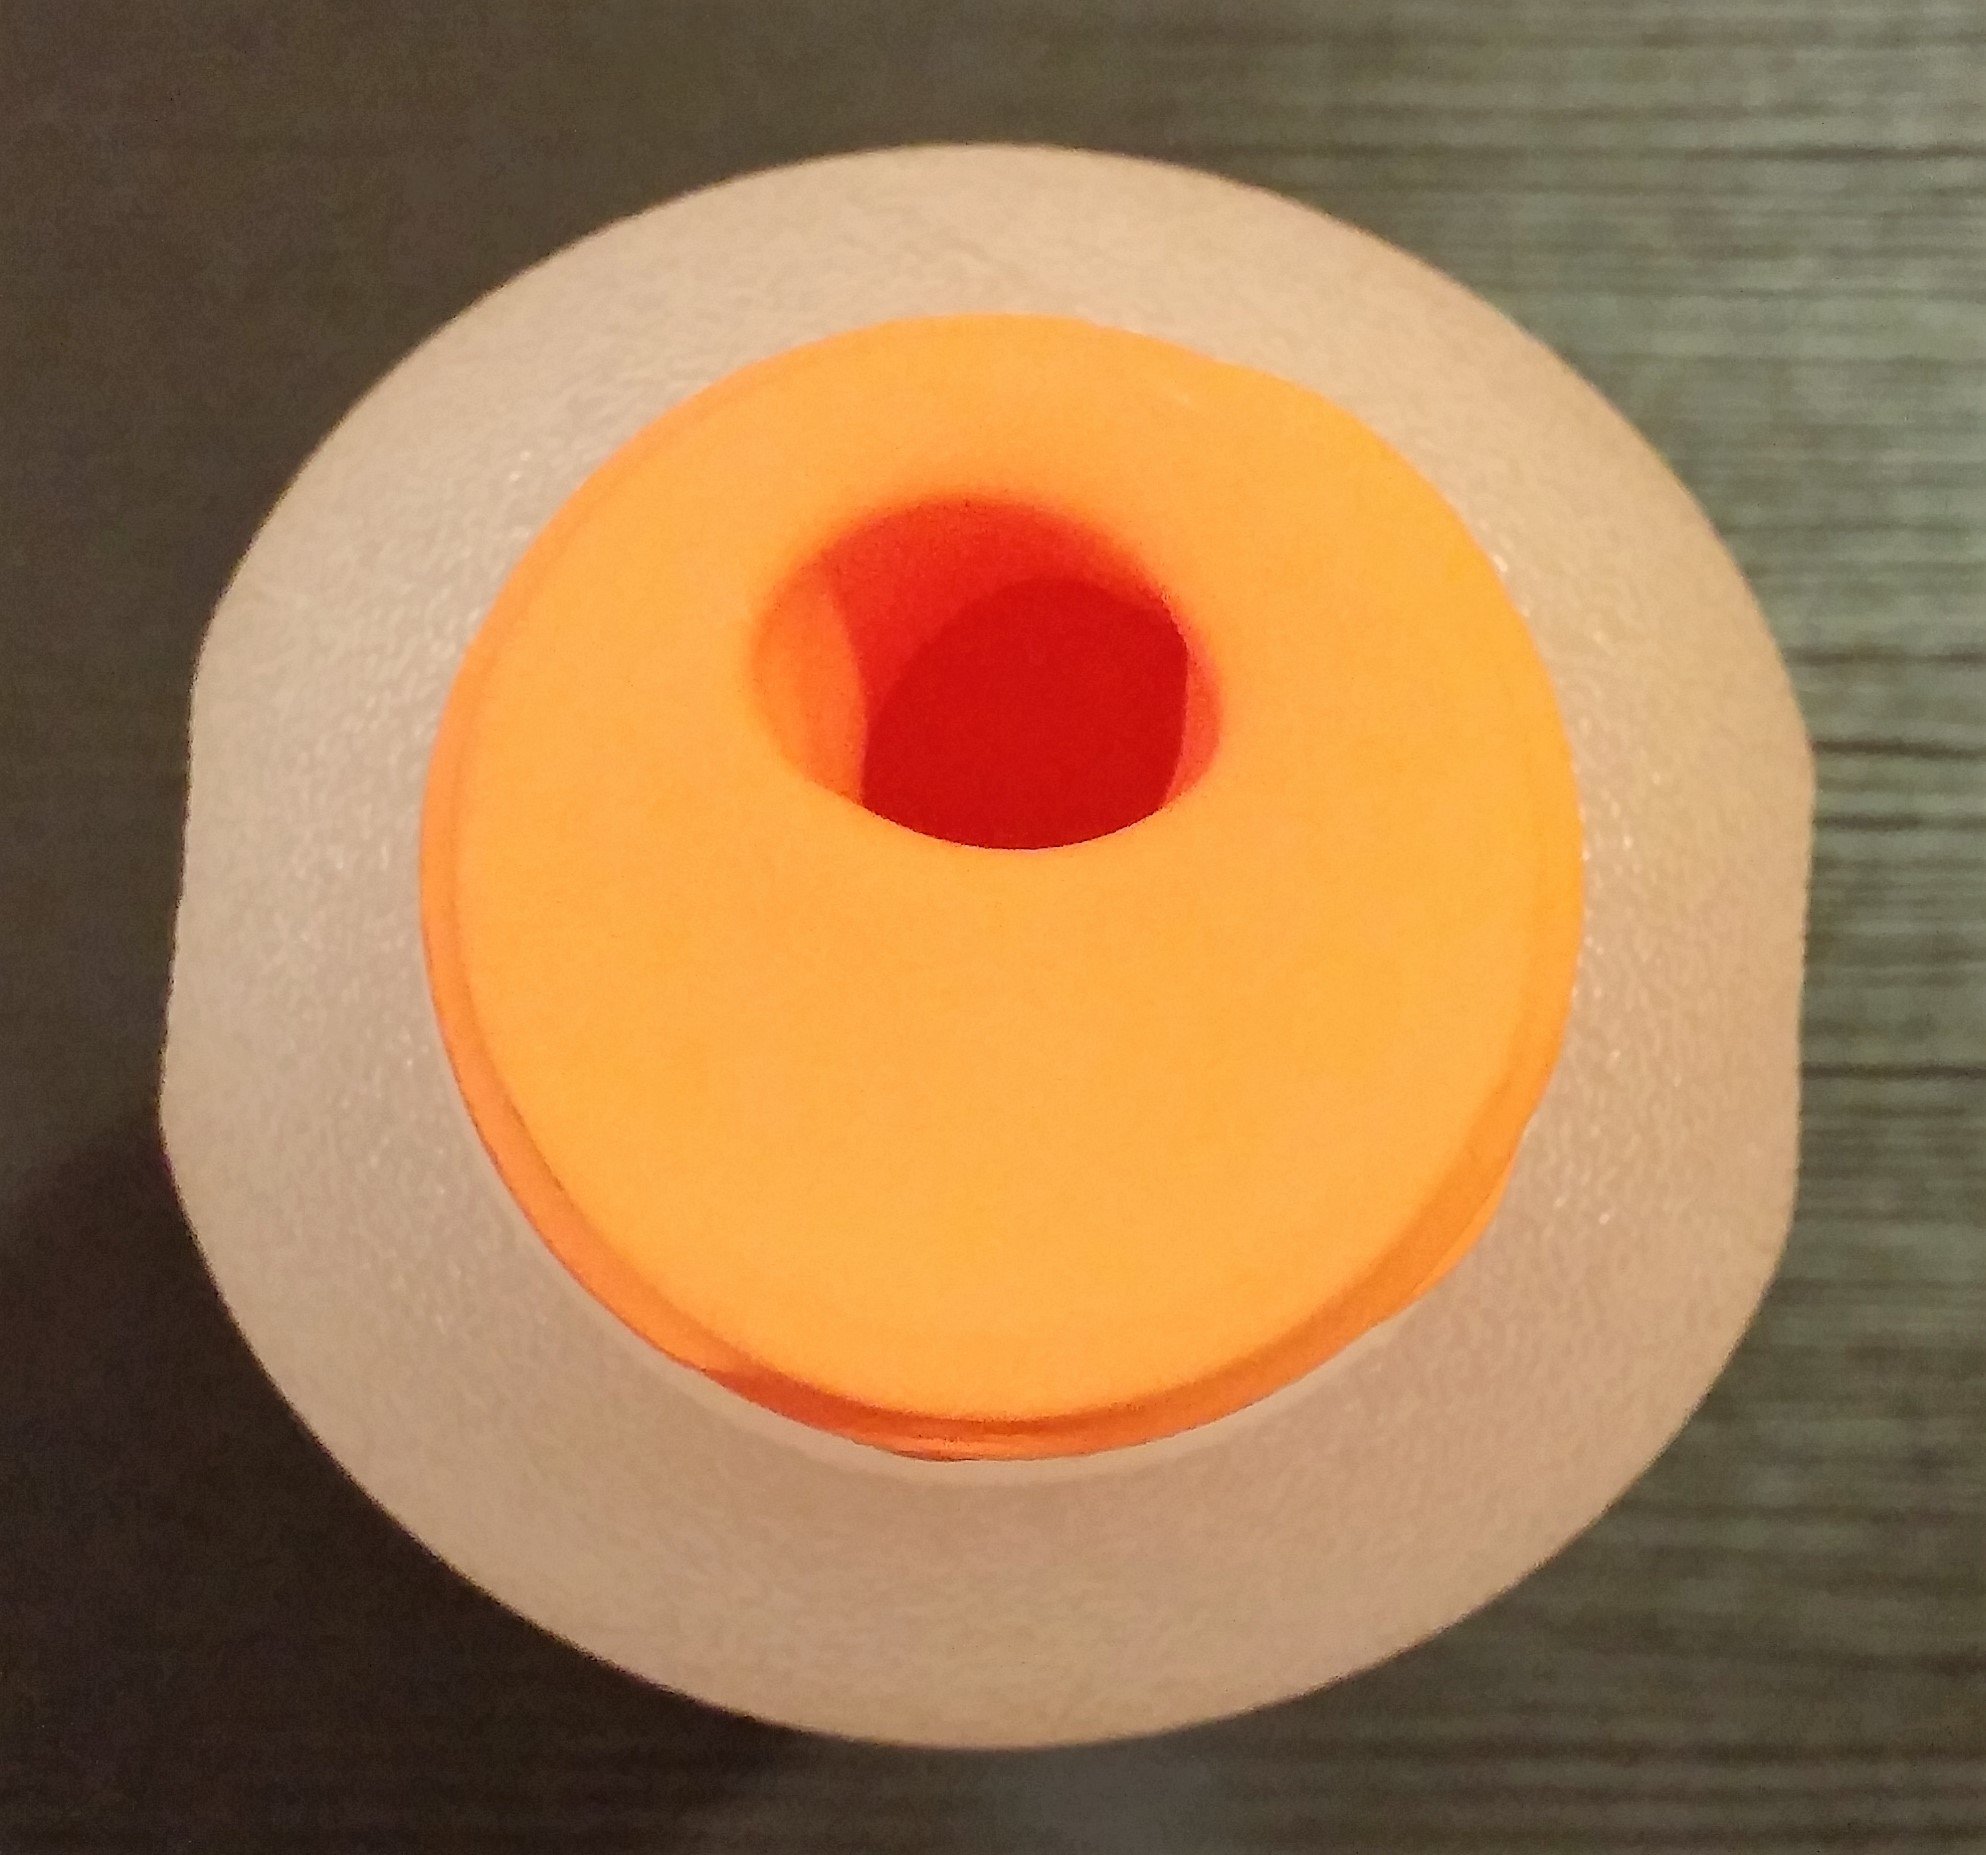
Insert the balloon into the bottle through it's top opening, then secure the balloon by wrapping it around the lip of the bottle.
This demonstration was designed to reinforce the concepts presented to students in the previous demonstration in a captivating
and visual way.
In addition, students will be introduced to the relationship between the pressure
of a gas, specifically an ideal gas, and its temperature.
Over the course of this demonstration, students will see clearly that:
| 1. Putting the glass bottle on the hot plate. | 2. Removing the glass bottle from the hot plate. |
|---|---|
|
As the hot plate heats up the glass bottle, the liquid water within the glass bottle begins to evaporate, turning into water vapor. Therefore, the density of gases within the bottle increases, increasing air pressure. In addition, as the hot plate supplies heat to the bottle, the temperature within the bottle increases as well, further increasing air pressure. As the pressure difference between the inside of the bottle and the outside of the bottle increases, the balloon is gradually pushed out of the bottle and begins to expand. |
After the glass bottle has been removed from the hot plate, the temperature within the bottle begins to decrease, causing the air pressure within the bottle to decrease. In addition, the water vapor begins to condense back into the liquid state. As a result, the density of gases within the bottle decreases, further decreasing air pressure. As the pressure difference between the inside of the bottle and the outside of the bottle decreases, the balloon begins to contract and is gradually pushed back into the bottle. As the pressure difference approaches zero, the balloon returns to its original state. |
|
|
|
This demonstration shows students in a simple and intuitive manner the following properties of pressure in a liquid:
This demonstration provides a clear visualization of the principles of hydrostatic equilibrium. Over the course of this demonstration, students will discover: