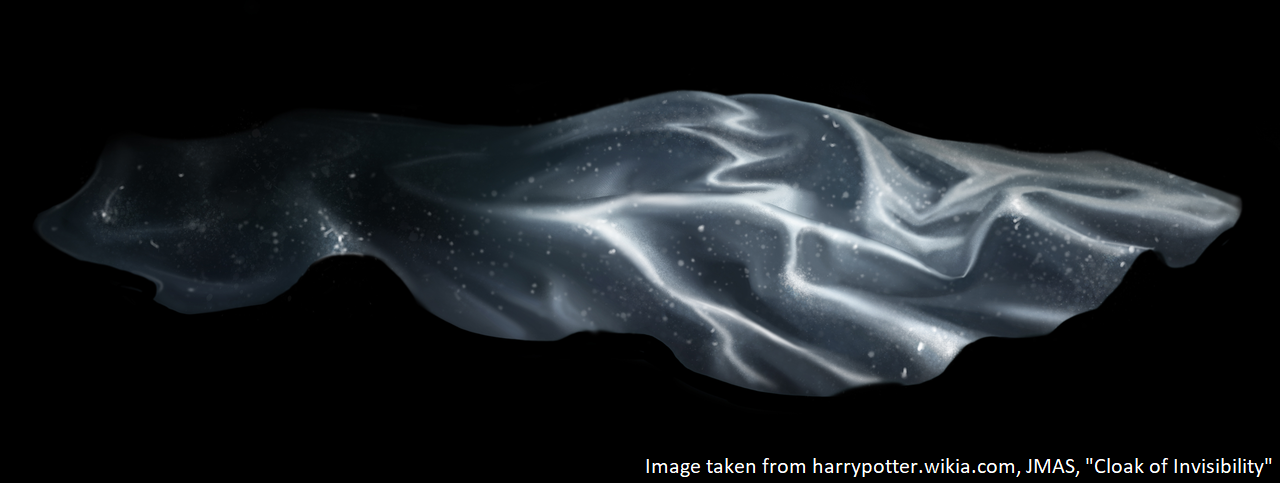
Since the first release of J.K. Rowling's The Philosopher's Stone in 1997, many have indulged in the fiction of the Wizarding World and only few have never heard of the series—especially among students. Who does not want to be a wizard and command the physical world with a cast of a wand? Harry Potter movies and books have actualized and visualized the wonders of the magical world. Specifically,"magical objects" have highlighted, through movie magic, their convenience and utility. From animated portraits to jumping chocolate frogs, these gadgets would be highly desirable, but can they be achieved through contemporary technology and basic principles of physics? In this physics demonstration, I aim to approach the concept of magical objects from a physics perspective. Namely, the cloak of invisibility in Harry Potter was portrayed to conceal a person or object visually. The cloak of invisibility and its "invisibility effect" is closely tied to contemporary research in cloaking, specifically in visual cloaking. A first approach from the perspectives of physics may consider this as a highly complex optics problem. As a 3-dimensional case is too complex for the scopes of this project, simpler (such as in 2D) and more-controlled scopes may be attempted to recreate the invisibility cloak. Using Harry Potter and magic as a point of captivating the audience, the main objectives of this demonstration is to:
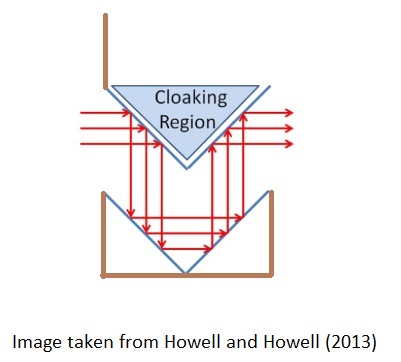
The main demonstration of invisibility was based on Howell and Howell's (2013) Cloaking via Mirrors/Reflection design. [3] Howell and Howell is a group based in University of Rochester. It was noted in their paper that their designs were not original, but rather demonstrations of achieving cloaking with a budget. As this presentation was also under a limited budget, their paper is largely accredited for my apparatus design. Demonstration and description of Howell and Howell's (2013) design are available through Youtube.
The Cloaking via Mirrors apparatus utilizes basic principles of light reflection. From the law of reflection, angle of incidence is equal to the angle of reflection. The apparatus consists of 2 sets 90-degree mirrors, with one set reflecting inwards and another set angling outwards. As shown in Figure 1, light rays enter the apparatus and are reflected throughout the apparatus, but returns to its original direction. Such mechanism is known as an auto-reflector, in that light returns at the same angle that it enters. Utilizing the auto-reflector mechanism, this directs light away from a region created by the angled mirrors.
Materials:
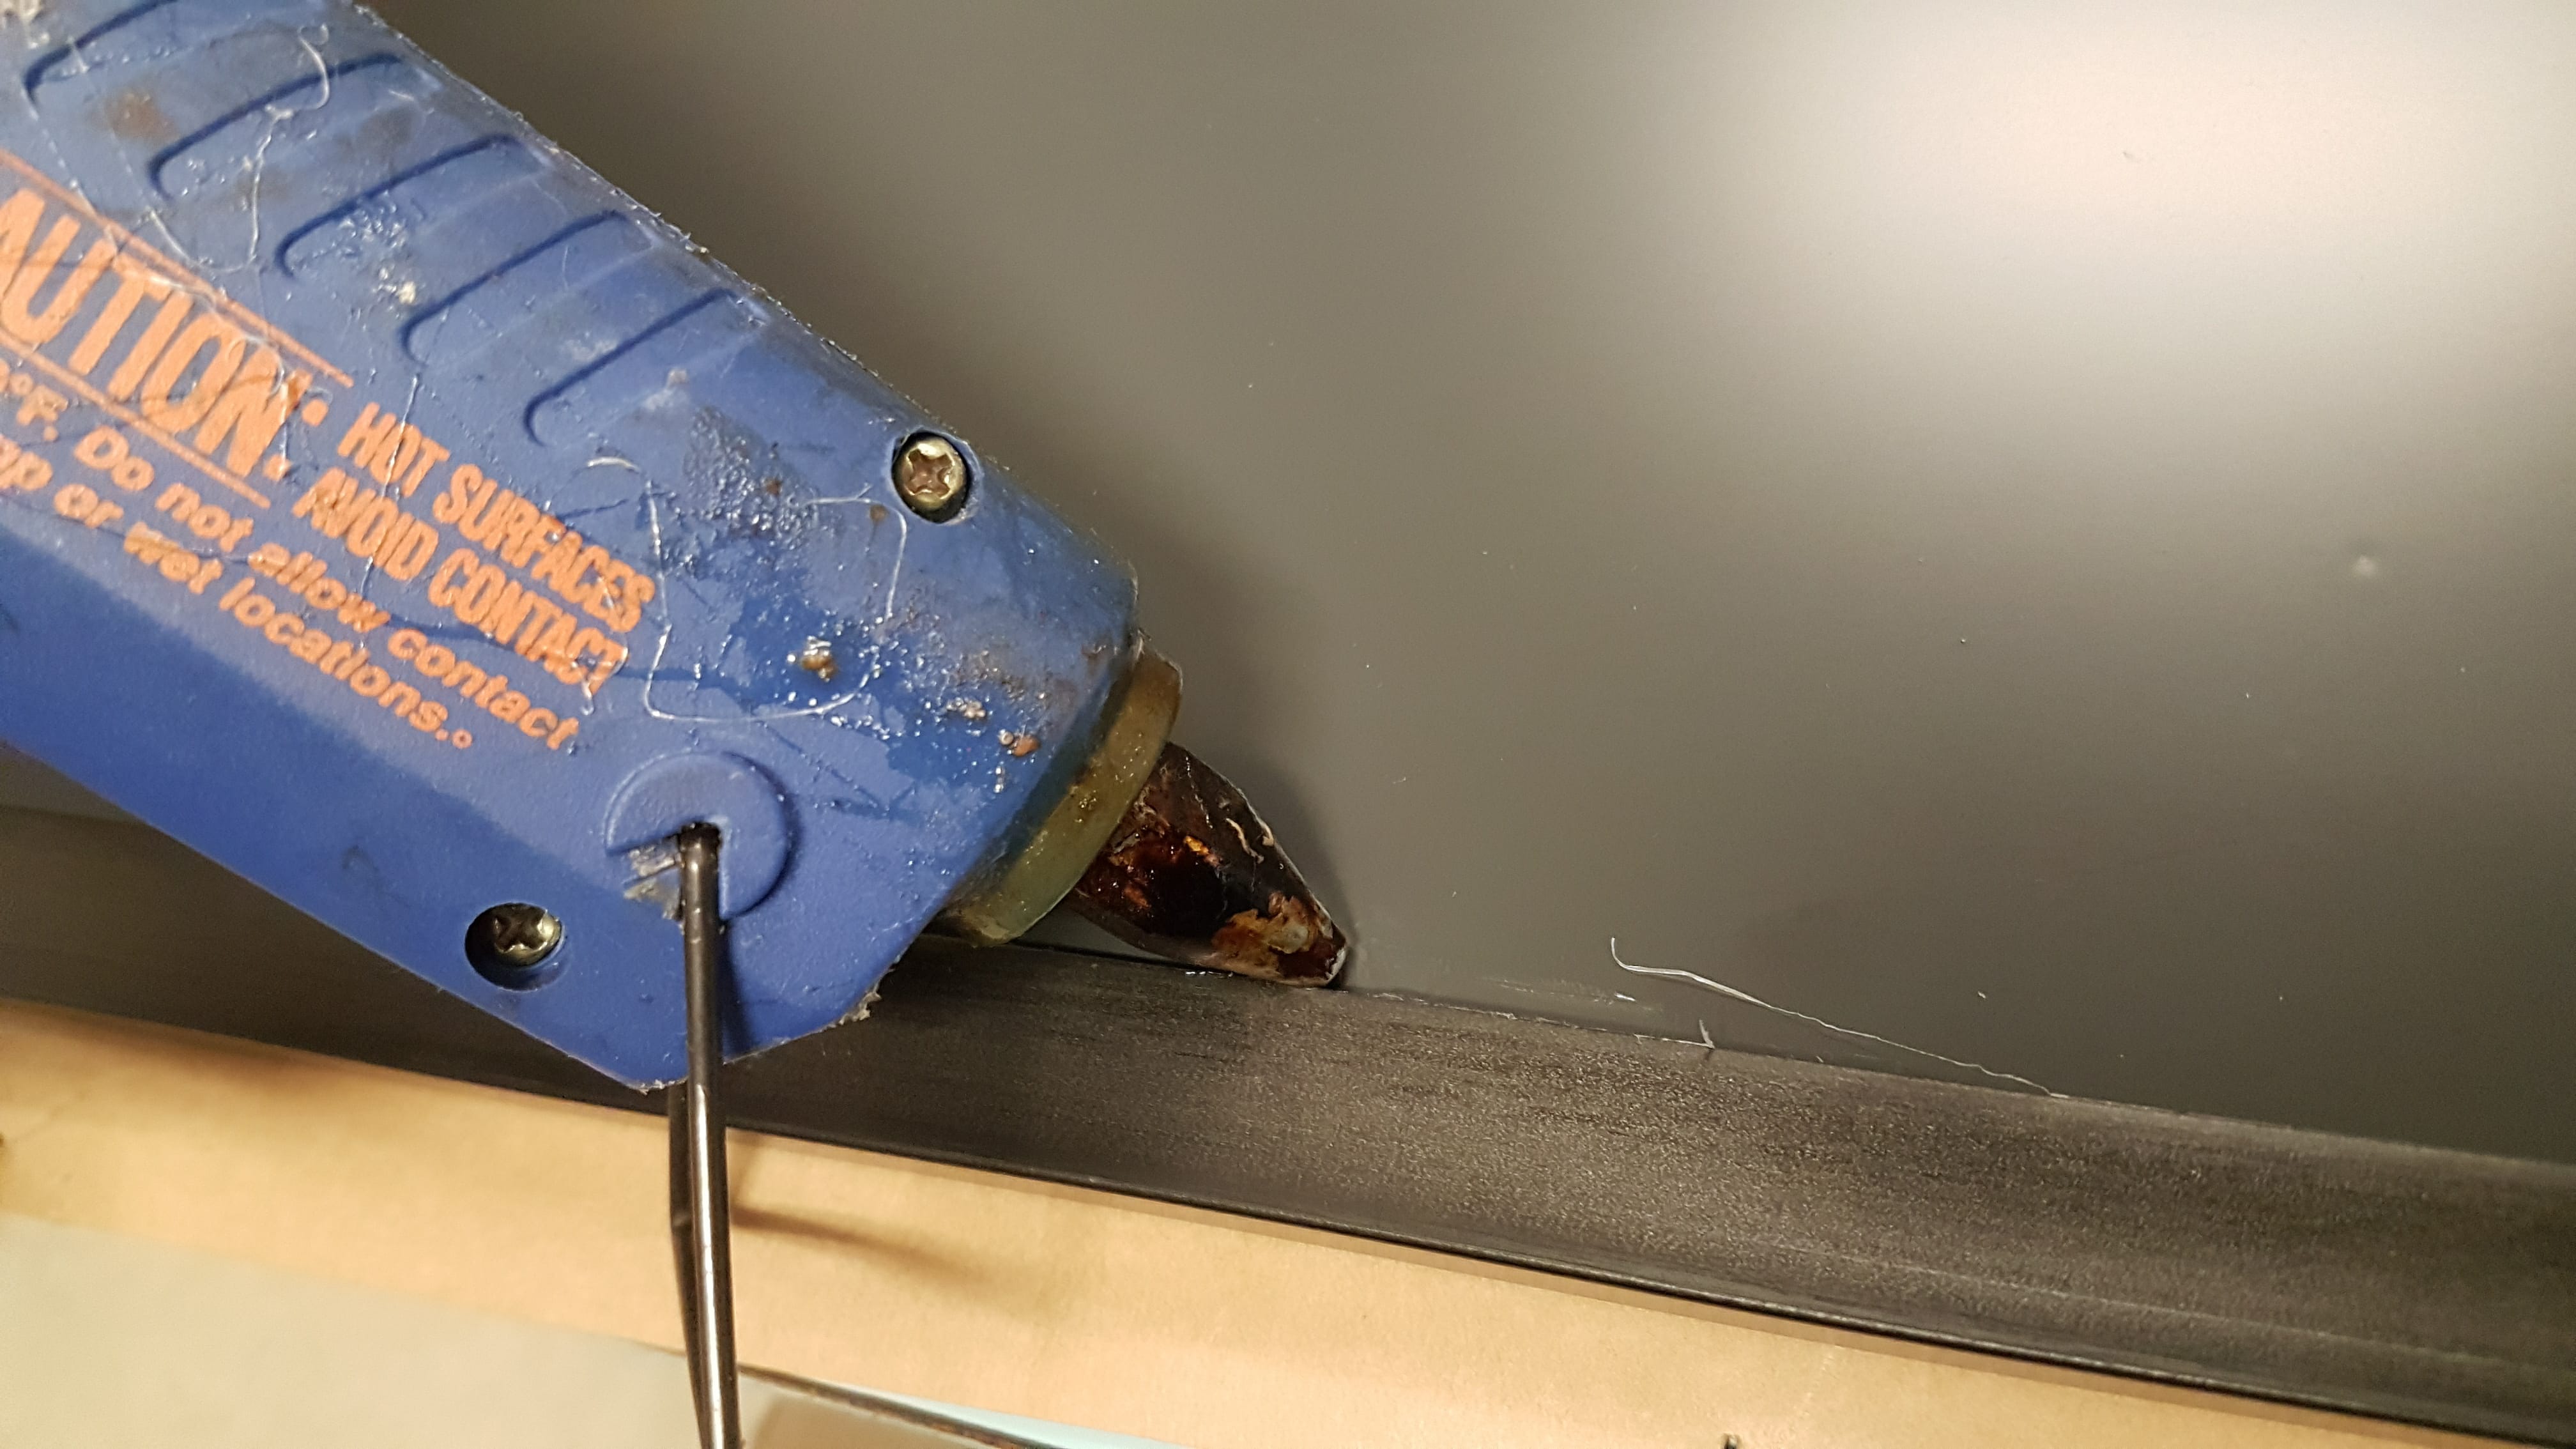
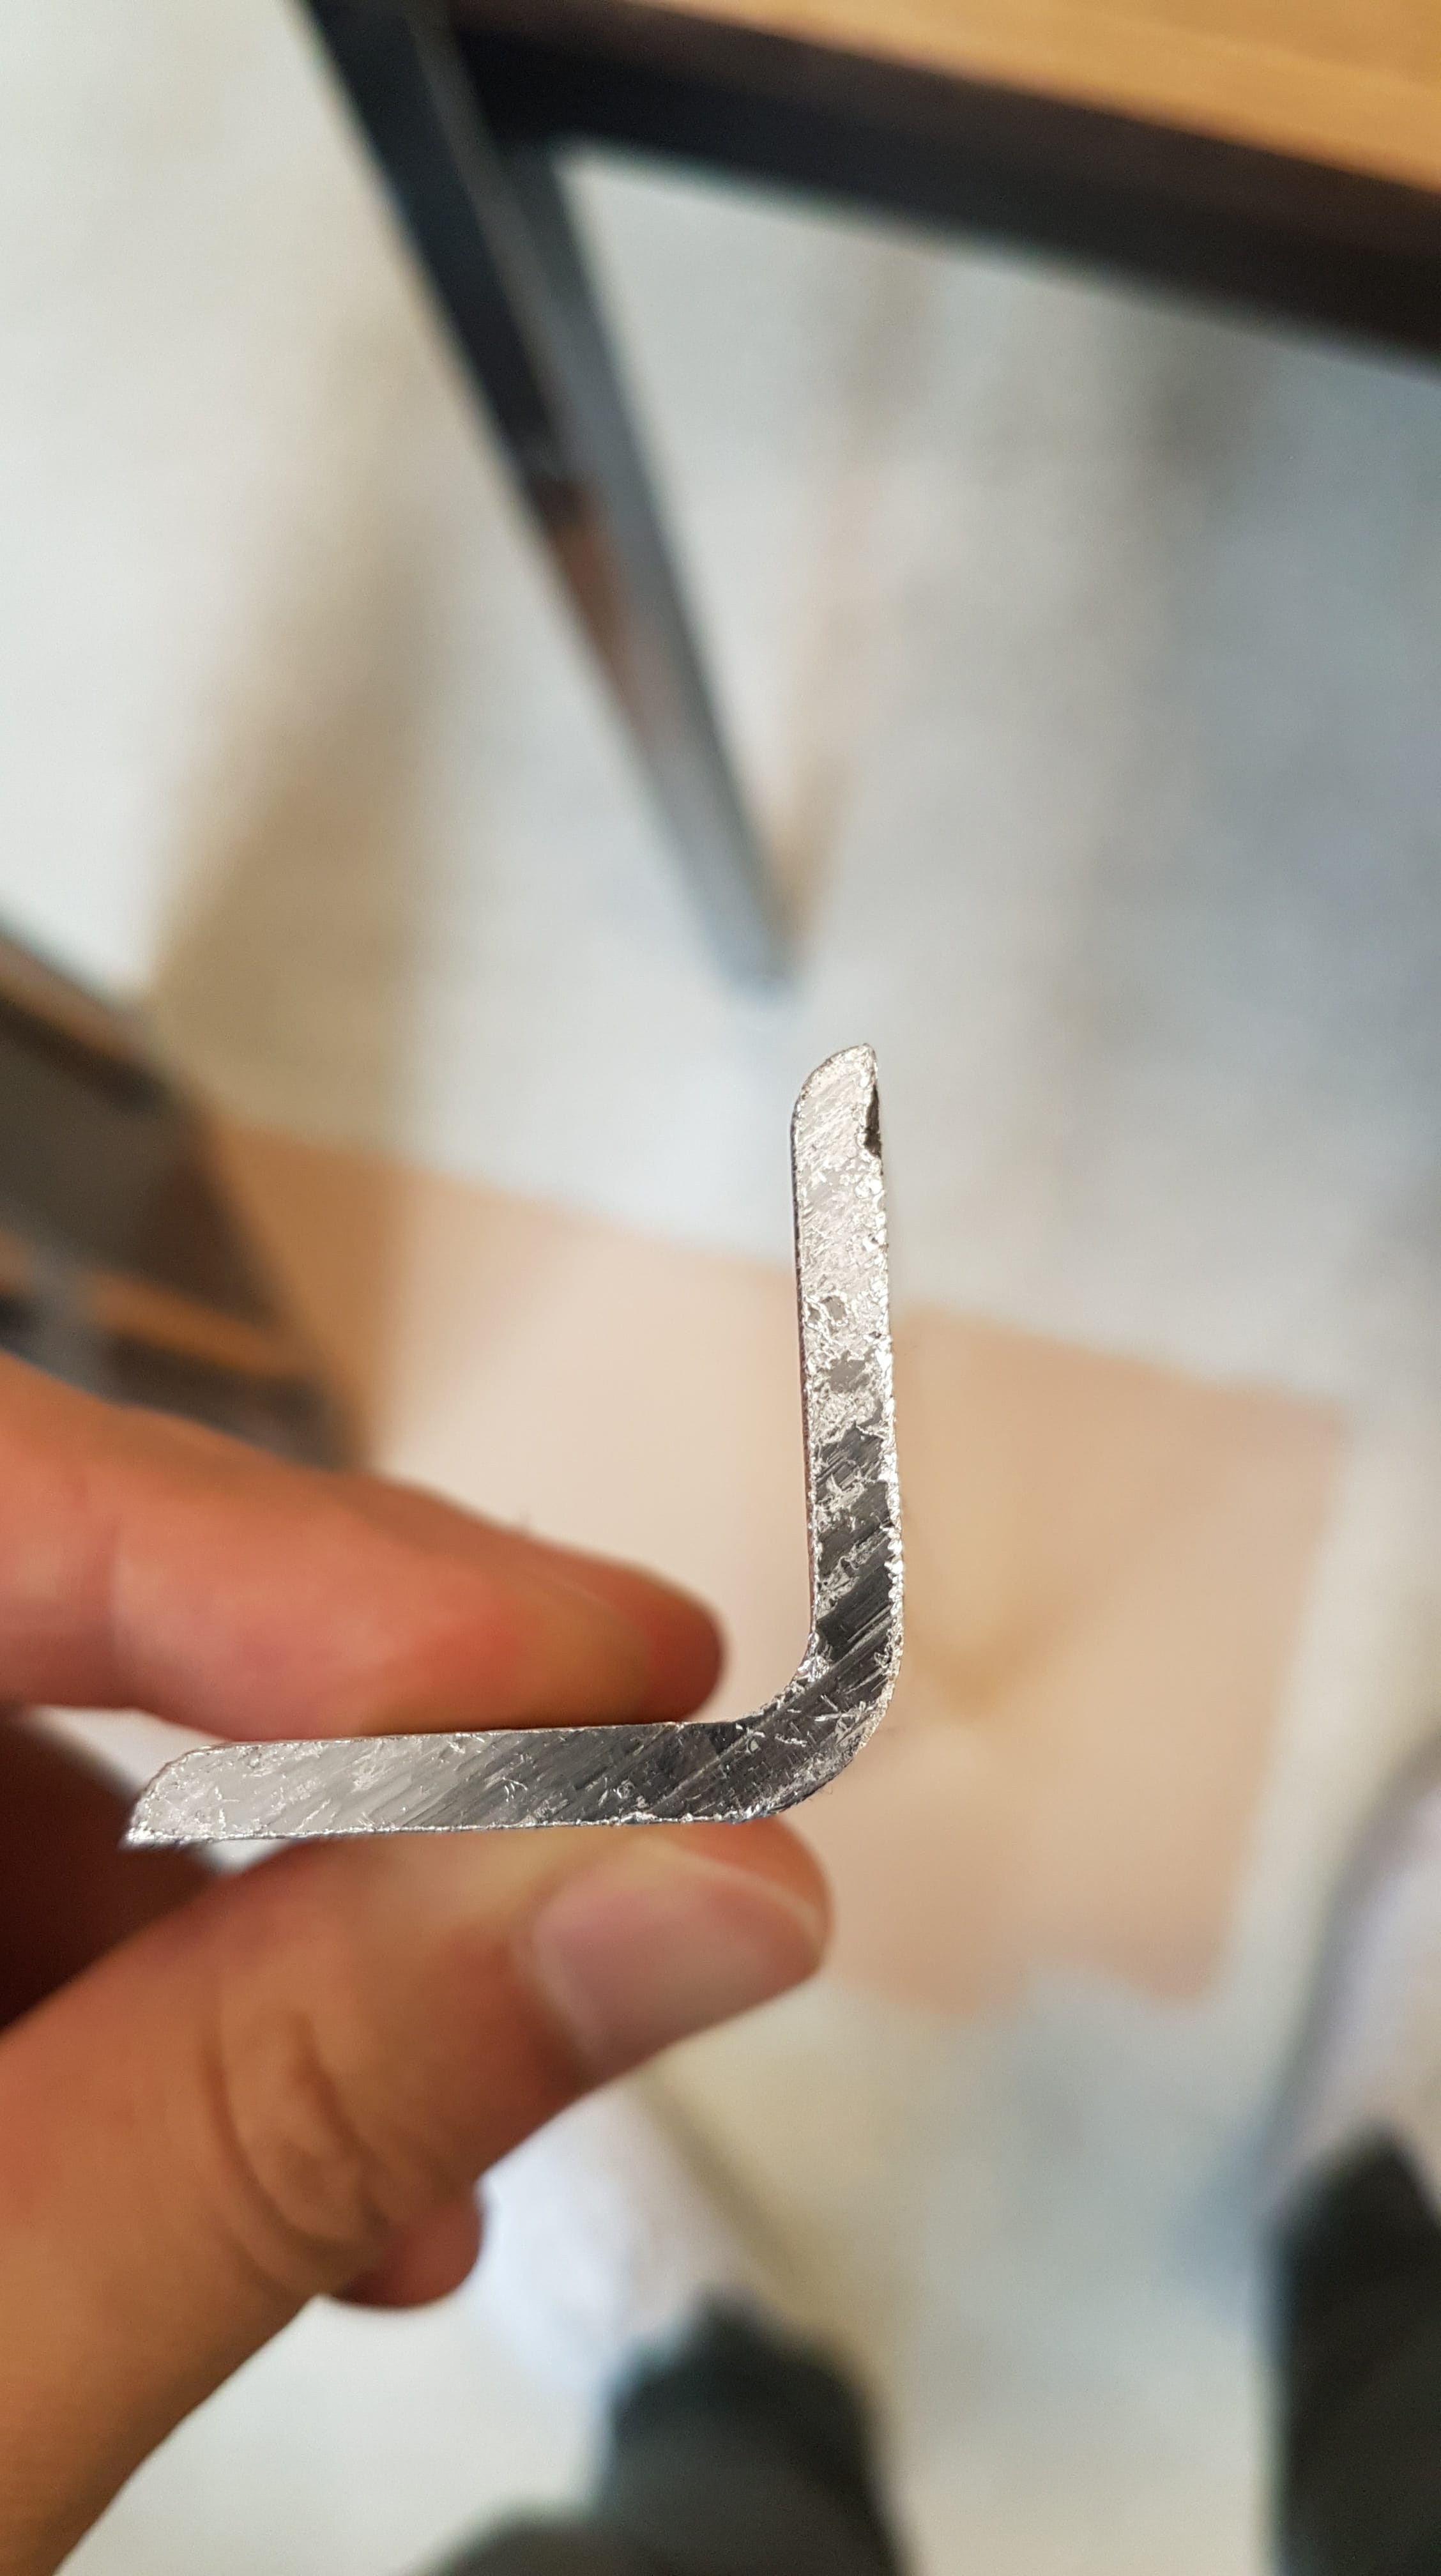
1. Extracting mirrors: To extract mirrors from the Wall Mirrors, cardboard backing was first removed. The most time consuming process of the build was to extract the mirrors as they were glued onto the frame. Different approaches were taken as the glue was difficult to remove from mirror to mirror. One approach may be to heat a hot glue gun and melt the glue off. Isopropyl Rubbing Alcohol, was also recommended to remove and dissolve adhesives such as glue. The most effective approach was to brute force chisel the glue off. Be careful of the fragile mirrors, as they are easy to crack and break.
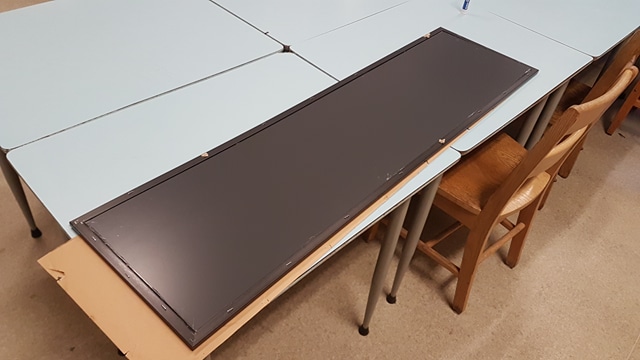
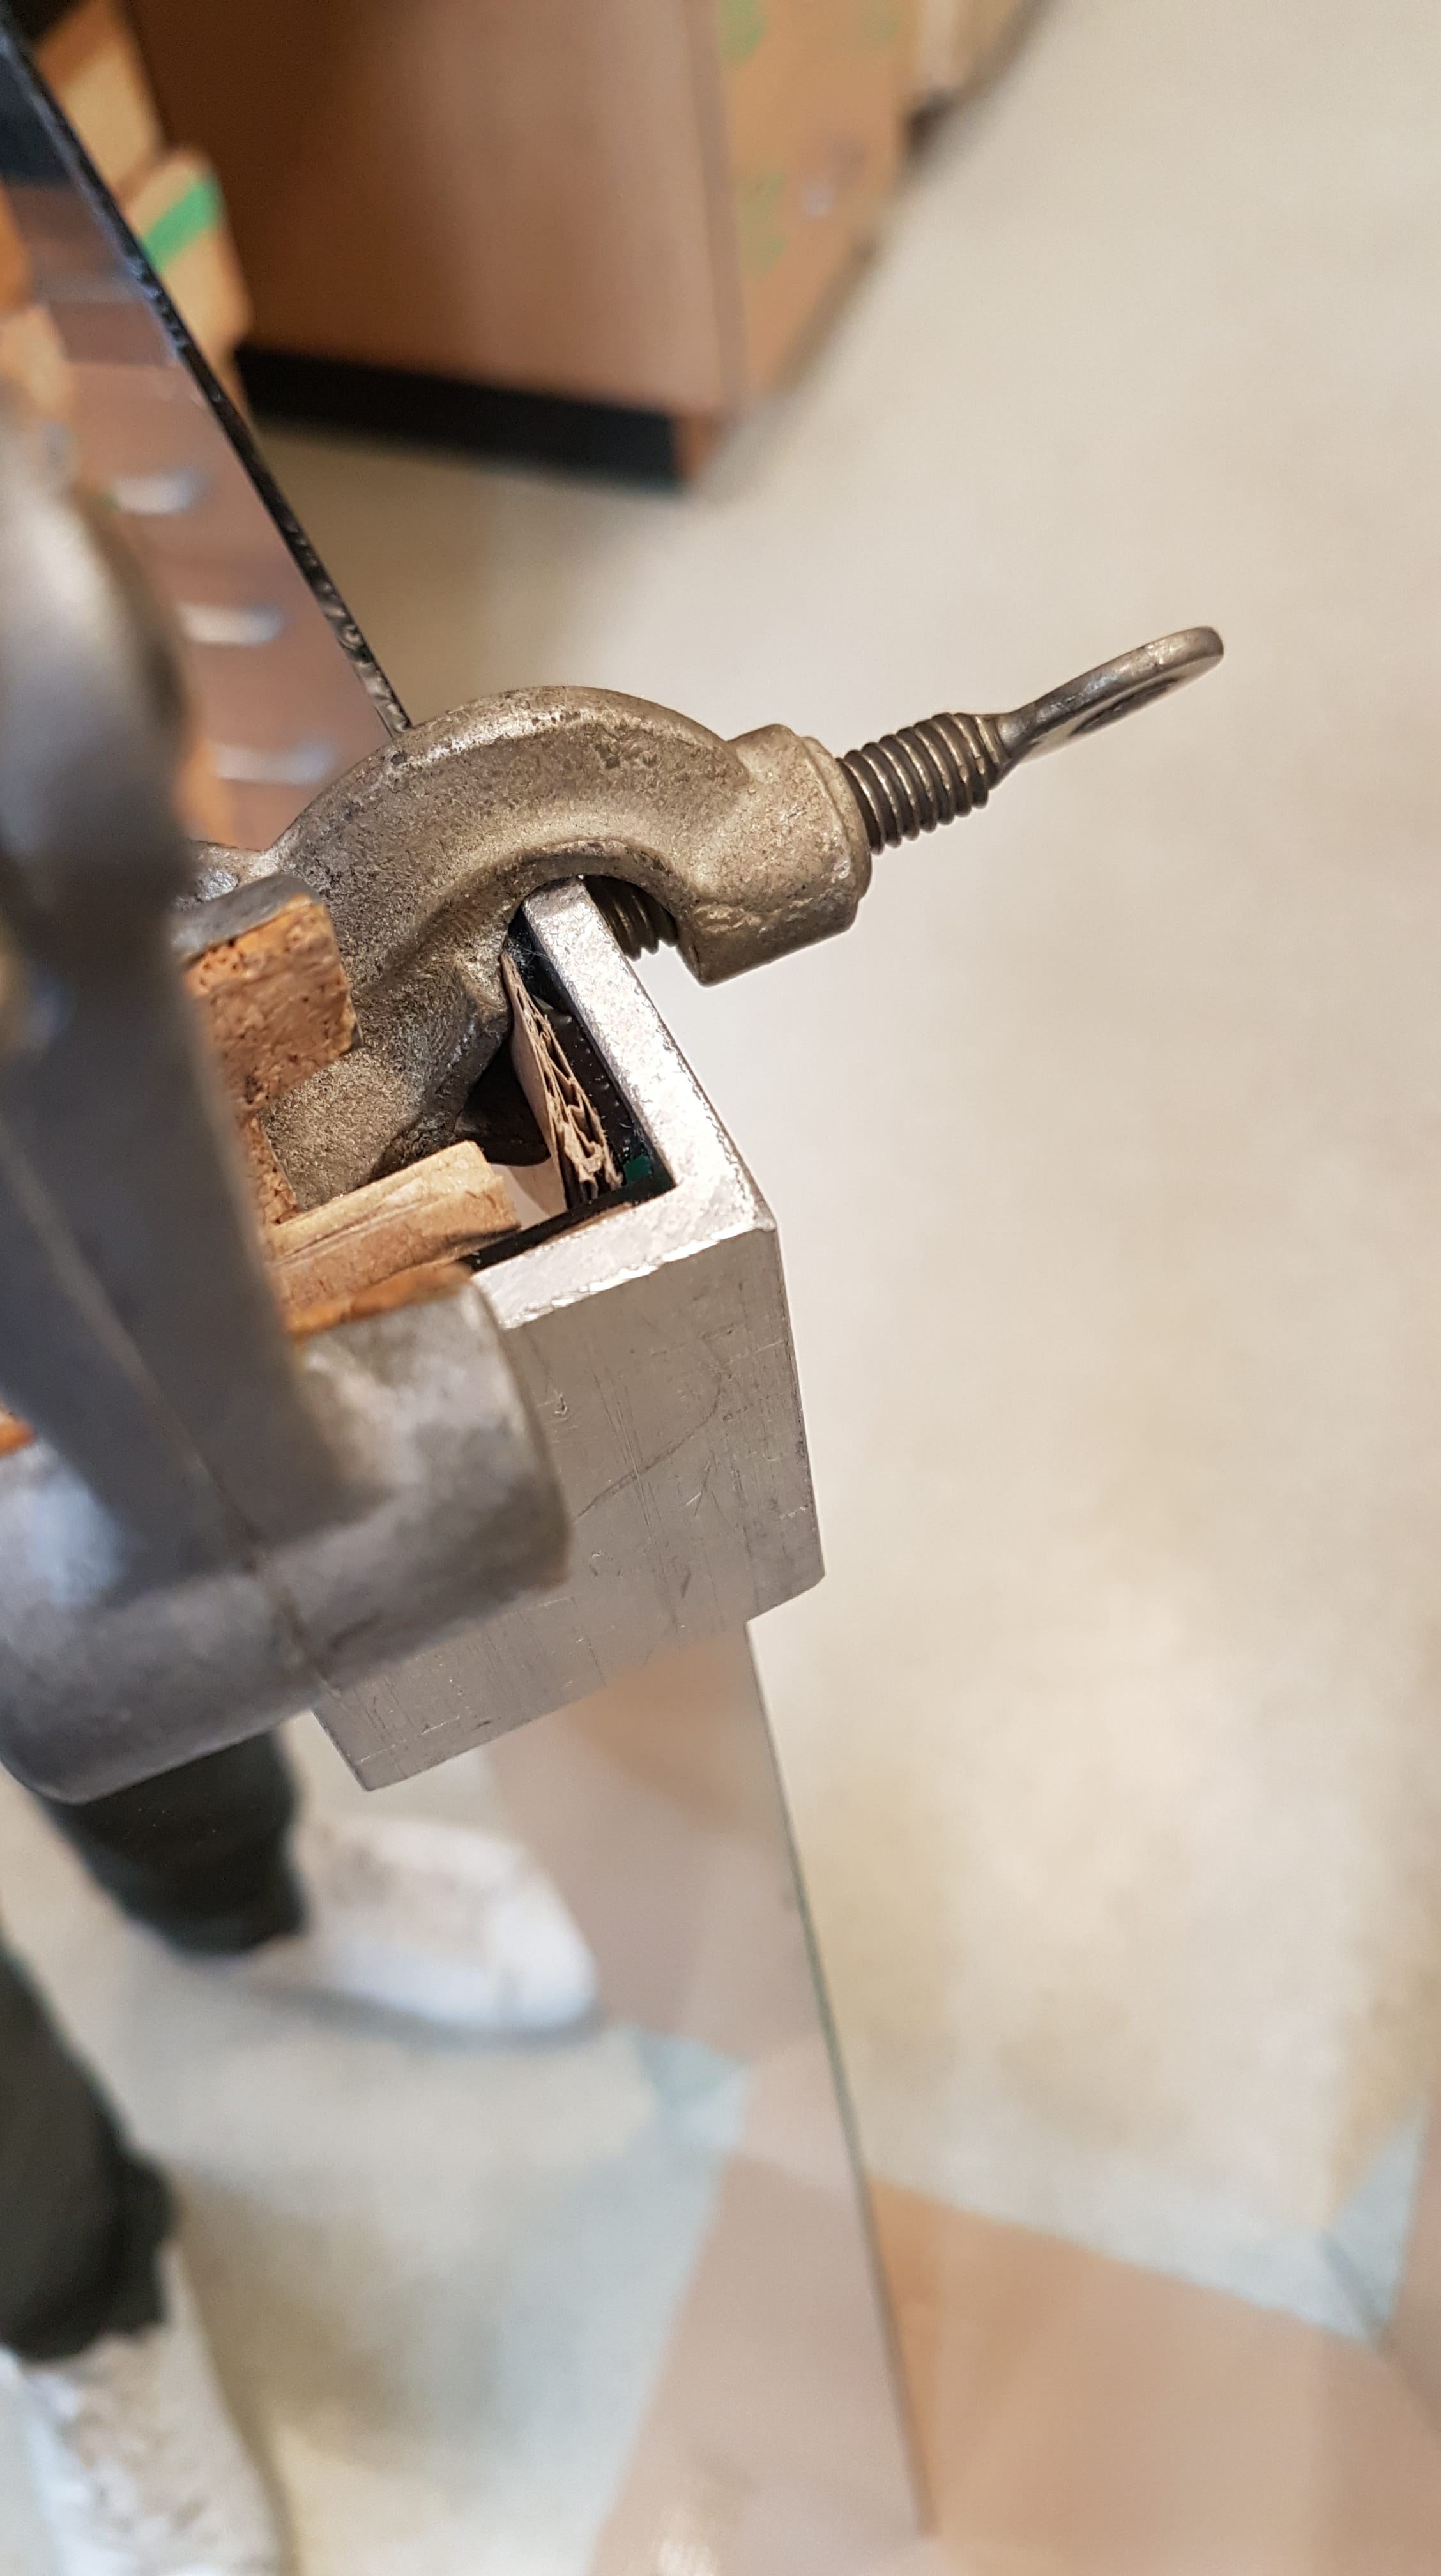
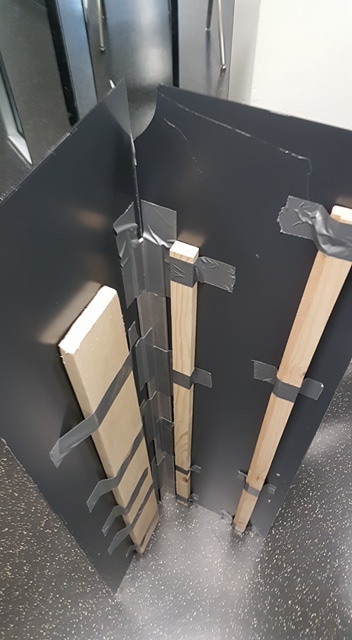
2. Assembling Mirrors: Assembly was simple as any design may be used to hold up 2 90-degree angled mirrors. In my apparatus, mirrors were angled and held up by clamps and right edges, as shown in Figure 3. Back of the apparatus was reinforced with wooden boards and duct tape, to make sure the mirrors do not snap in half, as they were very fragile.
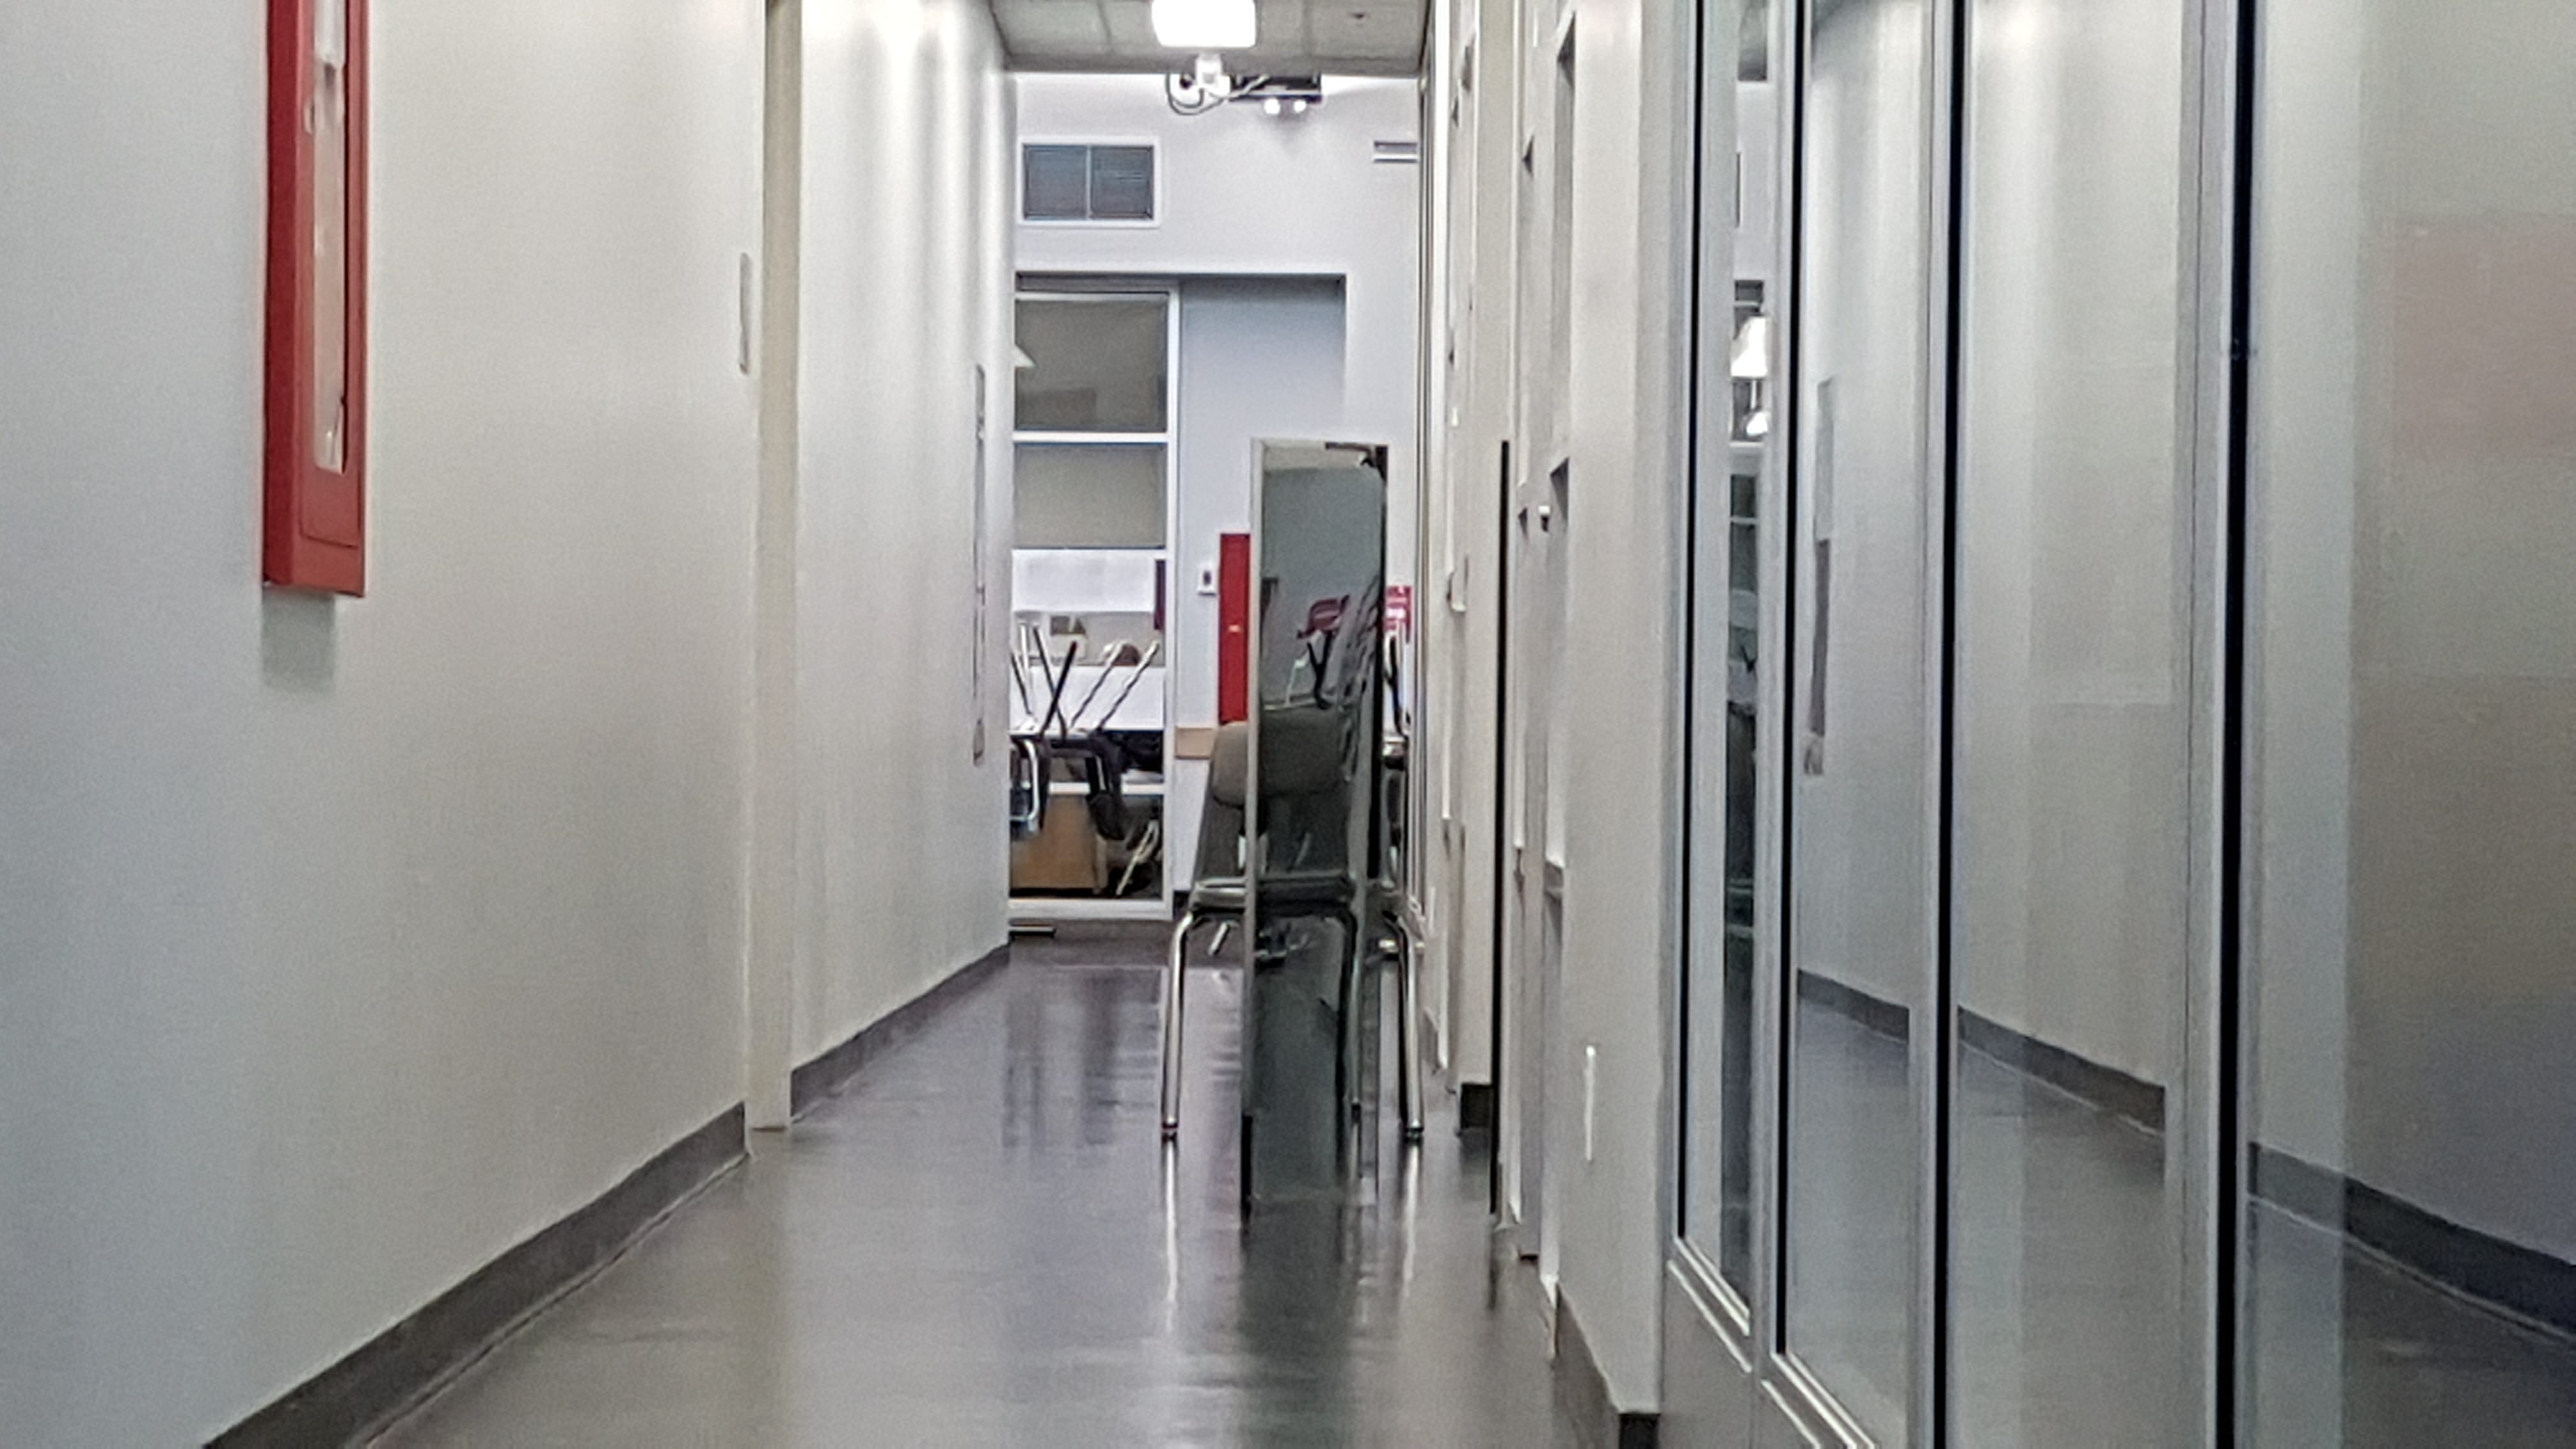
3. Calibrating angles: Limitations of this design are more deeply described in Howell and Howell's (2013) original paper. The challenge with this apparatus was to maintain a precise 90-degree angle between the 2 sets of mirrors, as small deviations was not able to reflect the object from behind the apparatus. For ease of set-up, a piece of paper or cardboard with guides to angling the mirrors are recommended for demonstration. Apparatus also works optimally from farther distances. Demonstrating in a long hallway is recommended for the best effect. Final demonstration is shown in Figure 4.
Components of the demonstration includes approximately 40 minutes of teaching time. Additional components may be tailored to each class (example described below). Presentation structure centered around 3 main learning outcomes for the students:
In the first demonstration with a high school class, modifications were made to adapt to a 60-80 minute schedule. Demonstration incorporated two additional components:
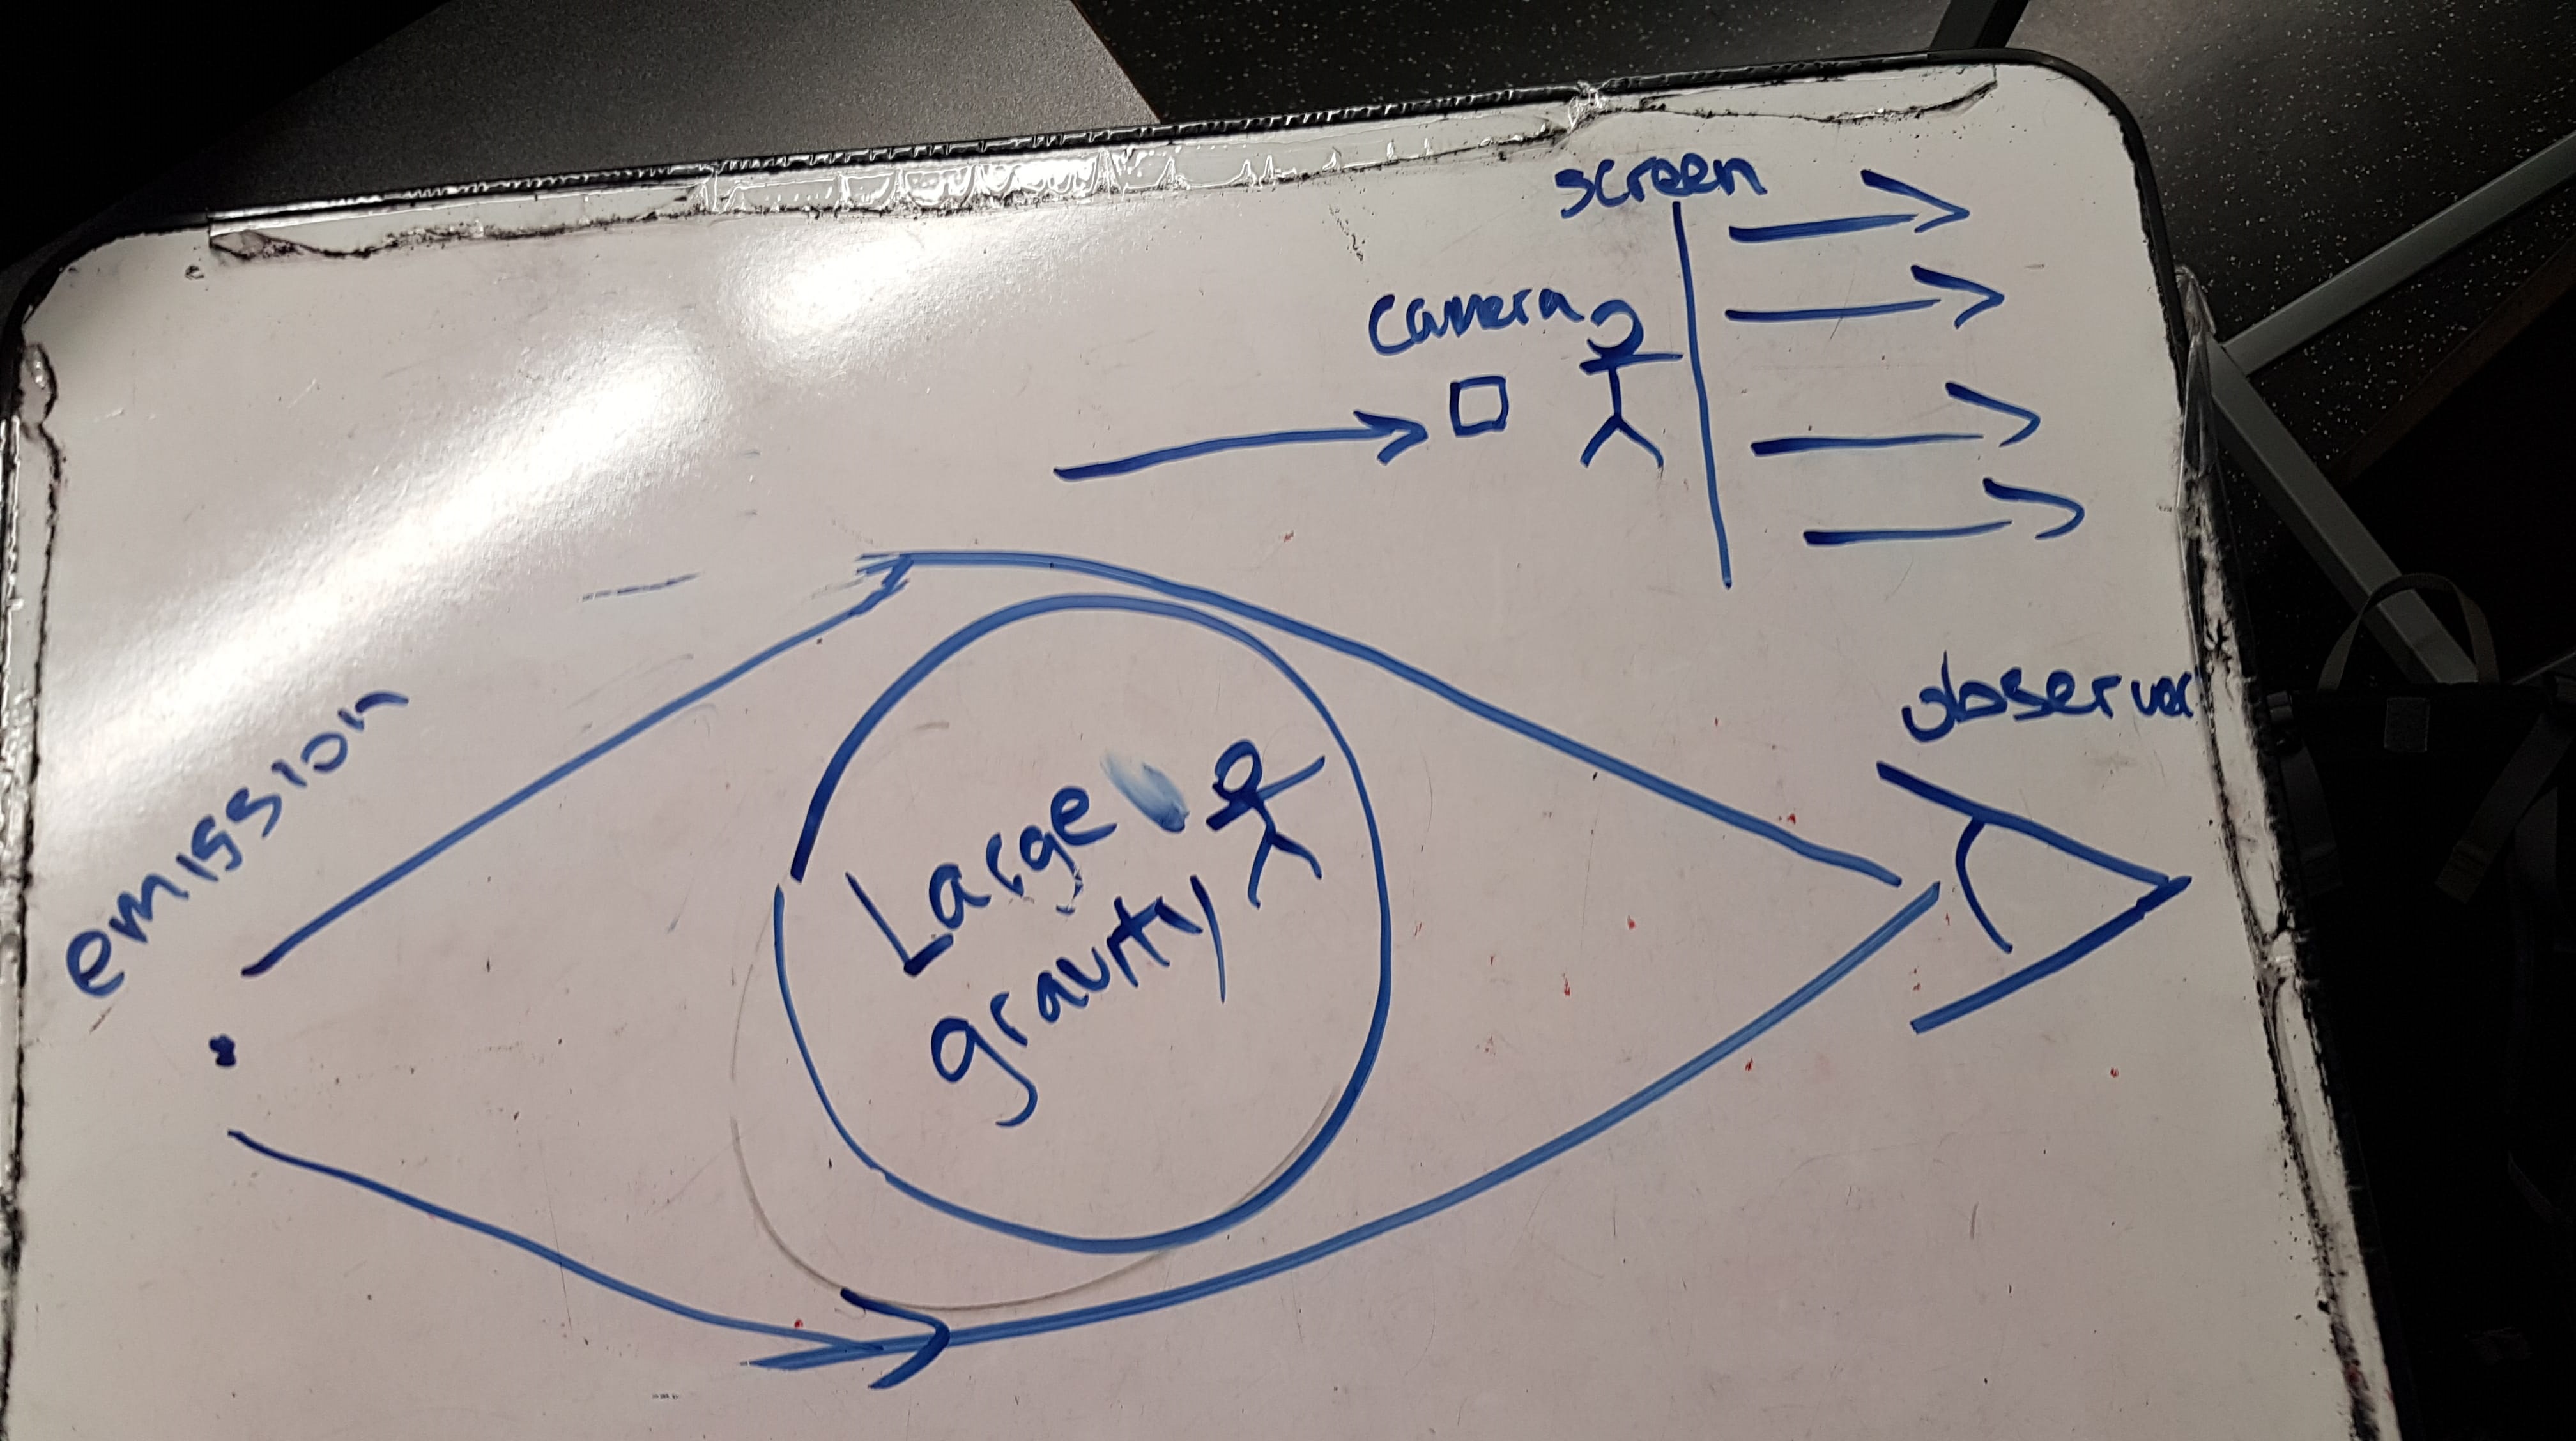
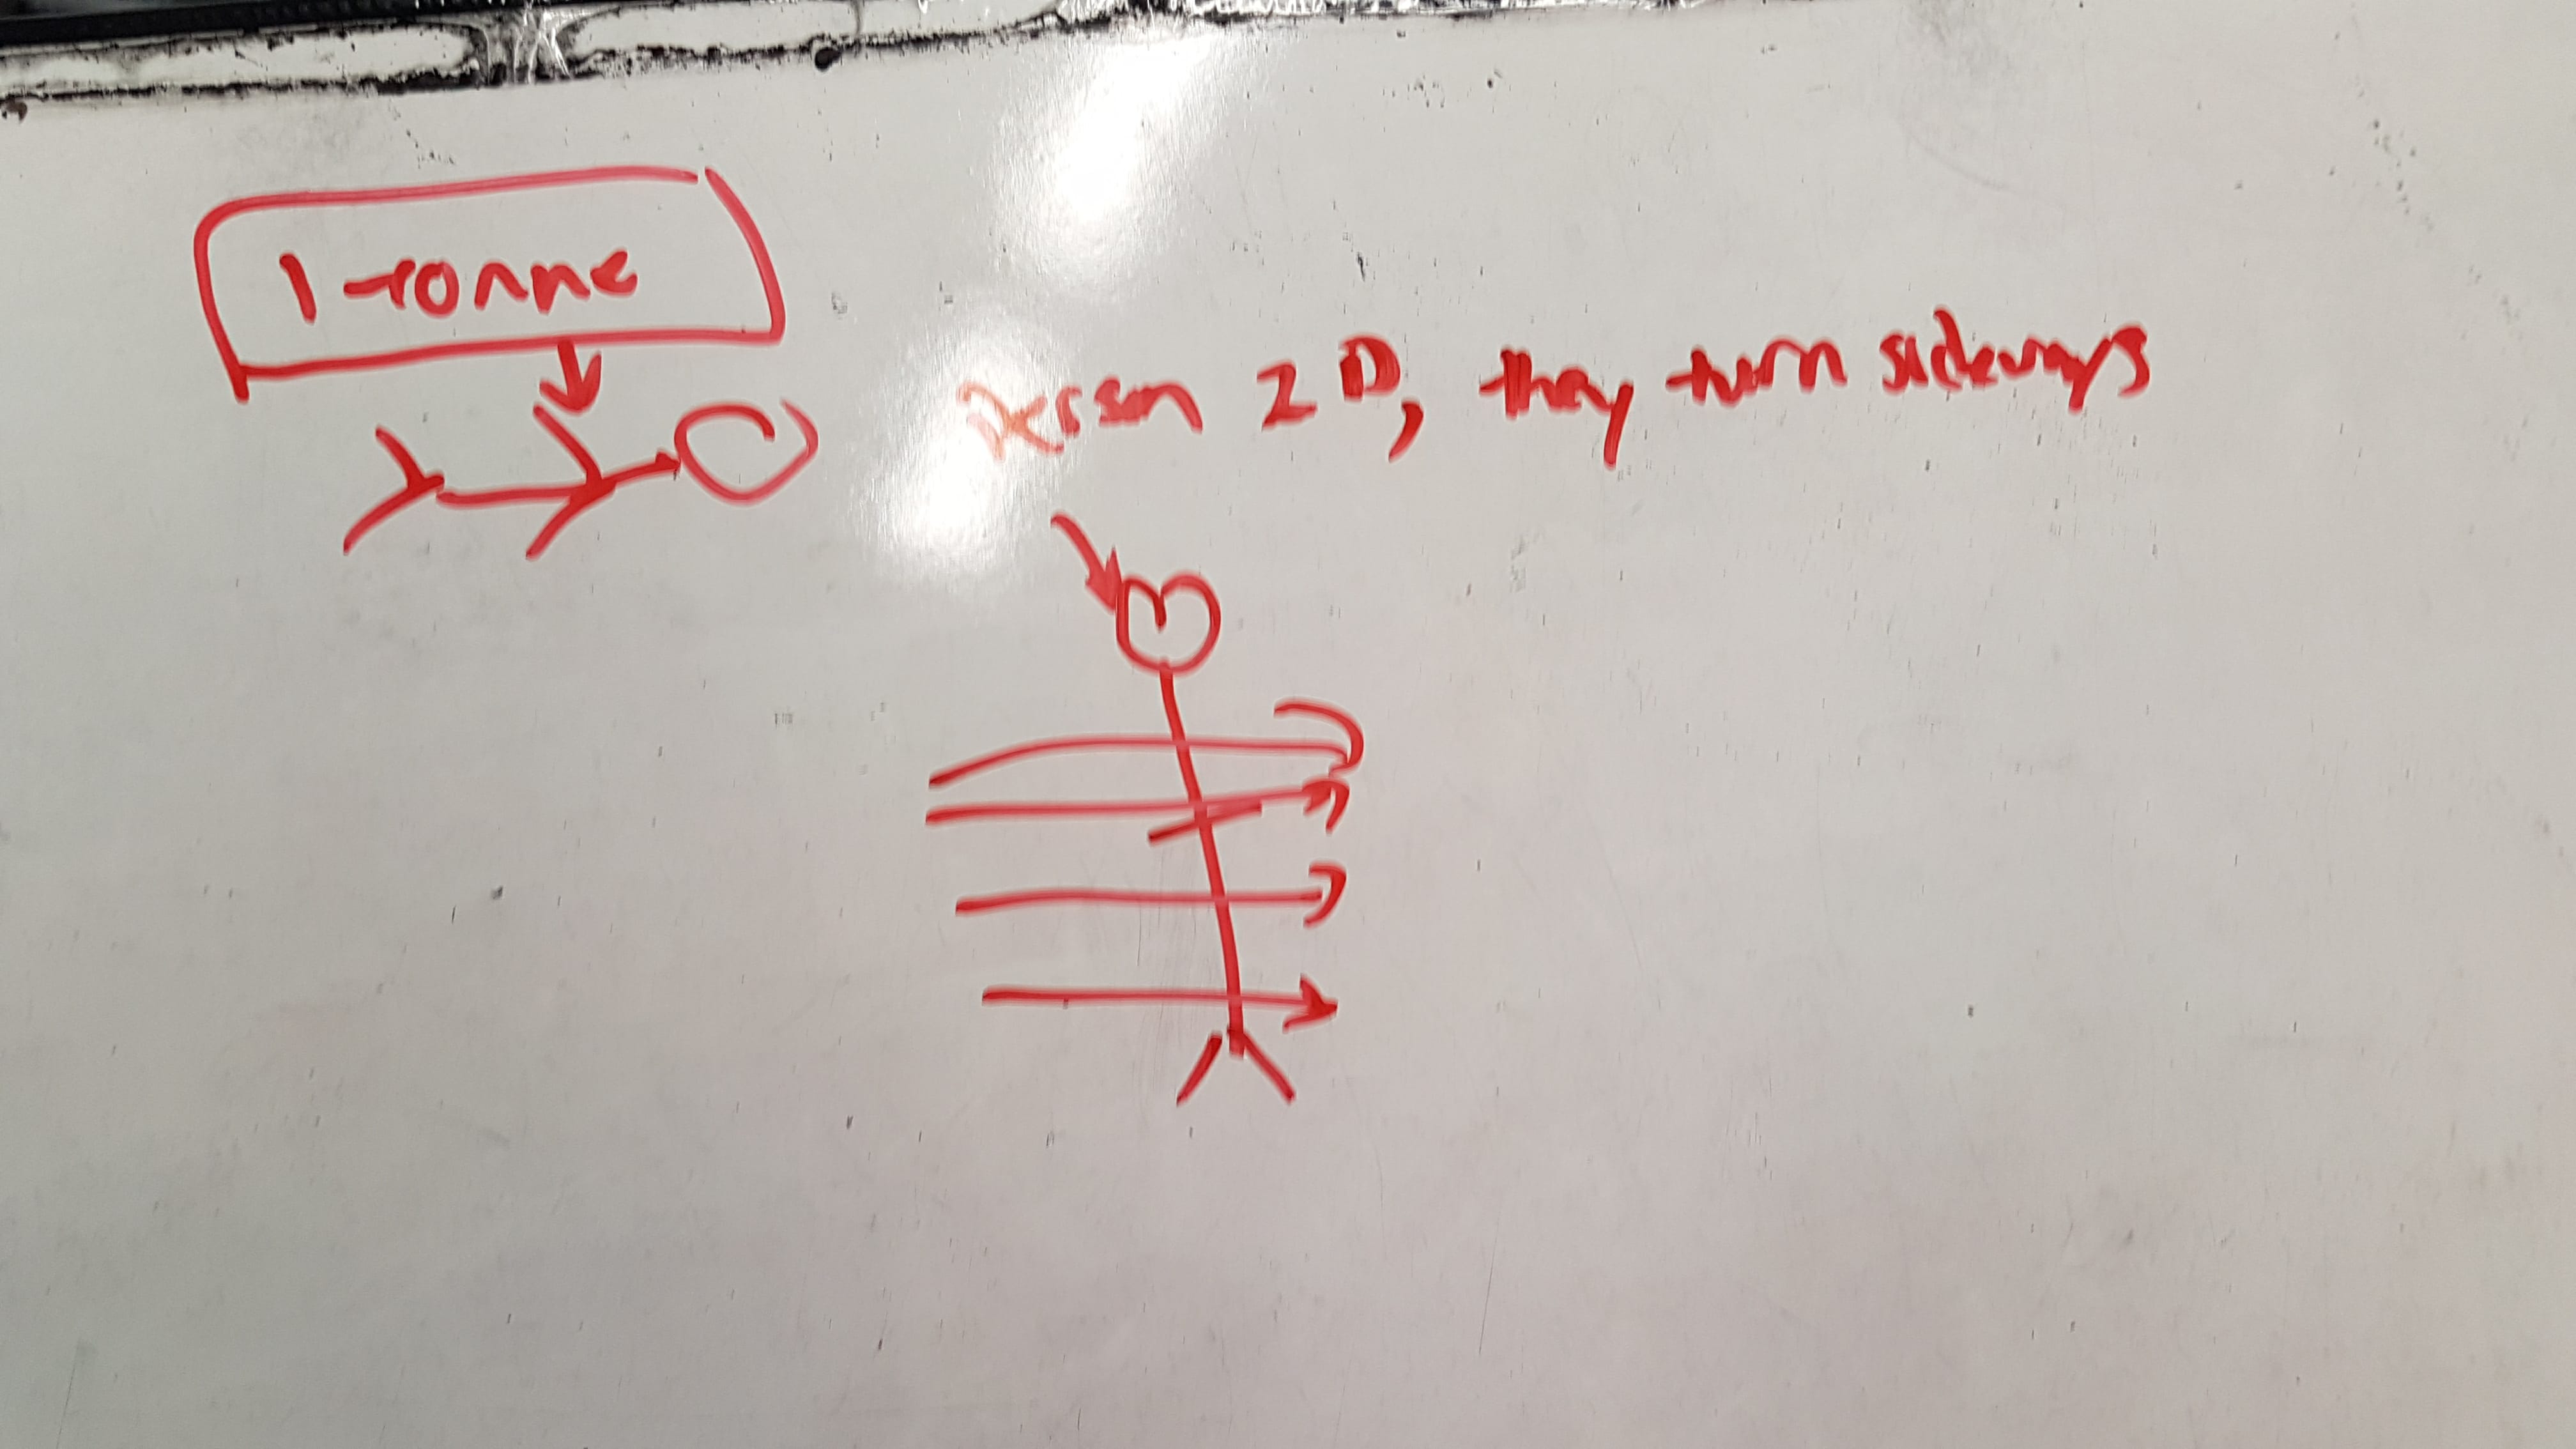
Designing on white board: After motivating the problem and outlining the presentation schedule with the students, students were given an opportunity to draft and design an invisibility device with marker and white boards, as shown in. Below shows examples of students using their existing physics knowledge to design an apparatus that achieves the principles of invisibility. It was interesting to see students integrate other physics concepts to achieve invisibility, other than optics:
Prototyping with prisms: Students were also given a chance at the end to prototype other cloaking designs with available prisms in class. Using prisms to achieve invisibility was discussed early on in the presentation but was not demonstrated. The activity got students engaged and had them thinking in principles of design. Students were left with the question: With the features of invisibility outlined in the presentation, how would you achieve invisibility with prisms?