Design and Construction
The experiment is designed to observe the corrosion behaviour between different metals, or with the application of corrosion protection methods. In order to demonstrate this, the idea is to have 6 samples set up to compare different scenarios. Instead of having a standard control, it makes more sense for us to hypothesize as a class about the results of each of the experiments.
If performing the experiment outside of class, I've found it is quite engaging to show the students the results and have them guess what they're looking at. I've included pictures below, and timelapses of some of the setups can be found in either "Lesson" Powerpoint.
The four samples I created, and the hypotheses to go through with the class, are:
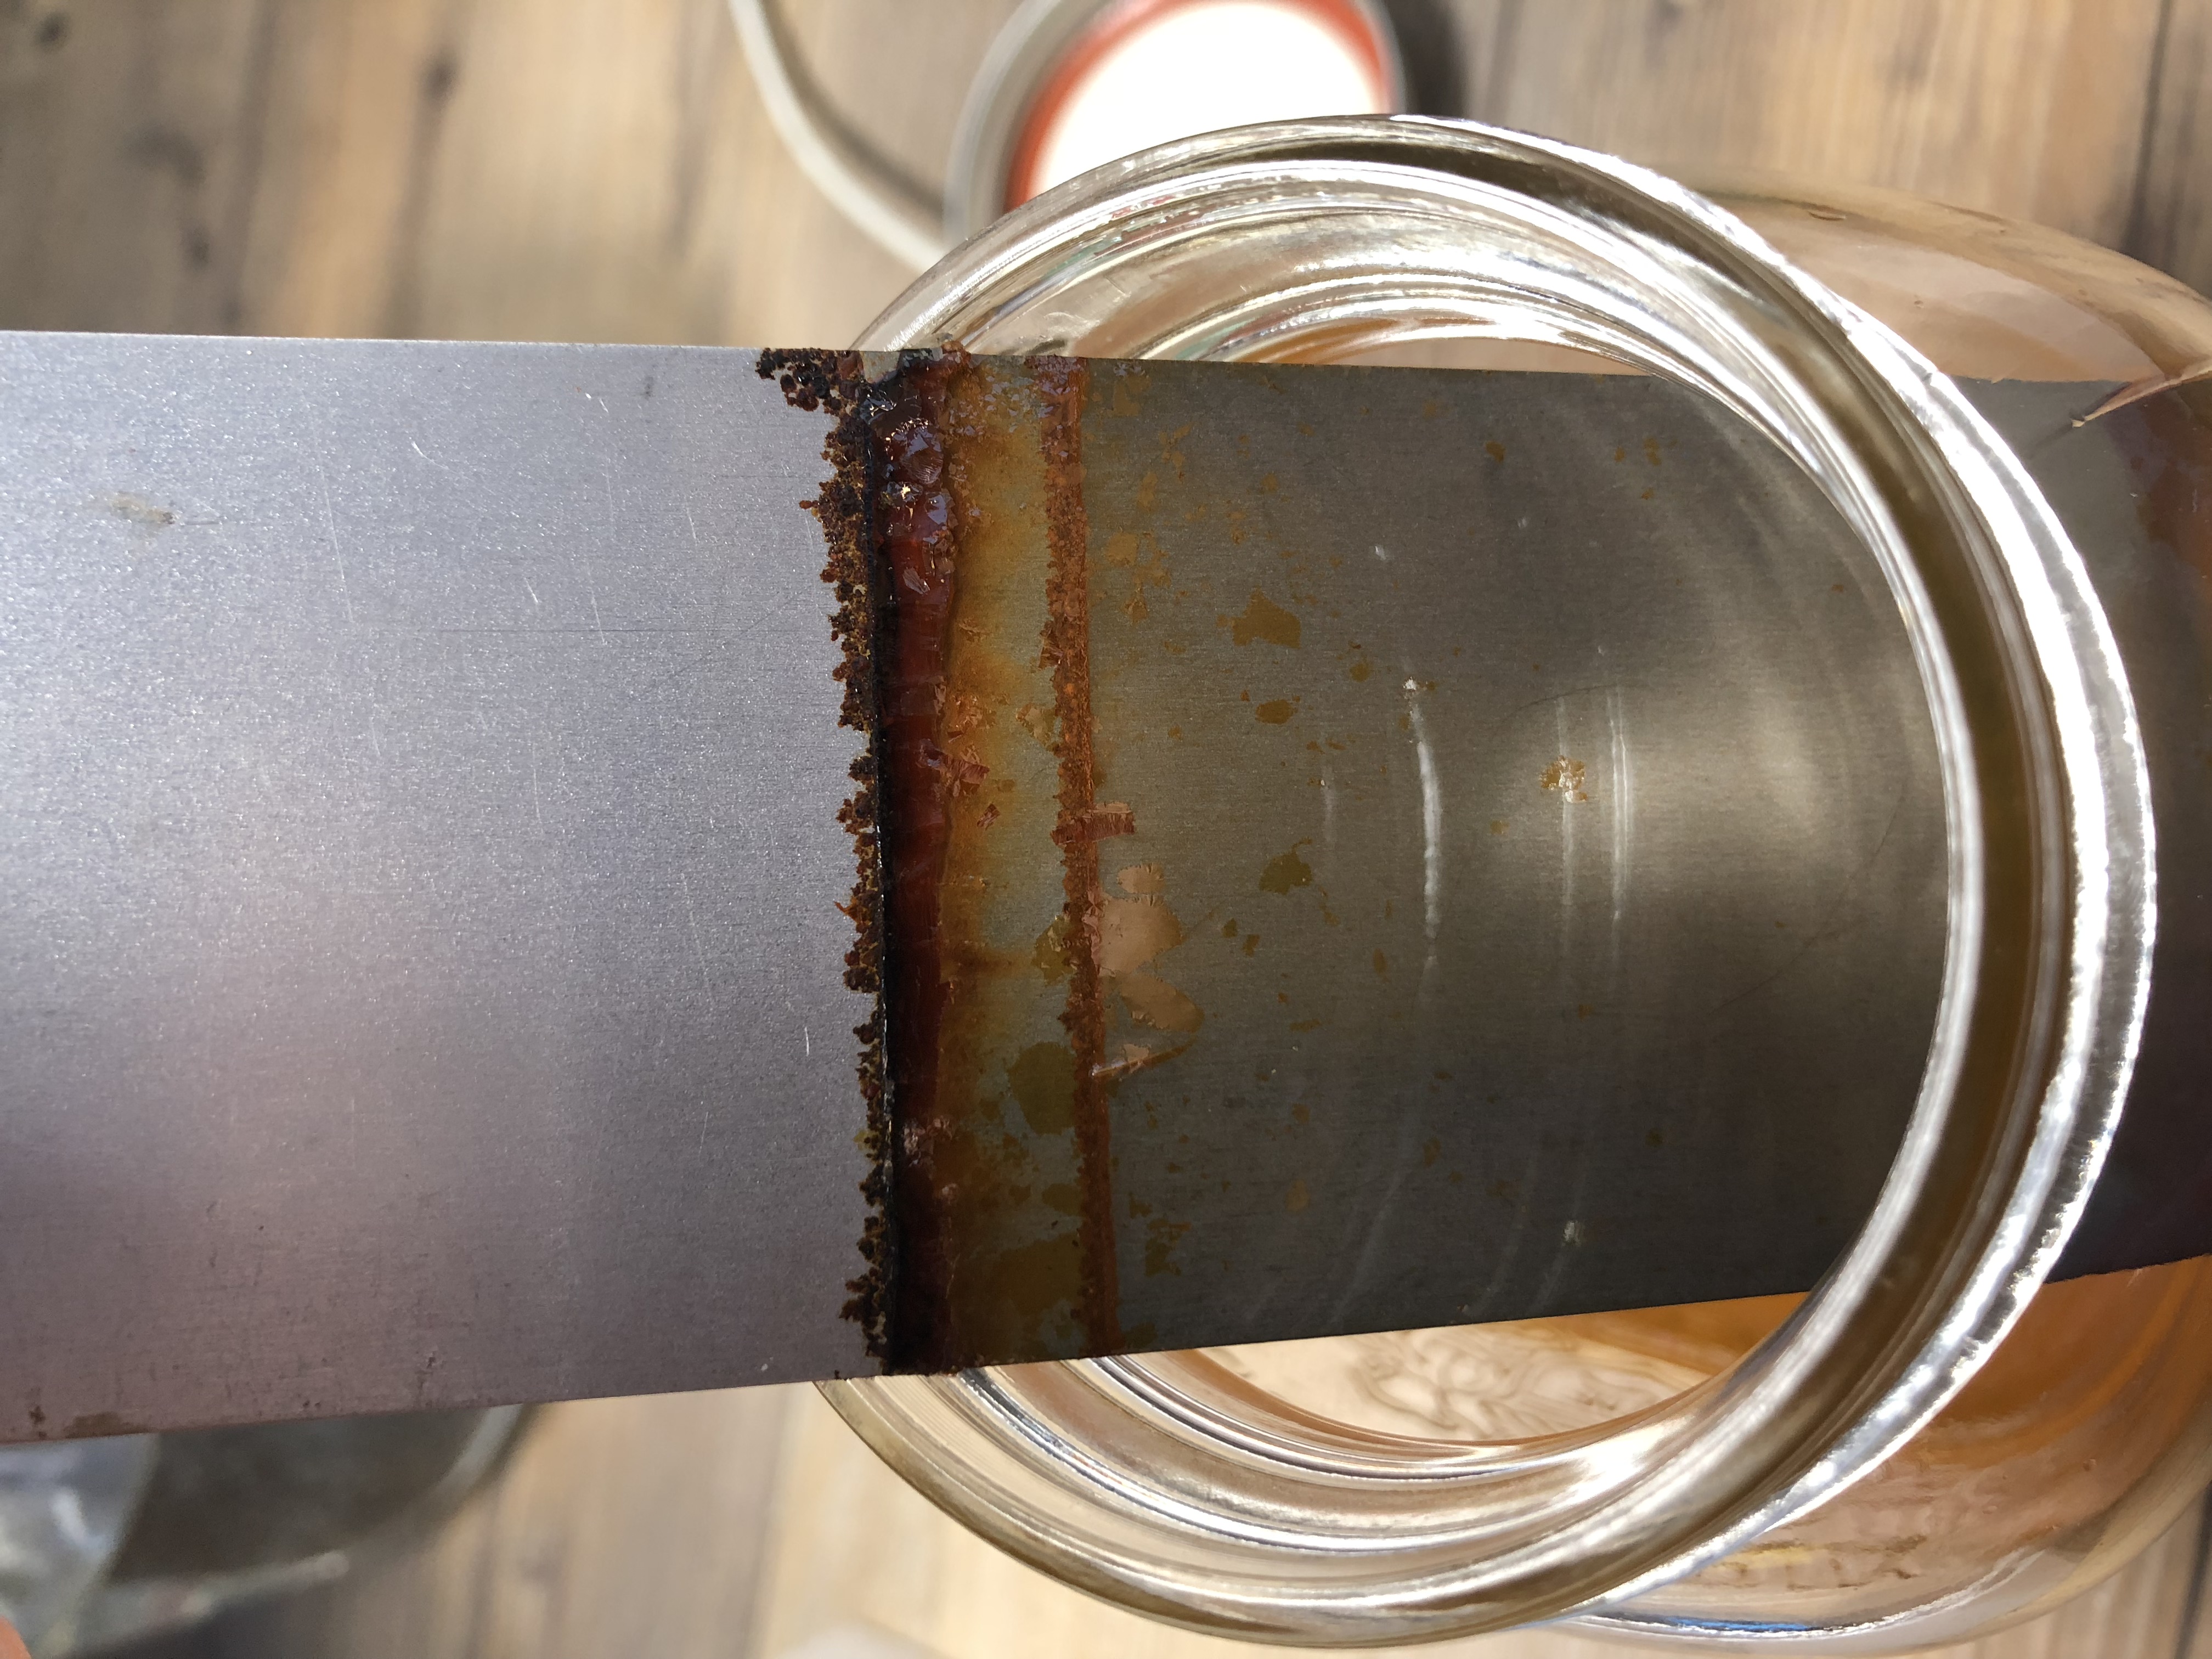
1) Plain steel in seawater
Hypothesis: steel will corrode more quickly in seawater due to the effects of salt conducting the electrons more quickly.
Note: If you can compare the rate of corrosion between freshwater and saltwater, this could also be an interesting conversation around corrosion catalysts.
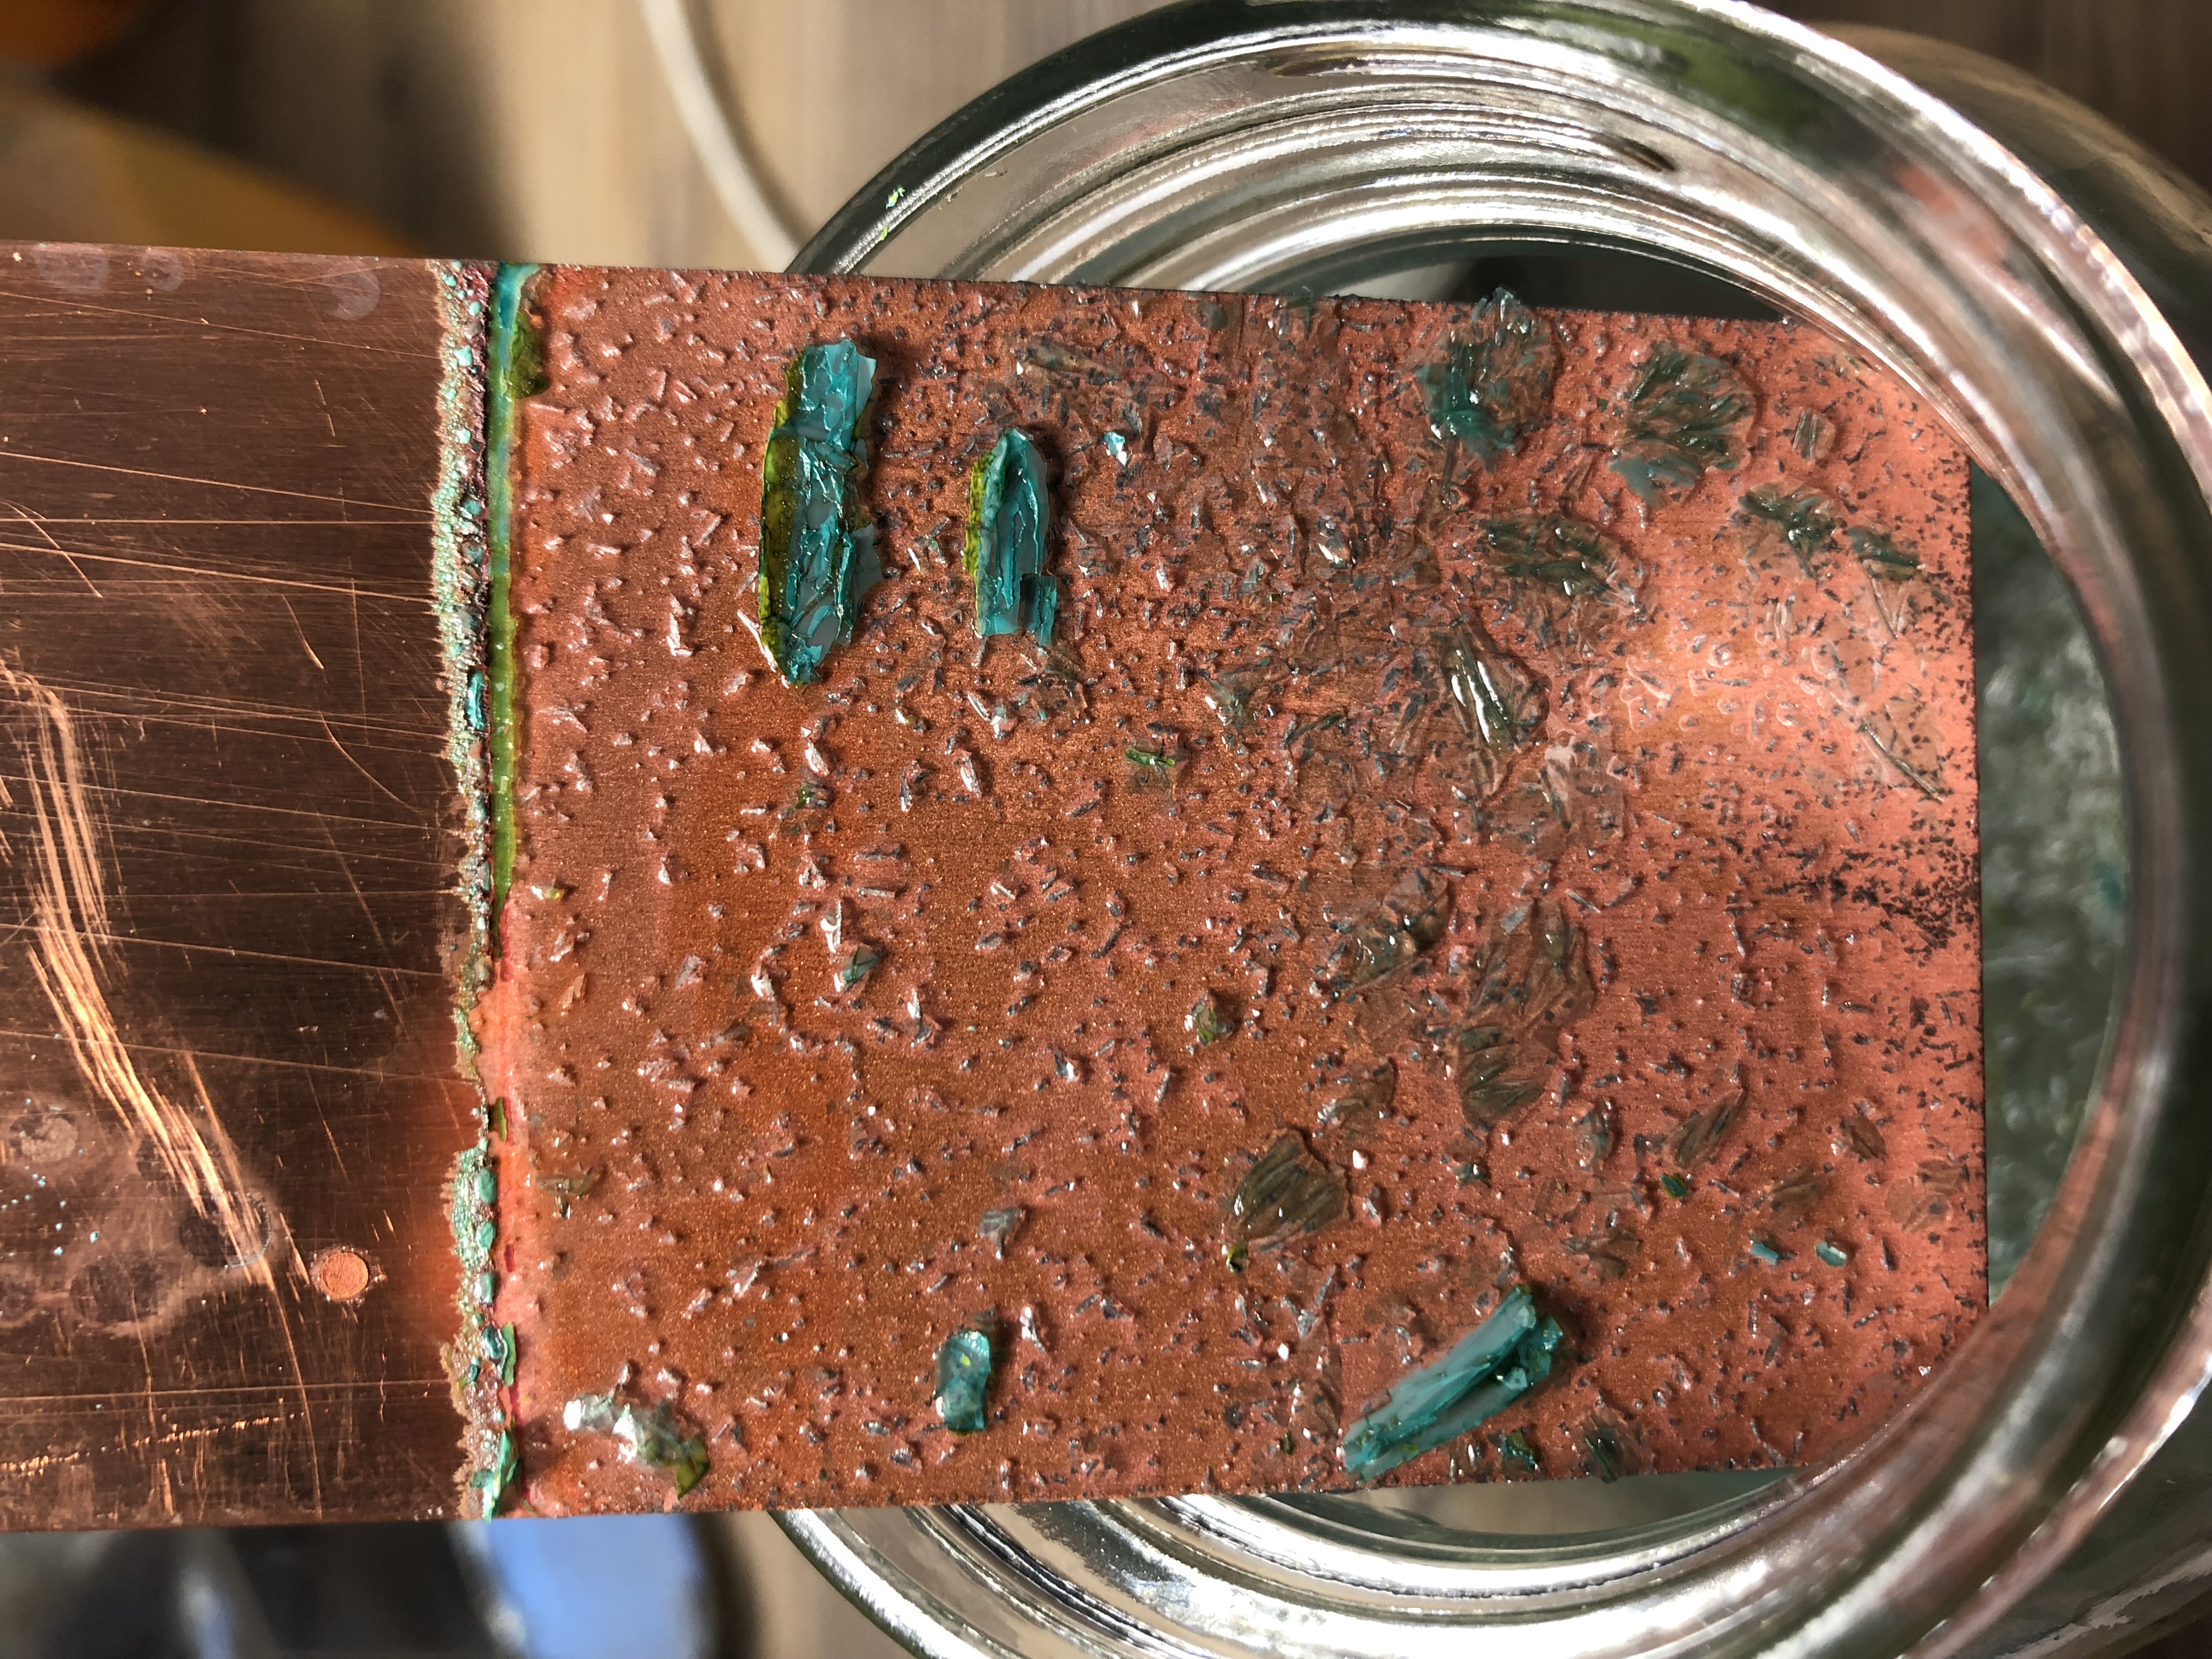
2) Copper in seawater
Hypothesis: steel will corrode more intensely as copper reacts
more aggressively in open-air environments. ΔG is more negative for the steel reaction.
Note: The best observation that I made for the copper corrosion is that after sitting in seawater for a while, allow it to rest in open air for some more time. My copper sample developed a nice layer of patina which led to a great conversation with my students around barrier protection.
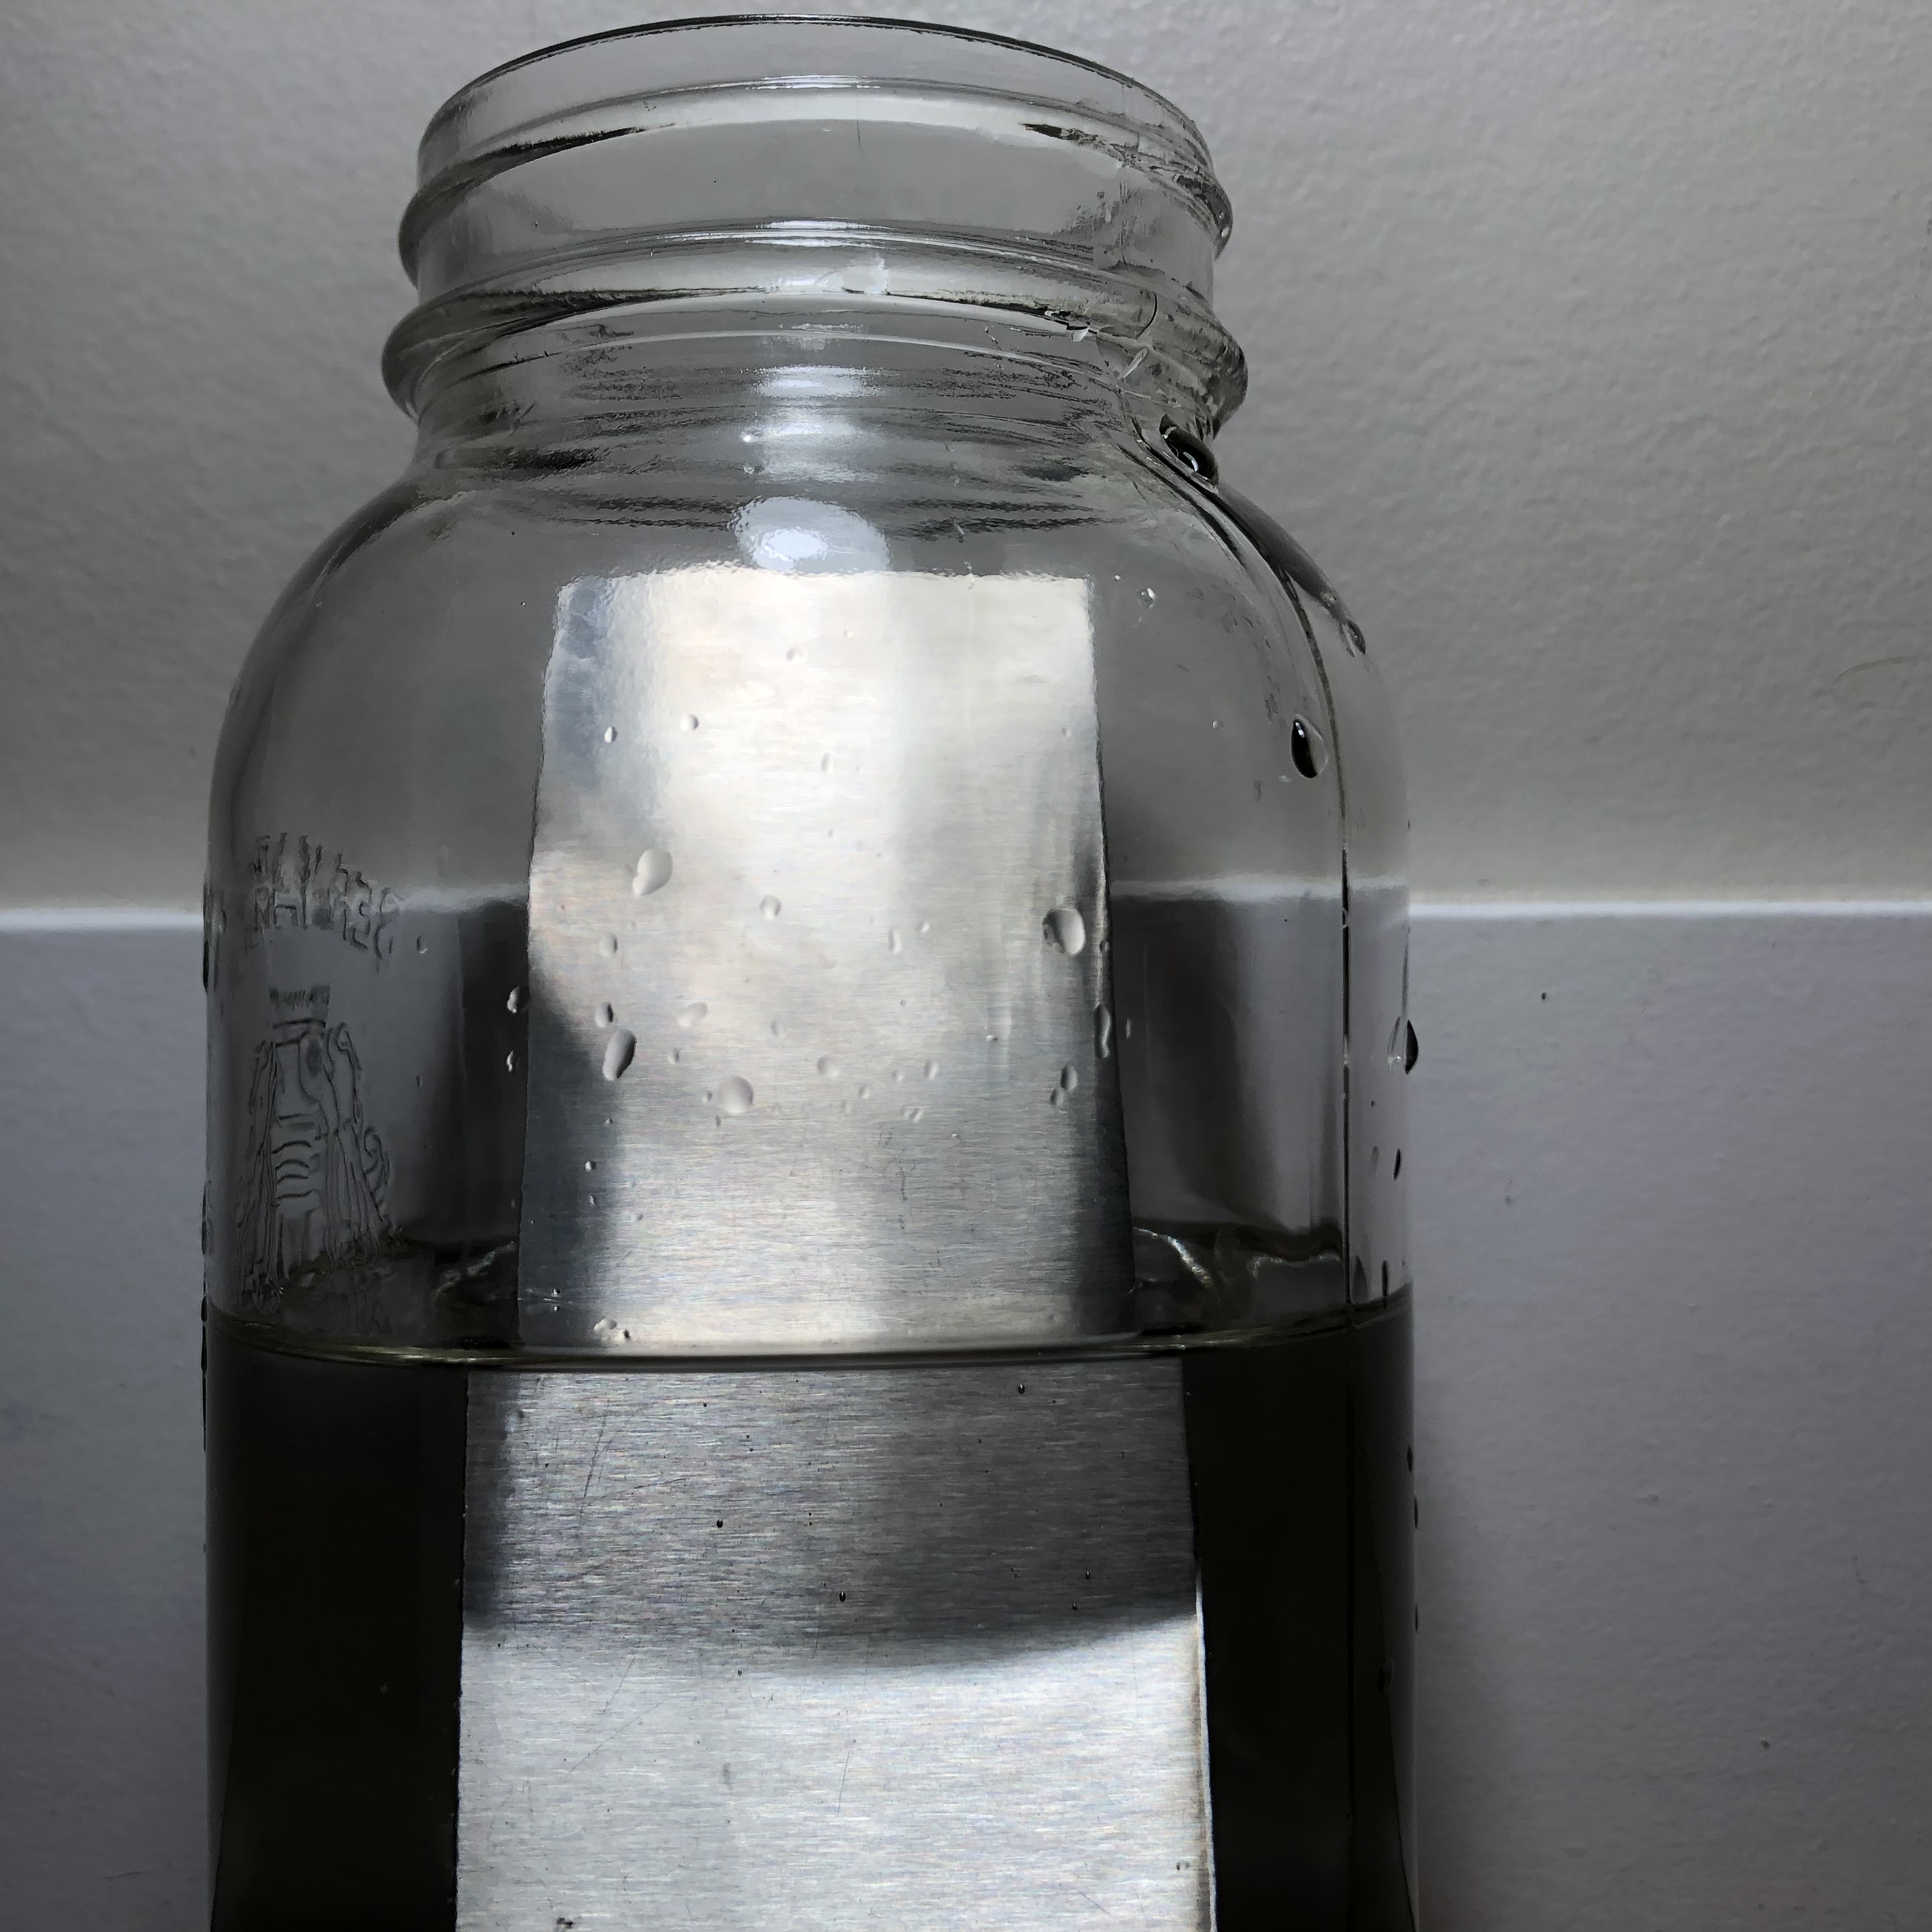
3) Stainless steel in fresh water
Hypothesis: Stainless steel will not corrode due to the effects of the chromium added to the alloy.
Good visual after discussing alloying with students.
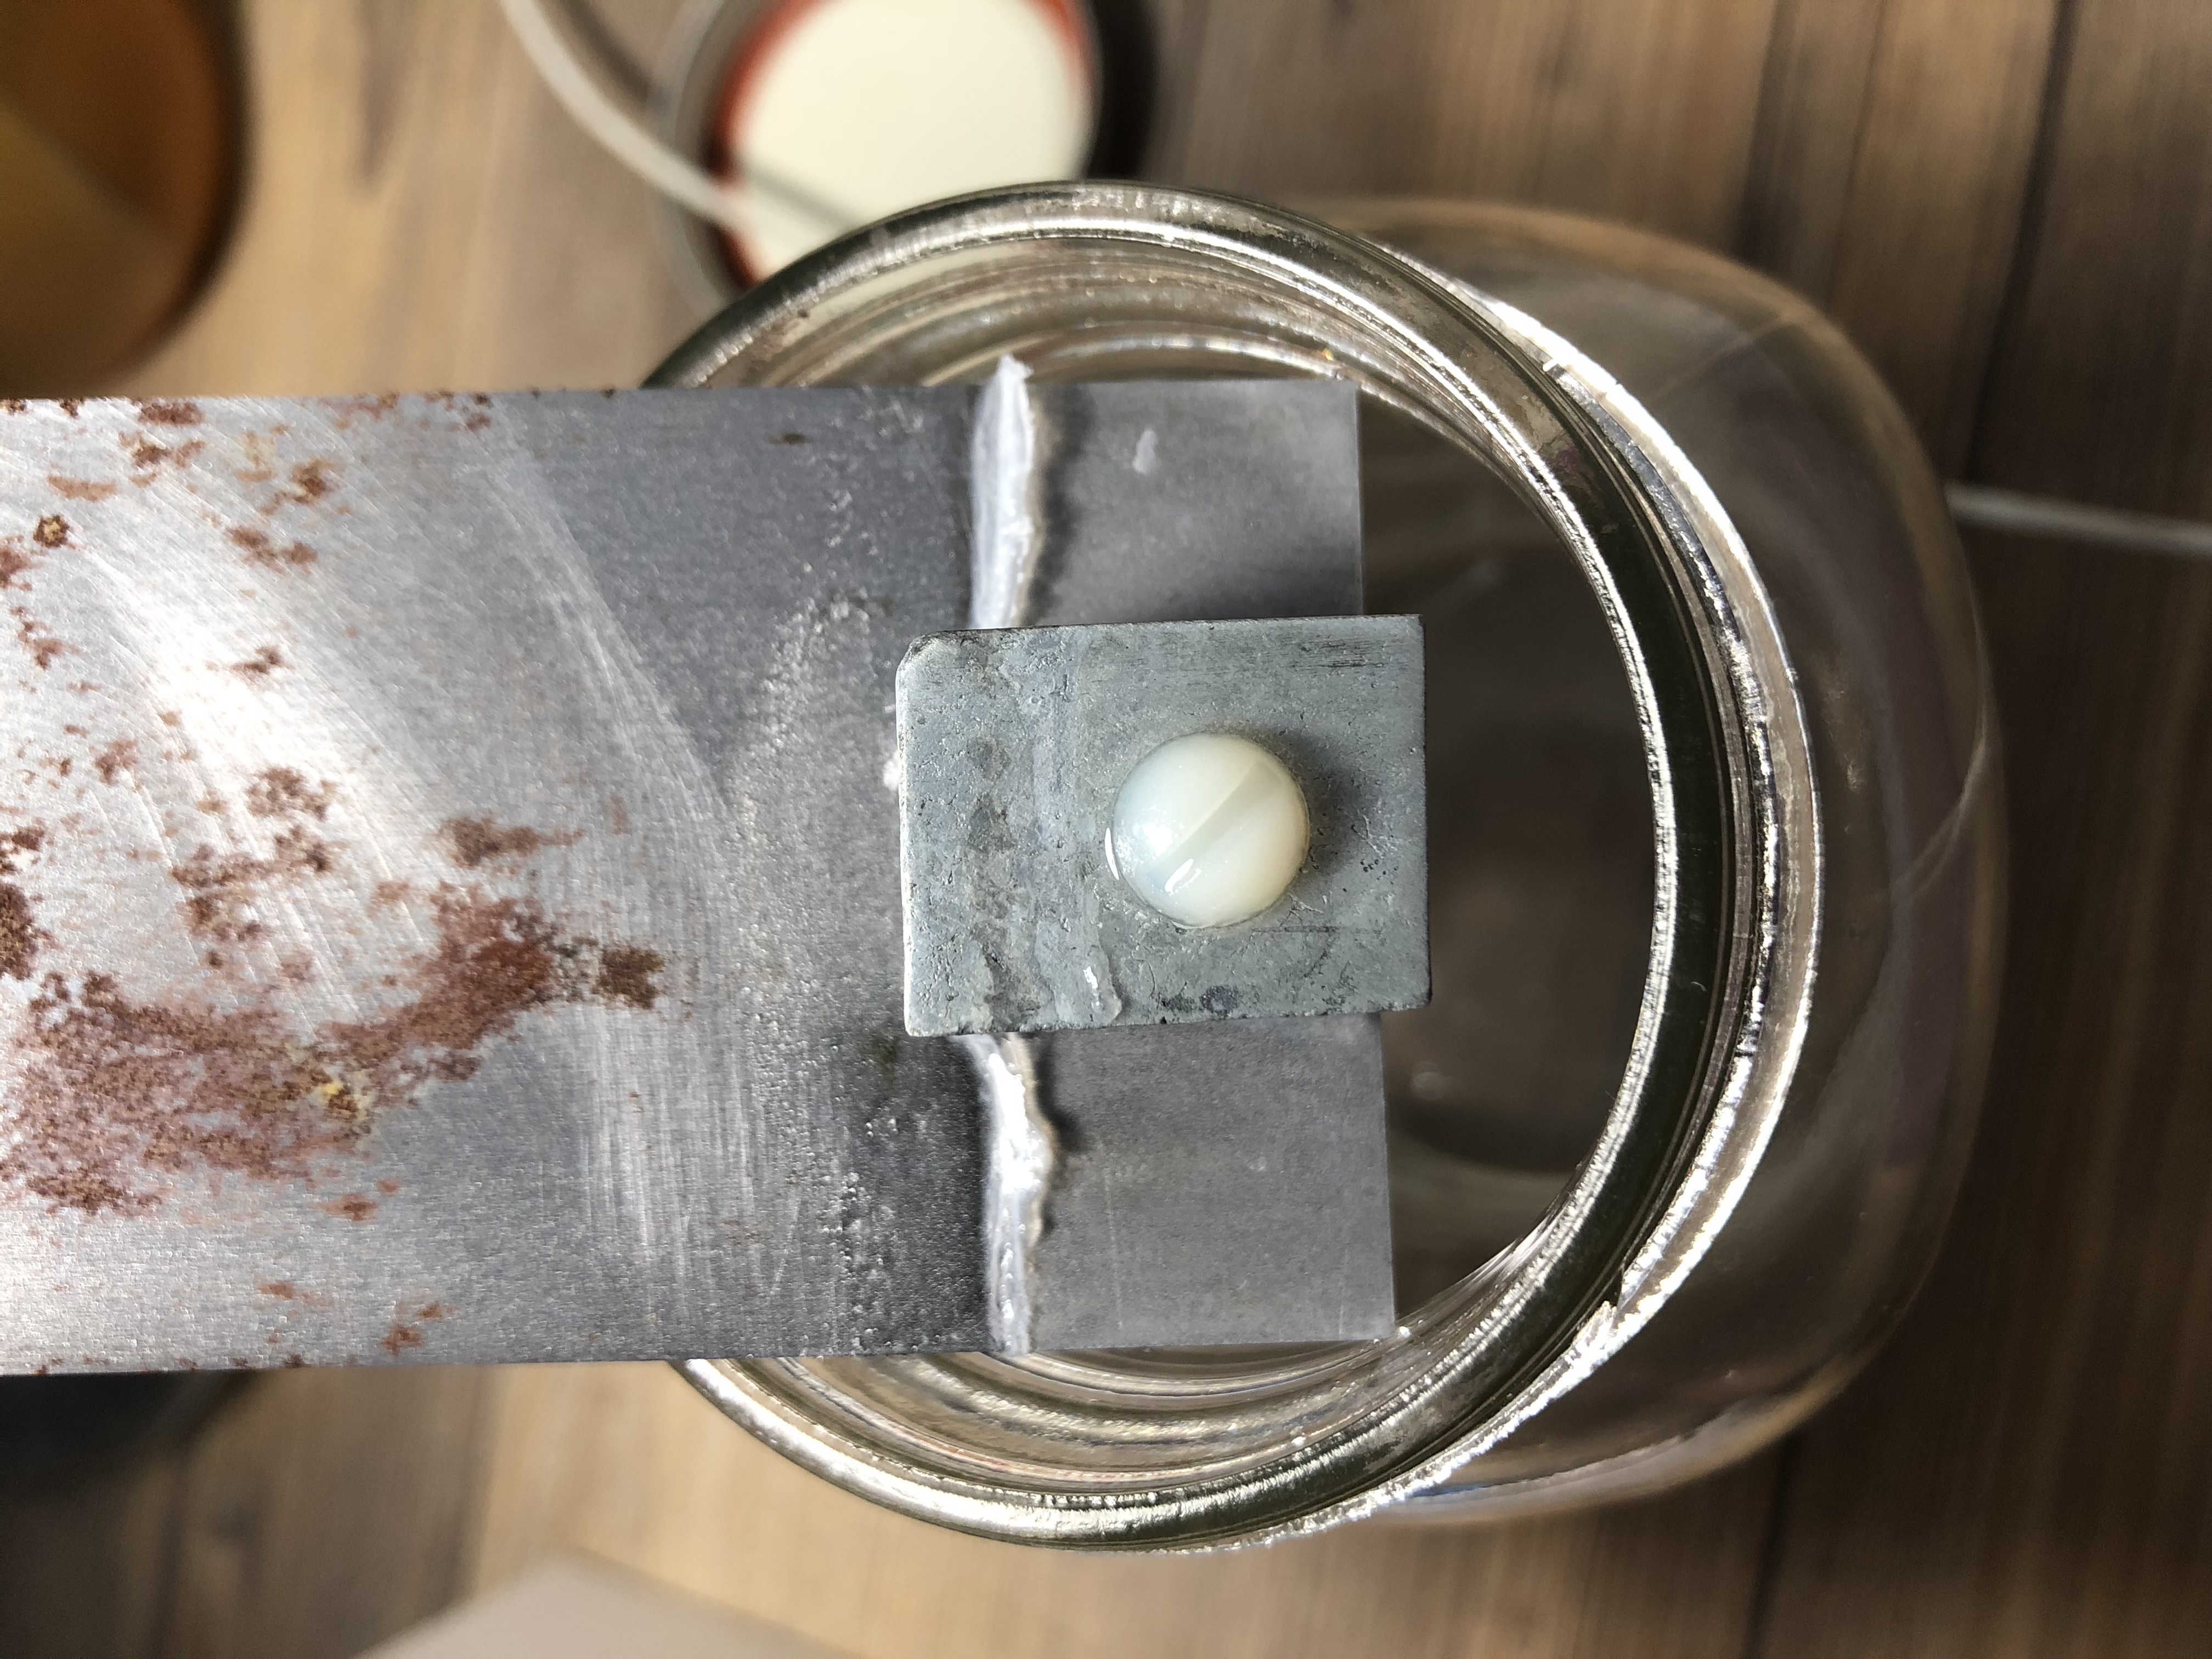
4) Plain steel with zinc sacrificial anode in seawater
Hypothesis: the zinc anode will corrode first and save the plain
steel from corrosion, due to having a higher ΔG value (thus, the reaction happens more quickly than the reaction with the steel).
I did not personally experience corrosion on my zinc anode during my experiment timeframe, however I did notice a significant difference in how the steel behaved, which is the most important part - a good visual after discussing sacrificial anodes with the class.
Each metal sample should be cut into uniform sizes. I used glass 1-L mason jars for the experiments, and set up a camera to record the reaction over 24-48 hours. I used saltwater collected from Kitsilano Beach but you could create your own saltwater solution (just make sure your solution is uniform for every experiment!)
The zinc anode will be attached to the steel sample by a low-resistance (I used plastic) bolt. The interaction between the zinc and the steel is important to direct current so that the flow of electrons can be properly redirected to the zinc, so we don't want a bolt that will interfere with the conductivity of the materials.
The timelapses can be taken over the course of a few days, or even longer depending on how the experiment is working/what kind of results you'd like to see. If in a time crunch, you can speed up the rate of reaction by raising the temperature of the environment, or adding a splash of white vinegar to your seawater.