Preview
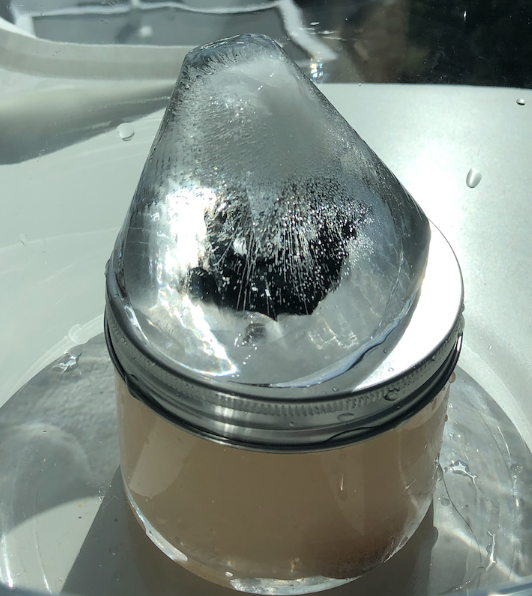
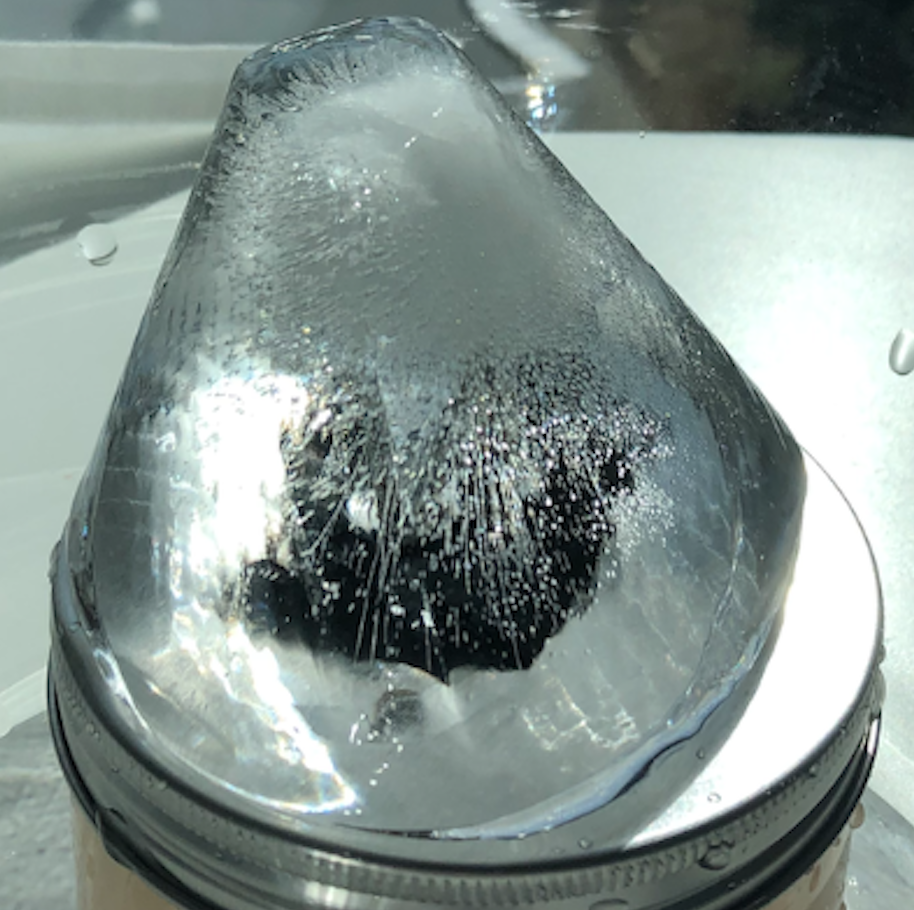
The final volcano models should look like similar to the picture above, with an ice mountain peak sitting atop a tight container filled with liquid. Upon eruption, it should shoot 1-2 meters upwards for 2-5 seconds, as seen in the video above.
Motivation & Model
What we are trying to model here with our demos are actual volcanoes that exist in the real world. Specifically, volcanoes existing under glaciers which slowly erupts over time as the glaciers melt. See the figures below for a demonstration of the idea: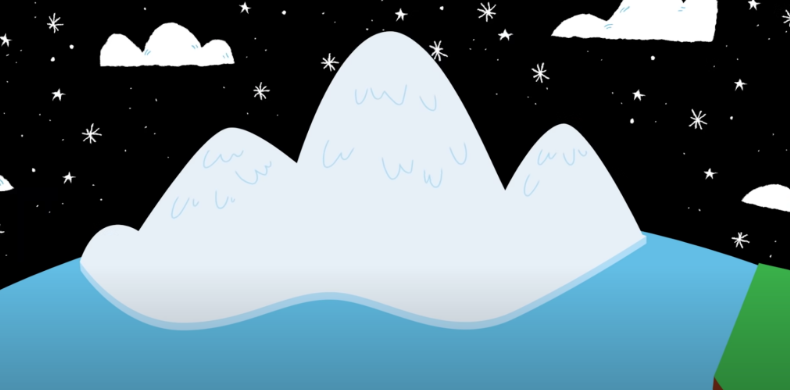
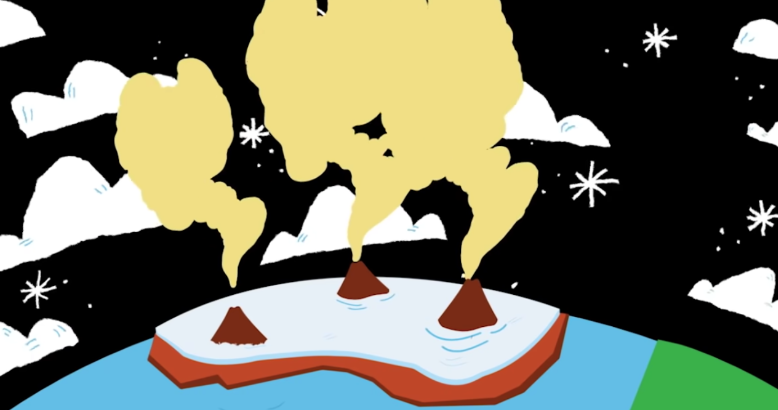
Over time, we expect the top mountain-shaped ice layer to melt and the demo to erupt. The gradual and untimed eruptions during the presentation are exciting for the audience and keep them engaged.
Materials required
The following are a list of the materials required for creating ONE volcano:
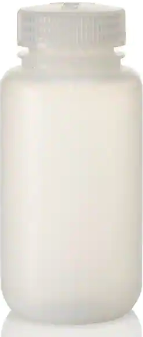
- 1x Small leak-proof container with twist-on lid
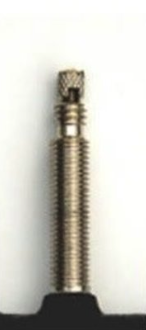
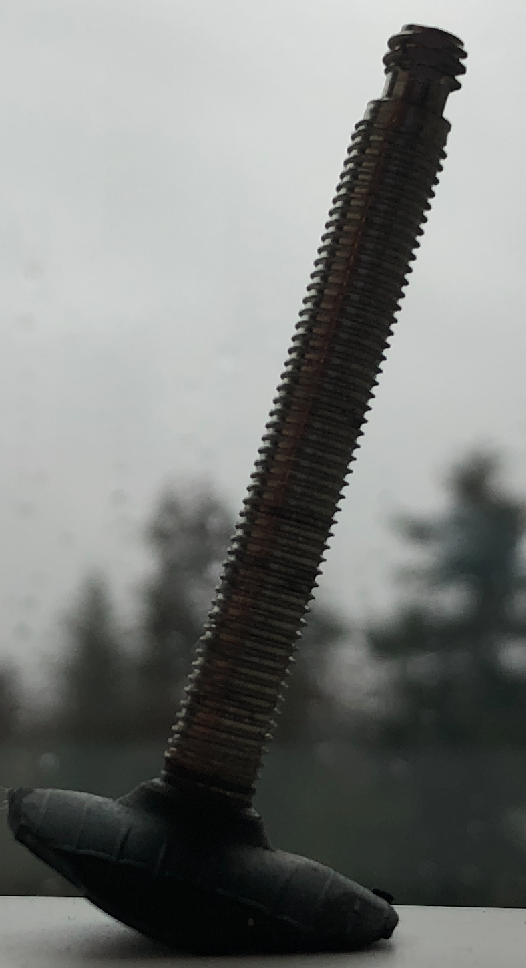
- 1x Presta bike valve
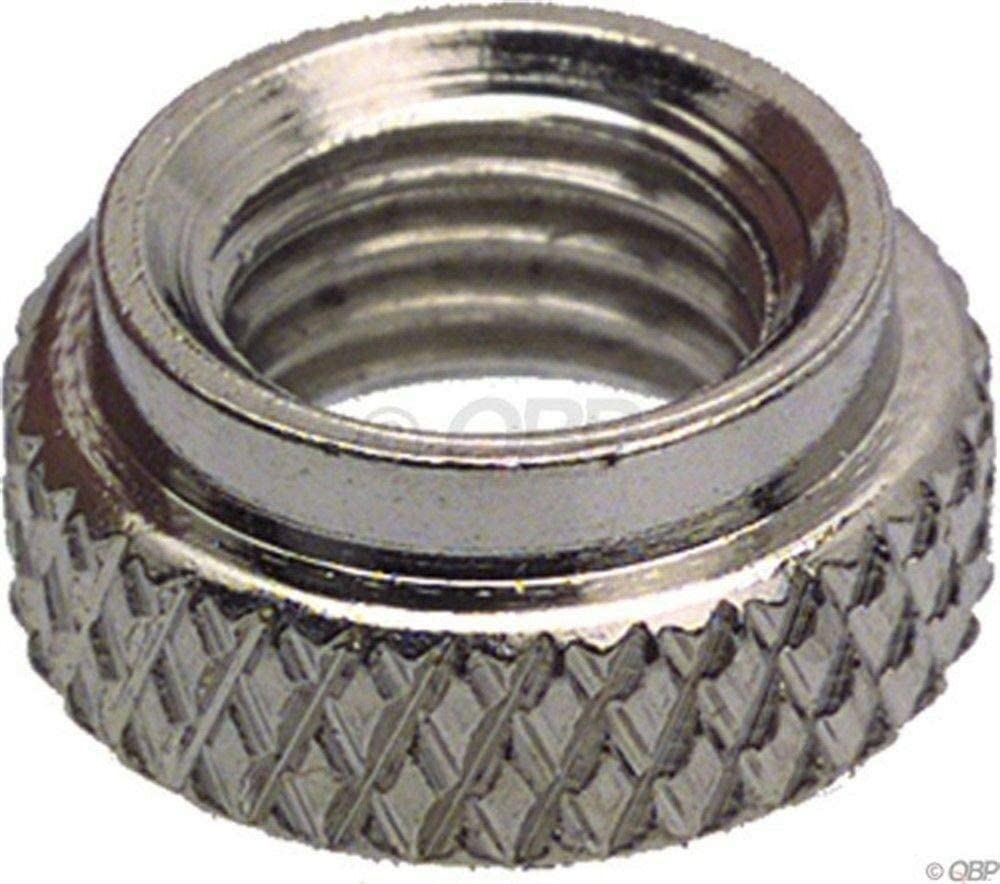
- 1x Presta bike valve washers/nuts
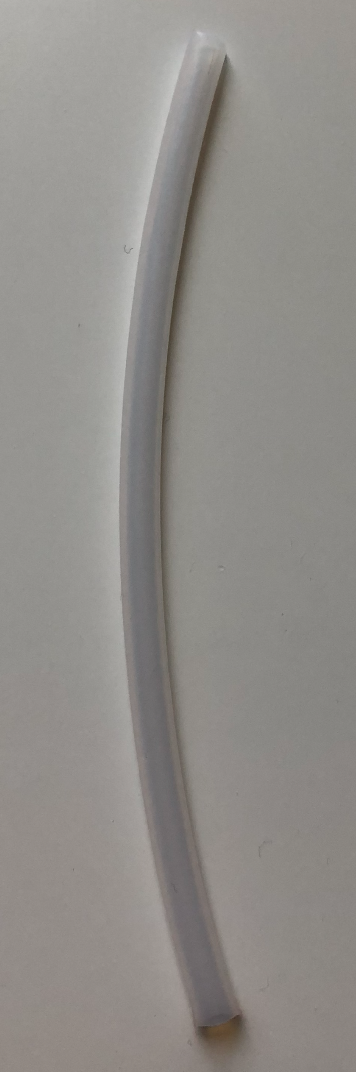
- 1x 5mm diameter thin plastic tube (10 cm in length)
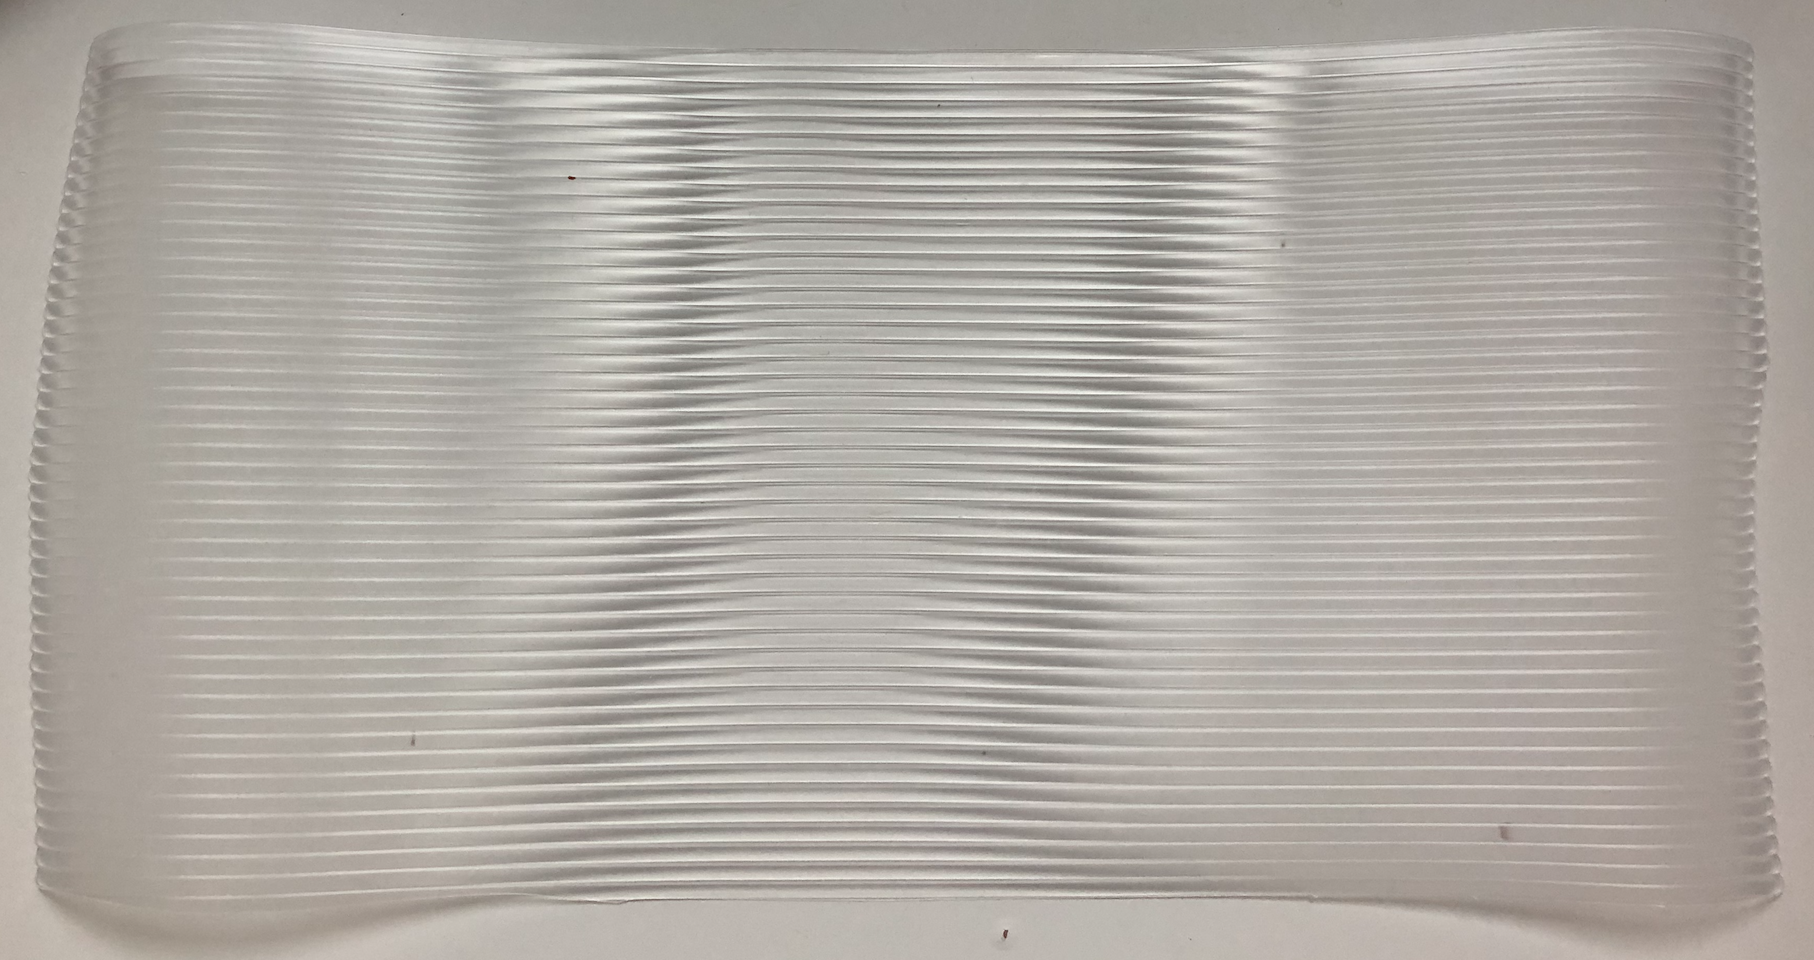
- 1x 15x25 cm plastic shelf liner
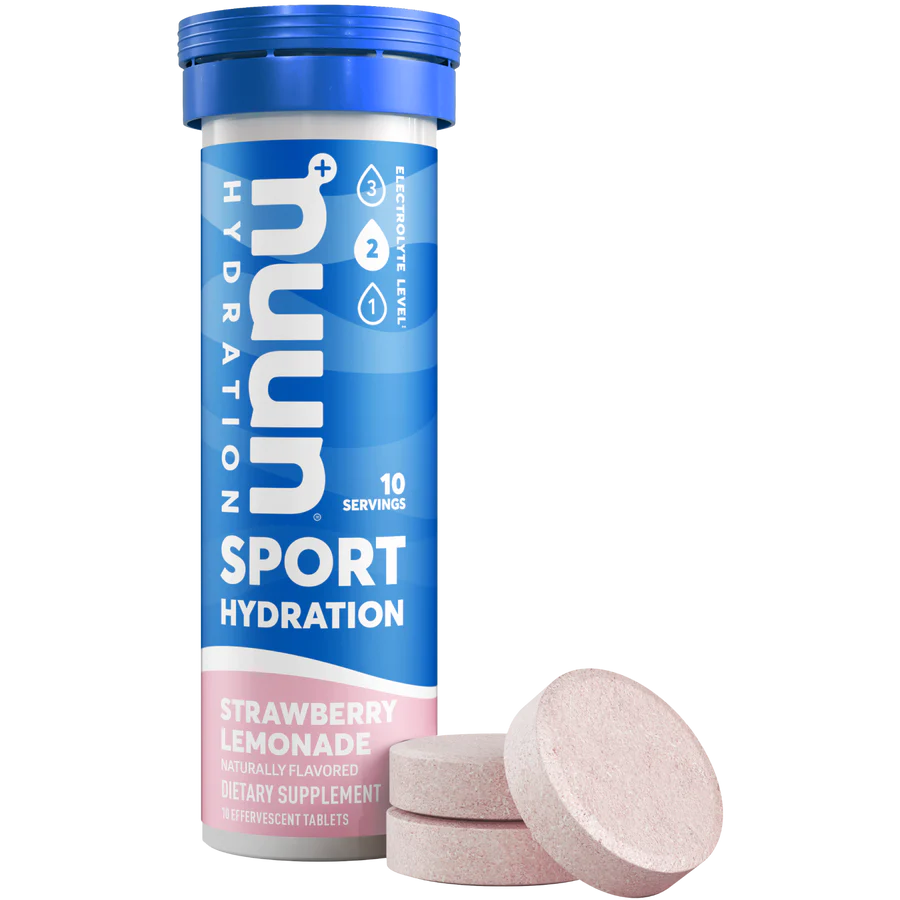
- 3x Effervescent tablets (nuun or Alka-Seltzer)
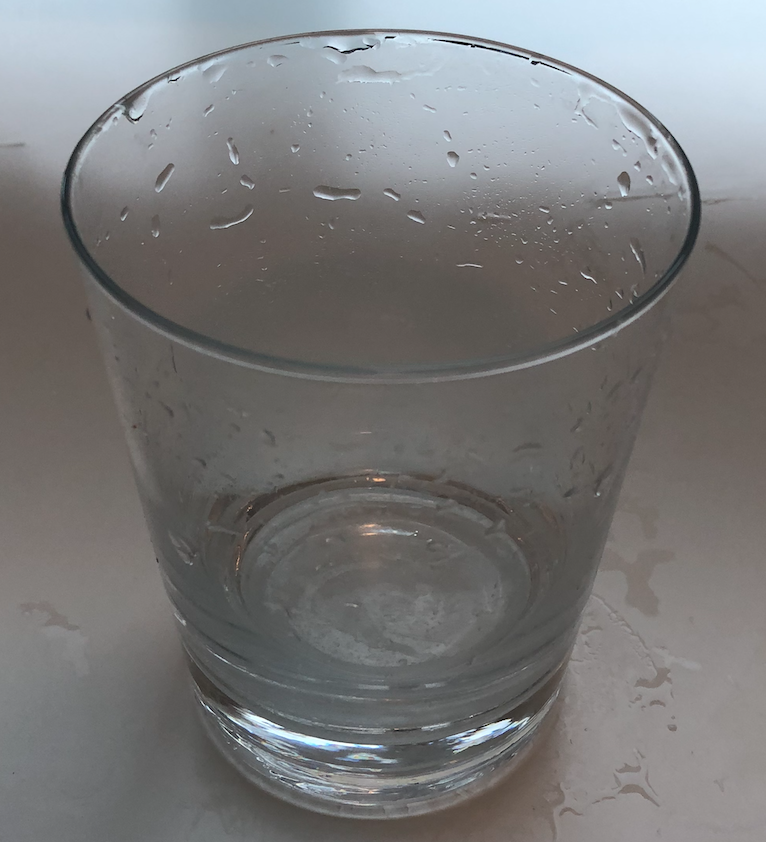
- 1x cup
- Water and a freezer
Additionally, you will need basic tools like pliers, scissors, and drills to put together the model. You will also need some cleaing supplies as there WILL be a watery mess!
Construction
The construction for the volcano model will be split into two parts:
- Top layer modelling the ice mountai and earth’s crust
- Bottom layer modelling the magma beneath a volcano
Top layer: ice mountain
Model the glacier mountains using ice, and earth’s crust using a container lid.
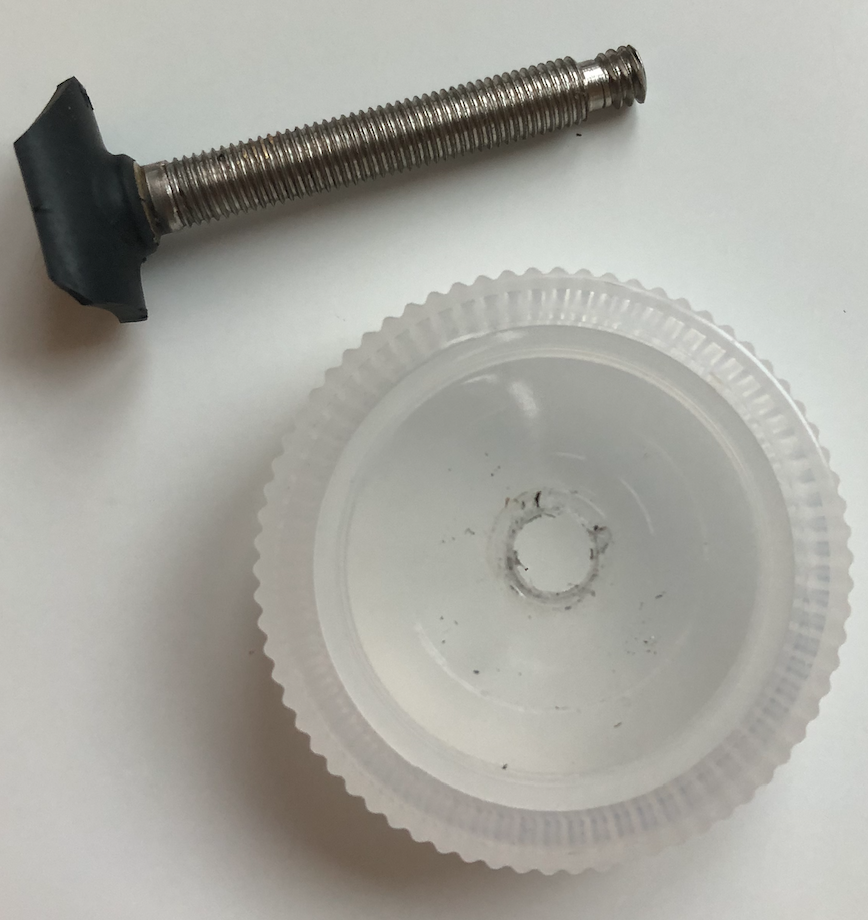
- Use a plier and pull out all parts of the presta valve that isn't the outer tube. You should be able to look through the presta valve with no obstructions. Then, use scissors and cut around the rubbery base of the presta valve to leave only a small piece.
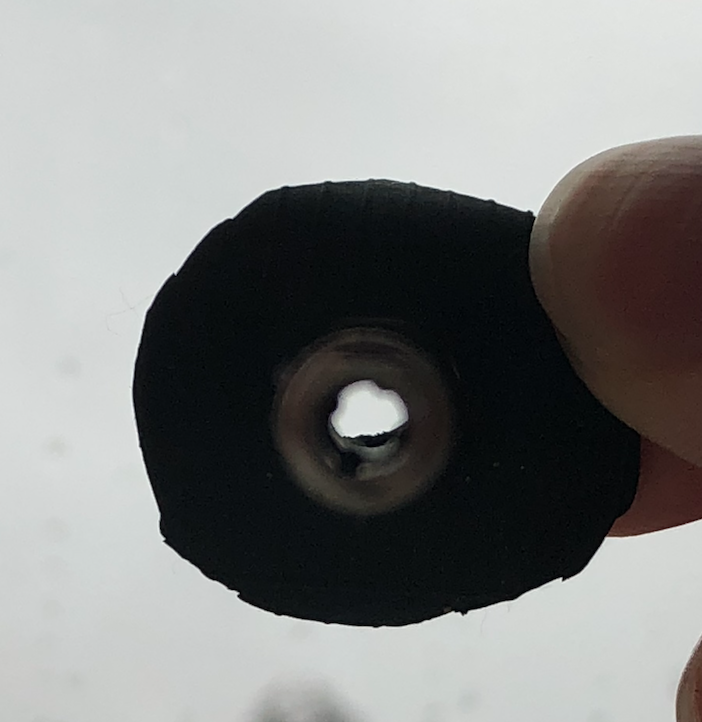
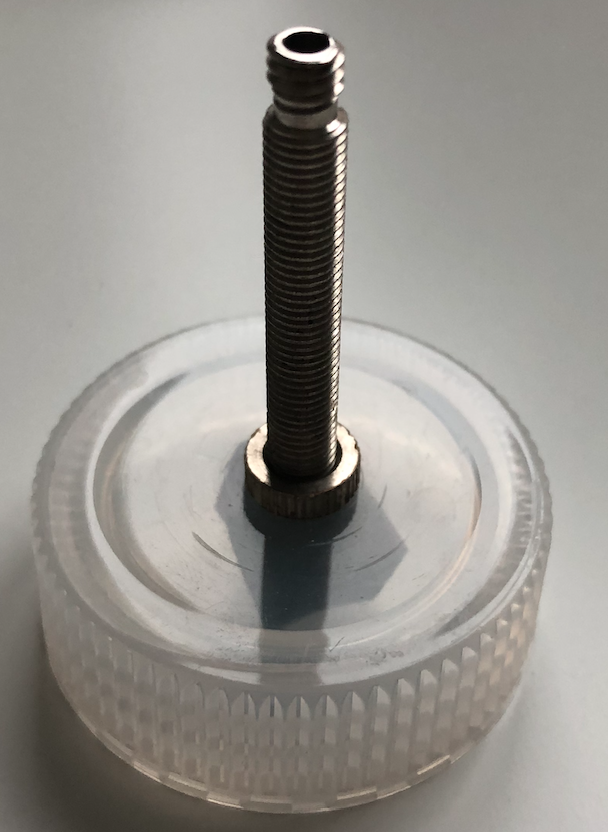
- Drill a hole in the container lid to snuggly insert the presta valve until the rubber base is right against the underside of the lid.
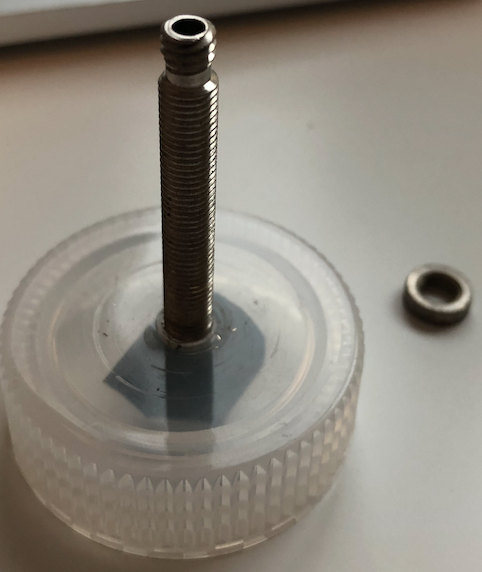
- Screw on the washer tightly against the top of the container lid. Use a plier to get it on as tightly as possible.
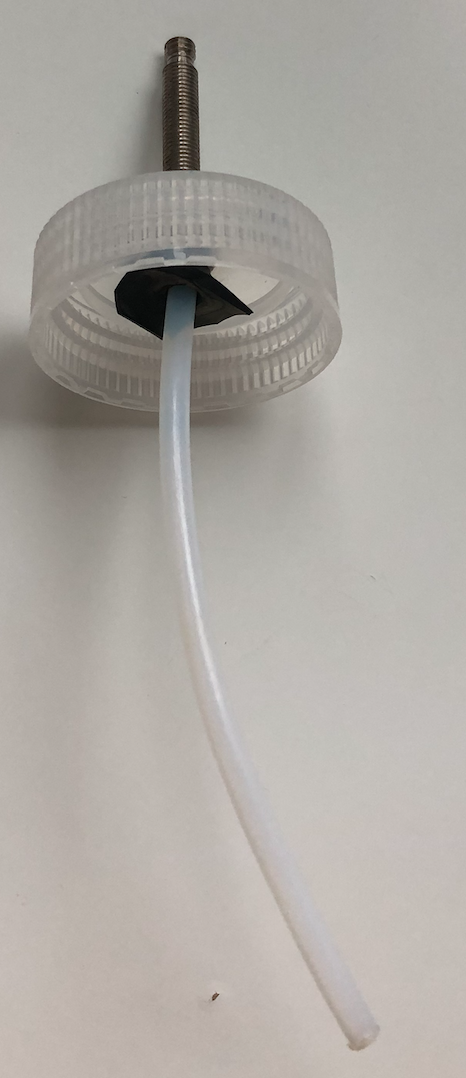
- Insert the plastic tubing into the rubbery underside of the presta valve. It should create a tight seal and not fall out on its own.
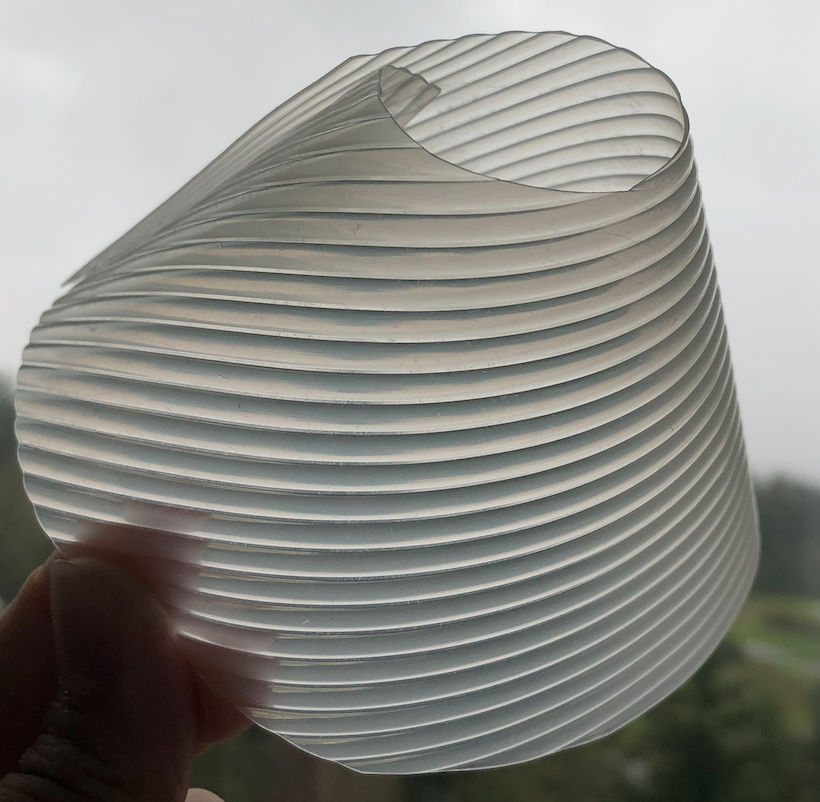
- Now, we move to creating the mold for the shape of the mountain peak. Take the 15x25 cm plastic shelf liner and cut it into a rainbow shape as follows:
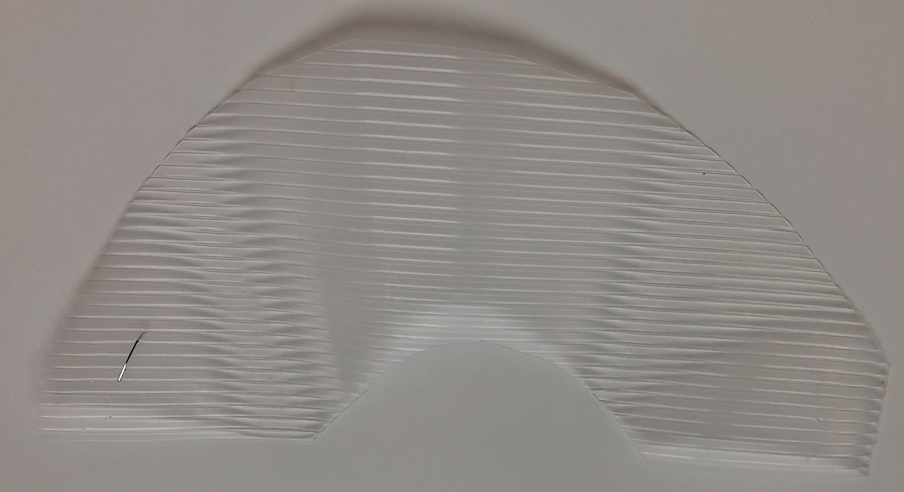
- Fold it into a cone shape and staple it together.
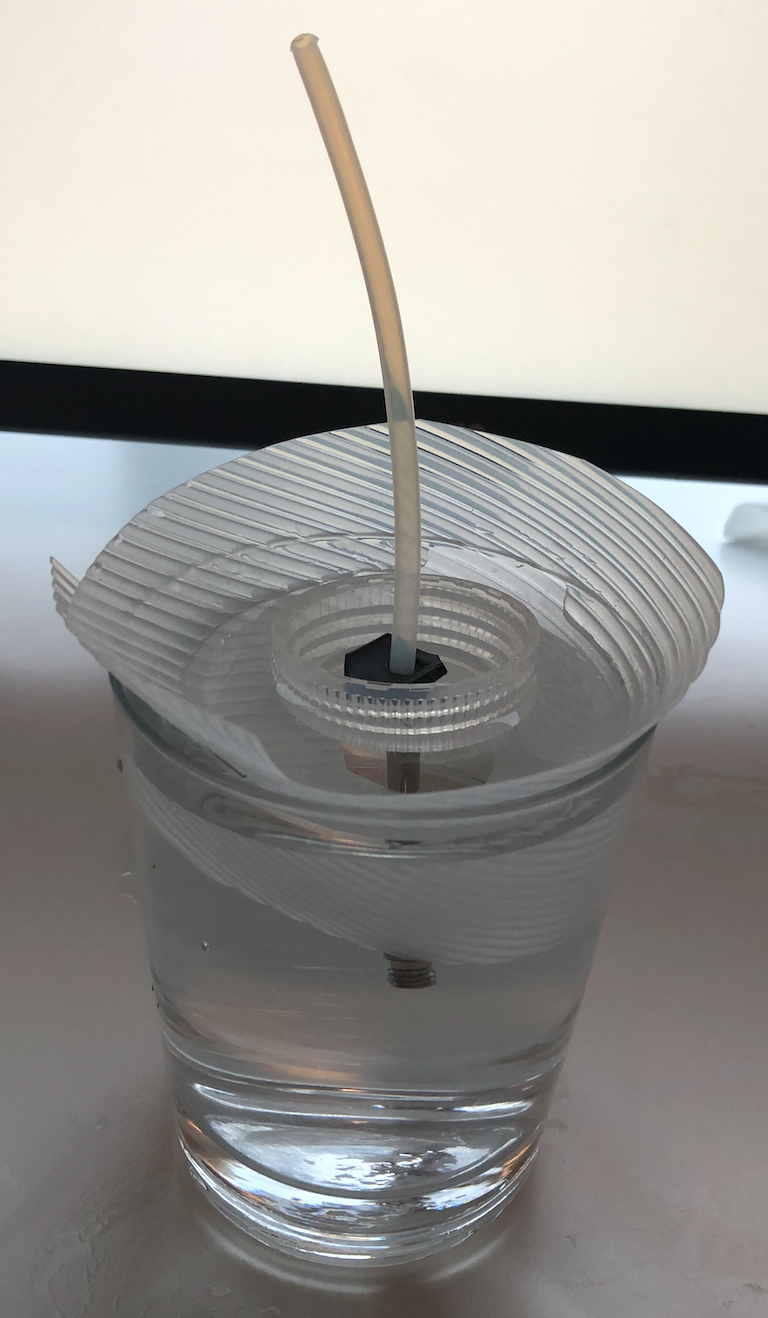
- Fill the cup to the brim with cold water, place the plastic cone upside down, and then the container lid upside. Place the set up in the freezer and wait overnight for the entire thing to freeze.
- Before your presentation, remove the frozen ice mountain from the freezer and carefully run under some warm water until the ice chunk can be removed from the glass cup. Continue running under the water until you can remove the plastic shelf liner cone. You are left with a container lid with a frozen mountain peak.
Bottom layer: magma (carbonated solution)
We will be modelling magma underneath the volcano using carbonated water inside a container. Carbonated water is the easiest and safest form of creating a supersaturated and explosive substance in a classroom setting.
- Right before the presentation, place 3 effervescent tablets into your container body. You can also add a couple drops of red/orange food dye to make the magma look more realistic.
- IMMEDIATELY screw the top lid of container (attached with the frozen mountain peak) onto the container body. Keep screwing the lid on tight until you can no longer hear or see any gas escaping.
- Your volcano is now ready to explode once the ice caps melt!! Place on a large tray to and observe from a safe distance away until it erupts!
Other demo materials
There are 2 other simple demonstrations using a Sodastream carbonater and aluminum foil. With these materials, just follow along the presenter notes in the presentation slides to conduct the demos.