The Frequency Board Demo
Materials:
Thin screws 10x
Thick Screws 3x
Wooden board 2x
Clamp 2x
1kg weights with hooks 5x
D’Addario J2701 - E-1st -.0.0280” (0.71MM) Nylon strings 4x
D’Addario J2701 - B-2nd -.0.0319” (0.81MM) Nylon strings 1x
Construction

1. Place down a board and draw two dots separated 30 cm away from each other horizontally 3 times. Then place two dots that are separated 60 cm away from each other. Lastly, place two dots 37cm away from each other. Then hammer the nails into the dots into the board. They will act as support/nodes for the string/standing wave. Plan the location of the nodes accordingly so that the strings do not tangle with eachother. 30 cm of distance between the nodes were chosen so that when plucked with a 0.71mm nylon string with a 1kg weight attached, it will create a frequency of middle C (256Hz). However, for my demo, I adjusted the length slightly account for the weight of the hook along with the 1kg block. If you want to create middle C, adjust the length accordingly.


5. Use the rest of the 0.71mm strings and put the non-hooked ends through the holes.
6. Tie the non-hooked end of the strings on the other side of the board to any screw so that the string will be fastened when hooked onto weights.

Diagram of the demo. Blue dots represent the dots drawn in step 1. The red dots represent the holes drilled in step 2.

Demonstration
0. Place the frequency board on a desk and secure it with clamps.
1. Hook a 1kg weight to (1) and pluck it. Ask the students how many many kg they would need to hook onto (3) to double the frequency of (1). Some may say 2kg. Show why its not the case. (in the video the notes are slightly out of tune. You may need to adjust the string position on the nail to make the strings harmonious again).
3. Pluck (1) and (2). (2) Has a thicker string but with length and tension the same as (1). Ask the students whether or not they think the frequency will be the same.
4. Ask the students to calculate the string length ratio between (1) and (4). Ask them if they think it will be harmonic.
The Lyre Demo

Materials
Scrap wood
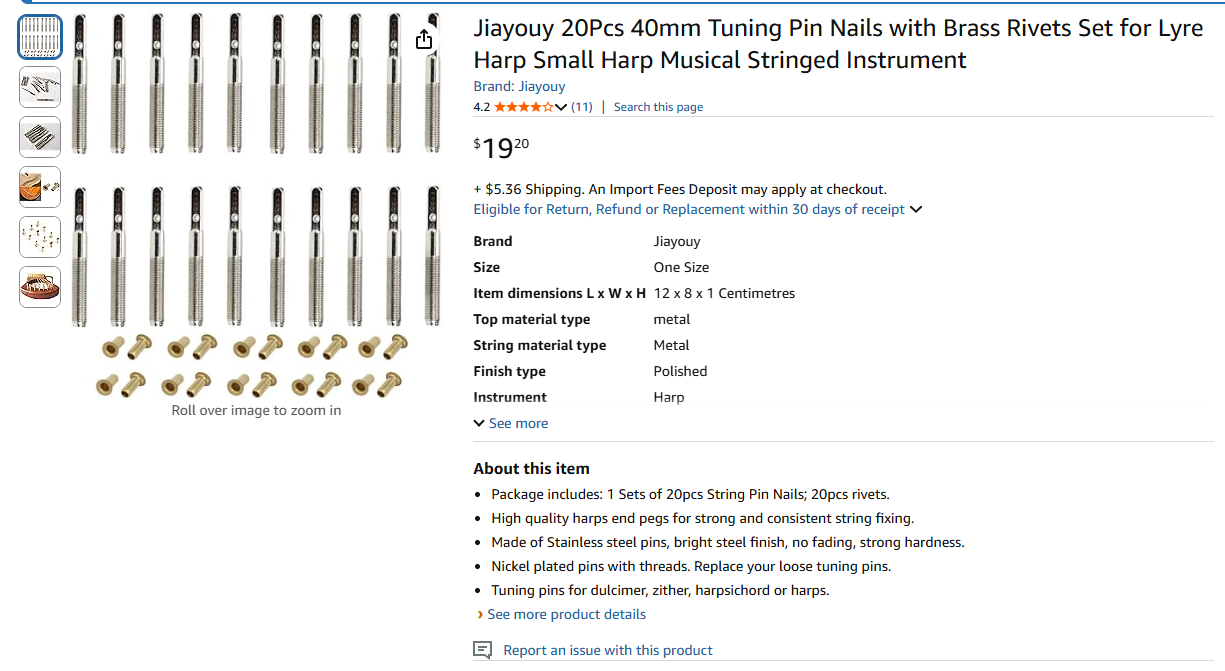
Lyre tuning pins (can be ordered on amazon. The one I used is shown below)
Lyre tuner
D’Addario J2701 - D-4th -.0.029” (0.81==737MM) Silverwound Nylon strings 5x
A wooden rod that is 1 to 1.5 cm in diameter.
As a heads-up
The construction of the lyre in the way I did it requires a water jet cutter that not many people have access to. I will link two youtube videos I used as a guide which does not require a water jet cutter below.
Construction
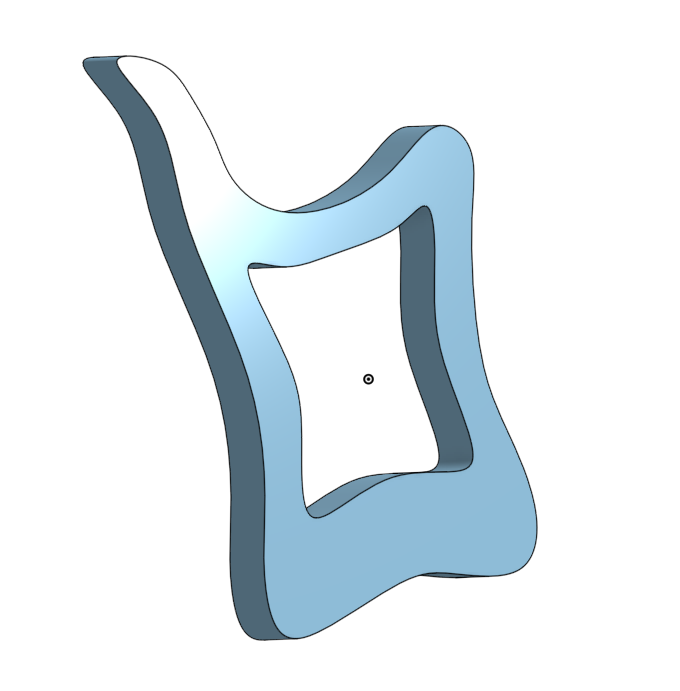
1. Design the shape of the lyre on onshape.
(You can use a better quality piece of wood if you’d wish. Spruce, Maple, Mahogany, Rosewood and Cedarwood are good materials you can use for Lyres).
3. Drill pairs of holes where the tuning pins and the rivets will be placed. The size of the holes will depend on the tuning pins you buy.
4. Screw in the tuning pins and the rivets.
5. Cut the wooden rod down its vertical axis and glue it on as the bridge.
6. Put the strings into the tuning pins and the rivets. Use the tuning pin to tune the Lyre in the way you like. If you use the D’Addario J2701 737MM Silver Wound Nylon strings, I recommend tuning the Lyre to C major (starting from C4).
Demonstration
Play any fun melody you'd like!